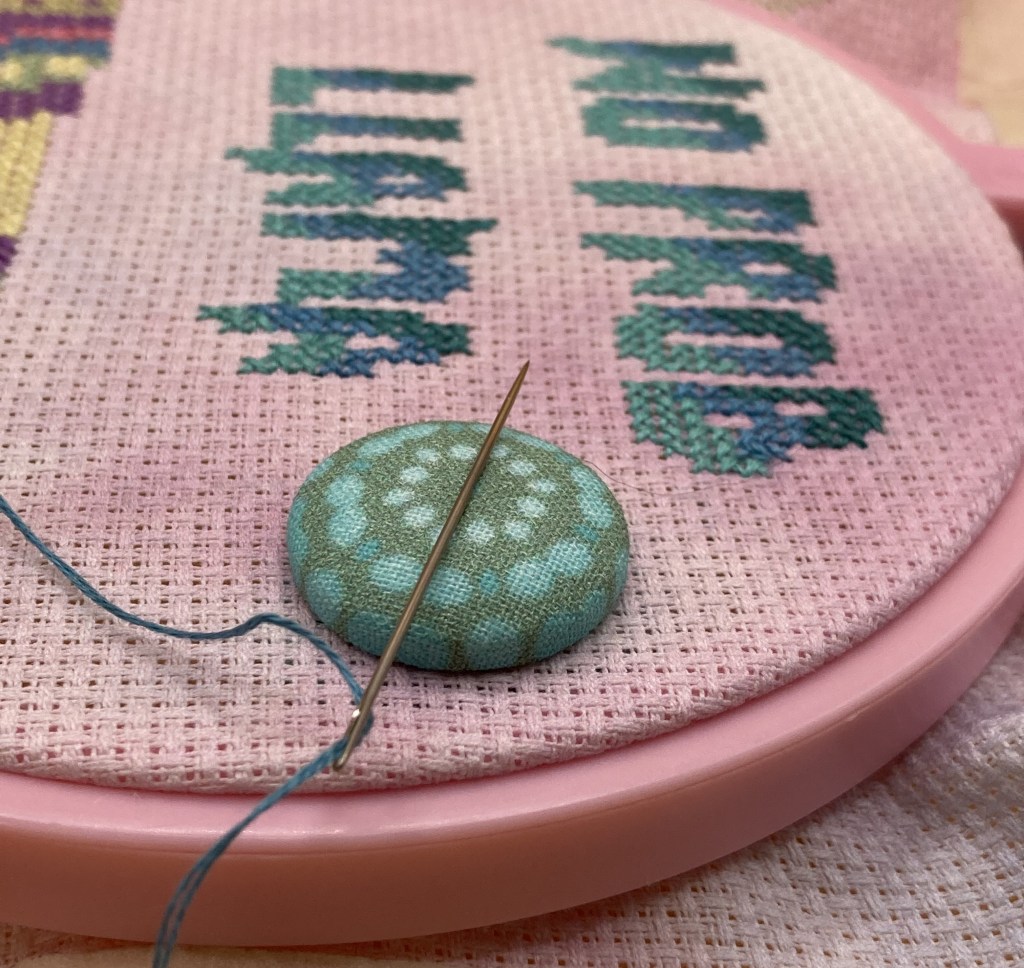
This scrap-buster is a multi-tasker! A magnetized covered button can be either a needle minder or a fridge magnet. These are just absolutely adorable, and perfect for using up fabric scraps–particularly ones with small motifs/patterns. Consider yourself warned: they’re kind of addicting to make, which makes them a perfect candidate for a handmade gift!
Materials
- Covered button kit w/ tools (for this I used the 7/8” size)
- Scrap fabric
- Magnets
- Super glue (like E6000 or Locktite that will work with metal)
- Scissors
- Hand sewing needle
- Thread
- Pliers
- Pencil
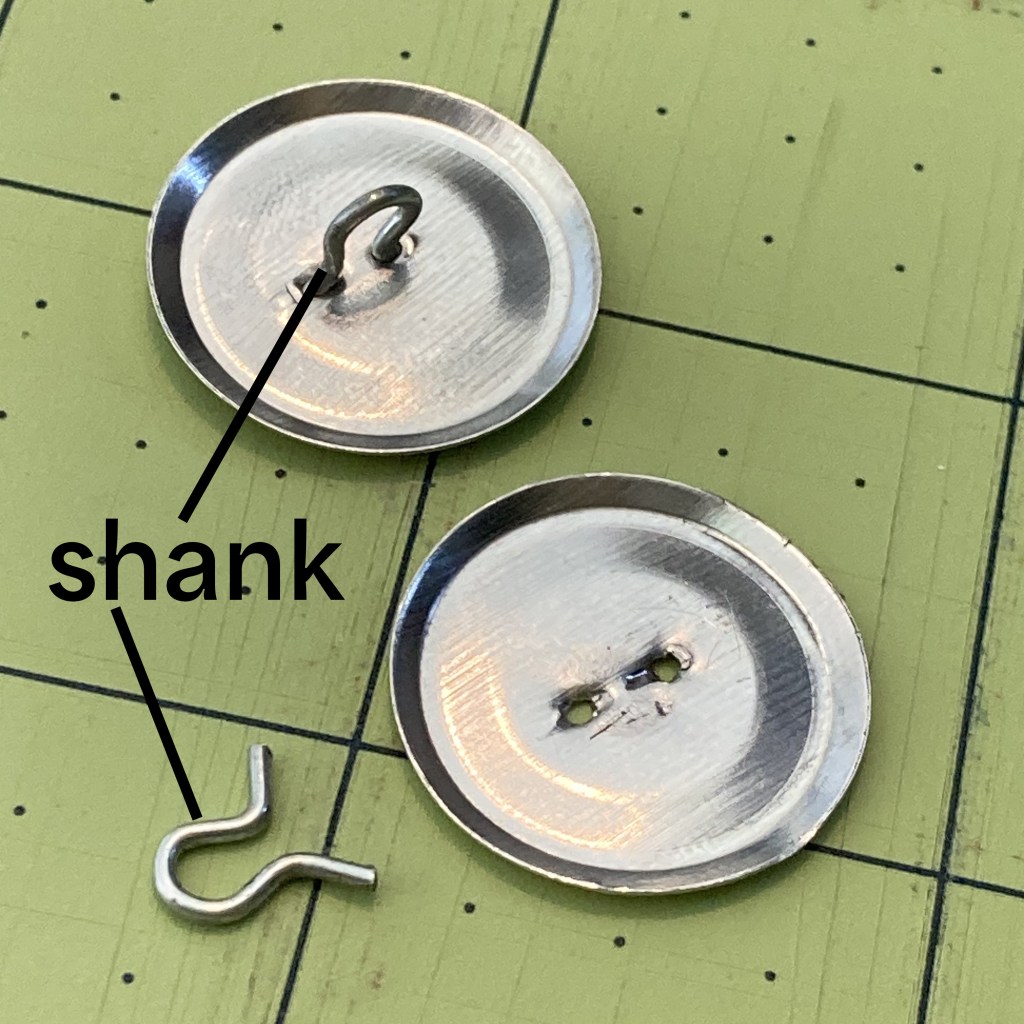
Step 1: prep the button backs
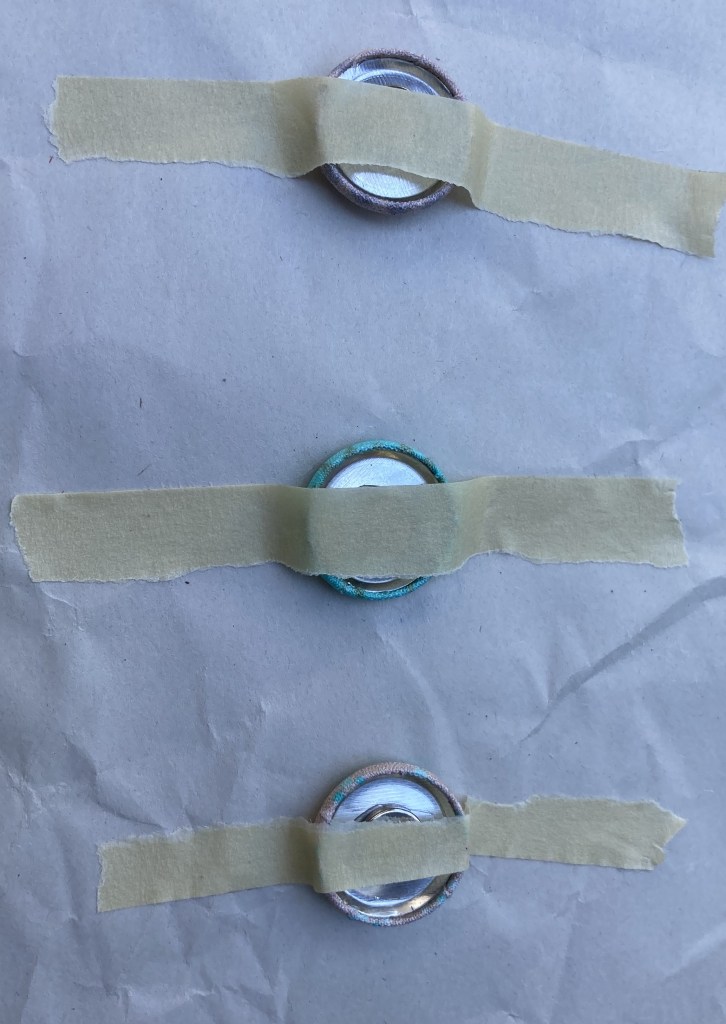
Using pliers, remove the shanks (loops) from the flat backs of the buttons. This may take a bit of effort, but they’ll pop out. Glue a magnet to the OUTSIDE of the back of the button. NOTE: be sure to check the polarity of the magnet—you want the side that repels other magnets to be the side that is glued down. Set in a well-ventilated area to let the glue cure and off-gas.

Step 2: cut your fabric
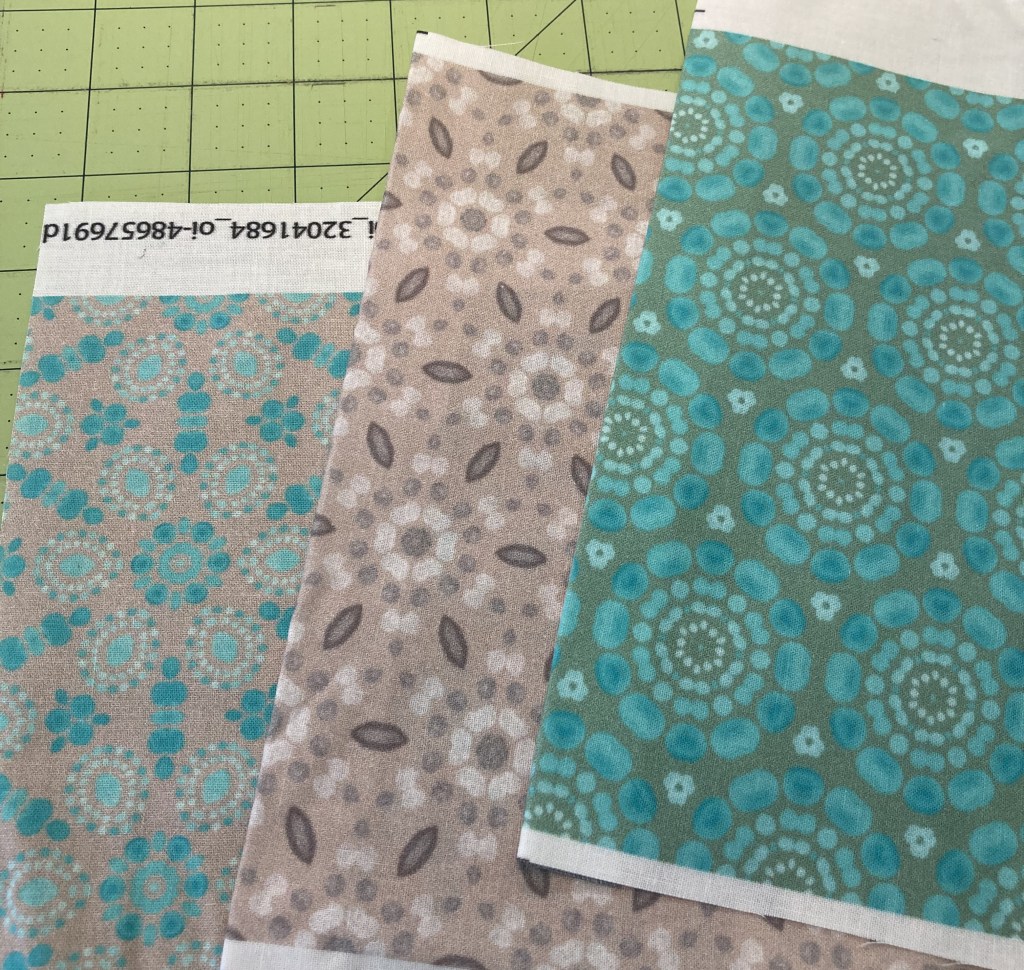
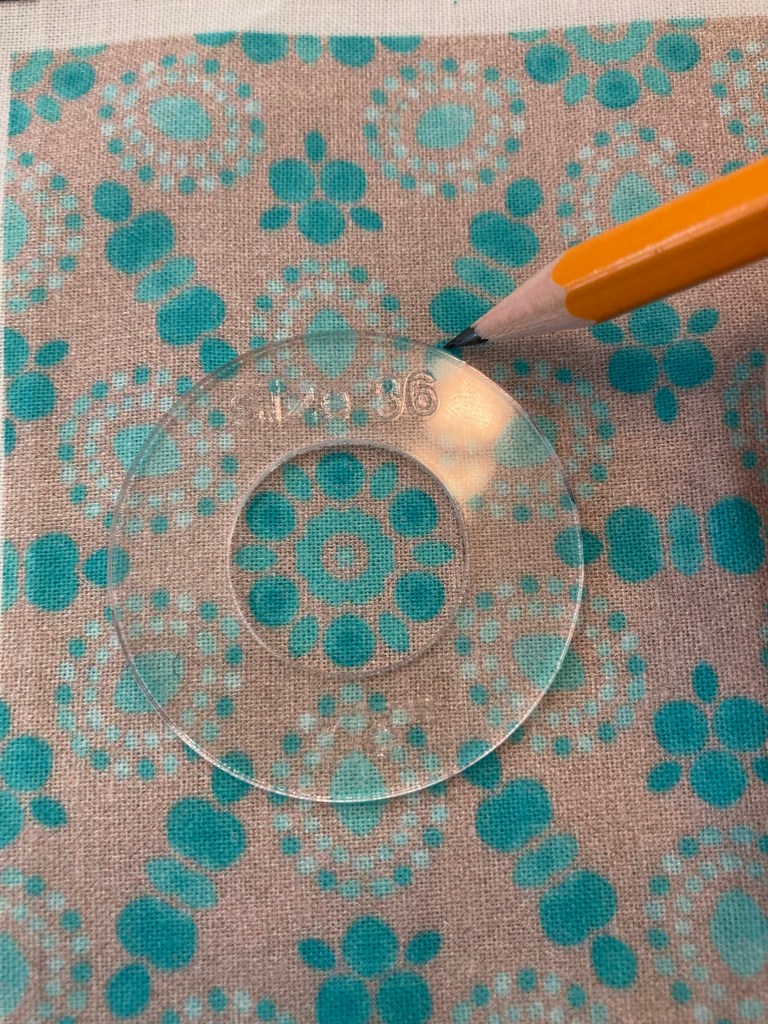
Cut your fabric! There are a couple of different template techniques you can use to cut the fabric for the top of the button. If you want a specific part of the fabric’s design or pattern to be the center of the button, I recommend using an acrylic template, or a stencil. That way you can see the design and be sure it is centered. Trace out your circle and cut! For these I’m using fabrics from my Peacock Pop, Gorgeous Greige, and Jade Peacock collections on Spoonflower.
Method 1:
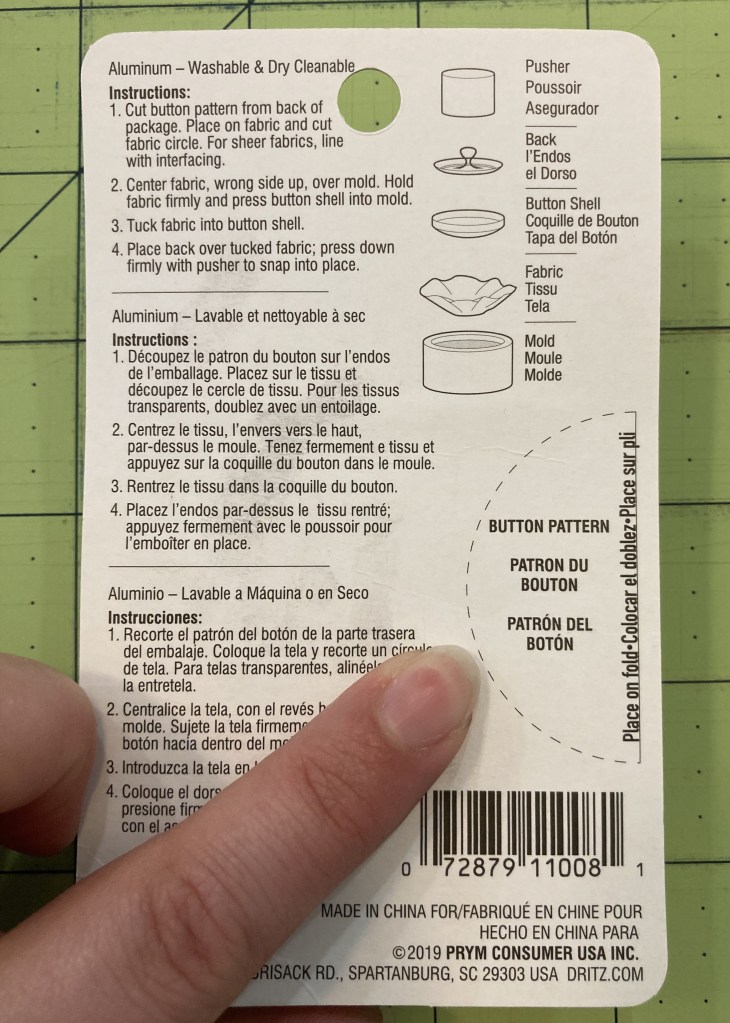
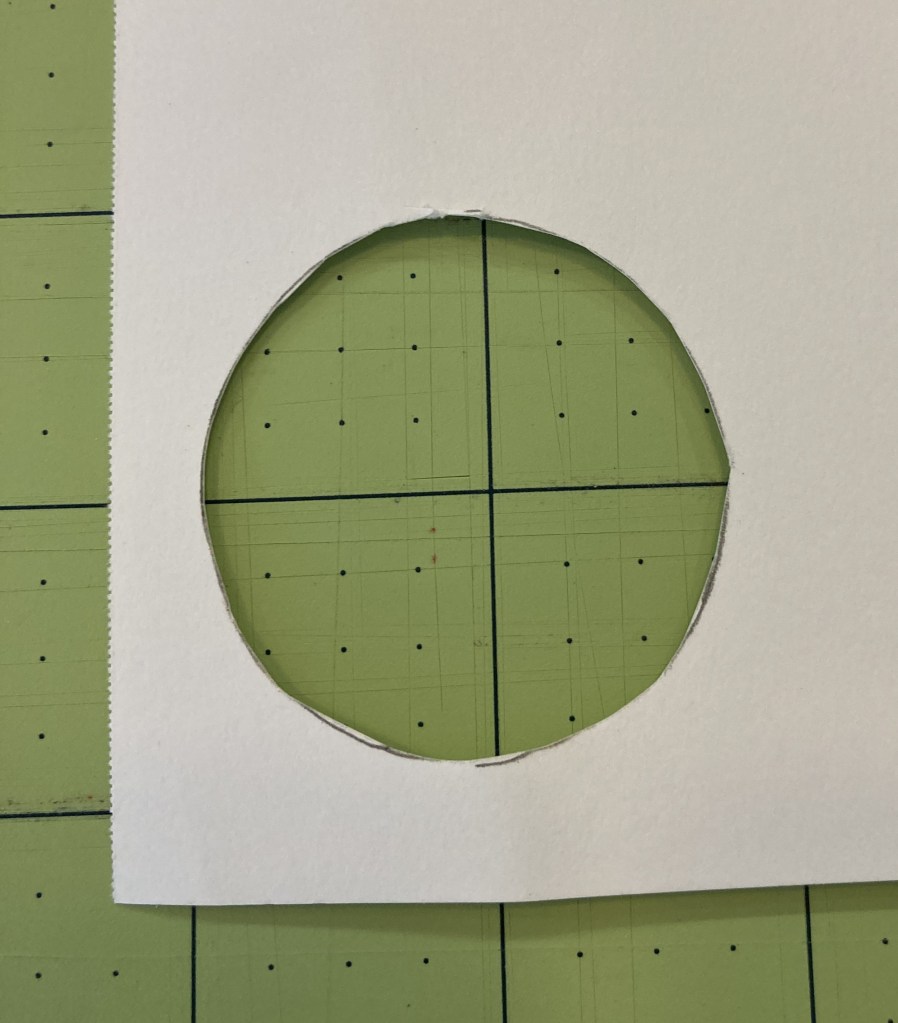
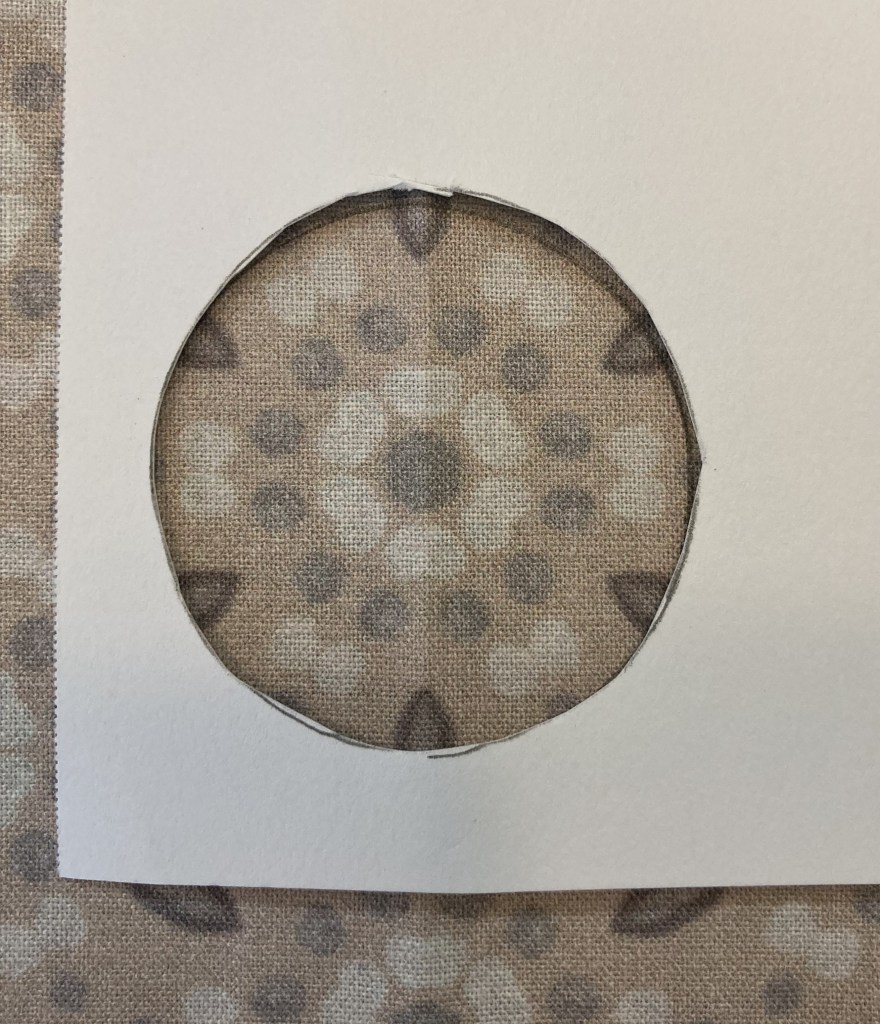
The back of the covered button kit most likely will have a half-circle template you can cut out. Place the straight side on the fold of your fabric, trace, and cut.

Method 2: Trace the half-circle template onto a piece of sturdy paper. Flip it over and line up the straight edge with the straight edge of your tracing and trace the other side. You can cut the circle out and have a disc you can trace, OR cut out the inside of the tracing so you have a stencil.


Method 3:
Use an acrylic covered button template. I have a set I found on clearance ages ago and I don’t think Dritz makes it anymore, but this set from Etsy maker CoverButtonsbyMaxant is very similar.
Align the center of the template with the center of your pattern/motif. Trace around the larger outside of the template.
Step 3: prep your button top
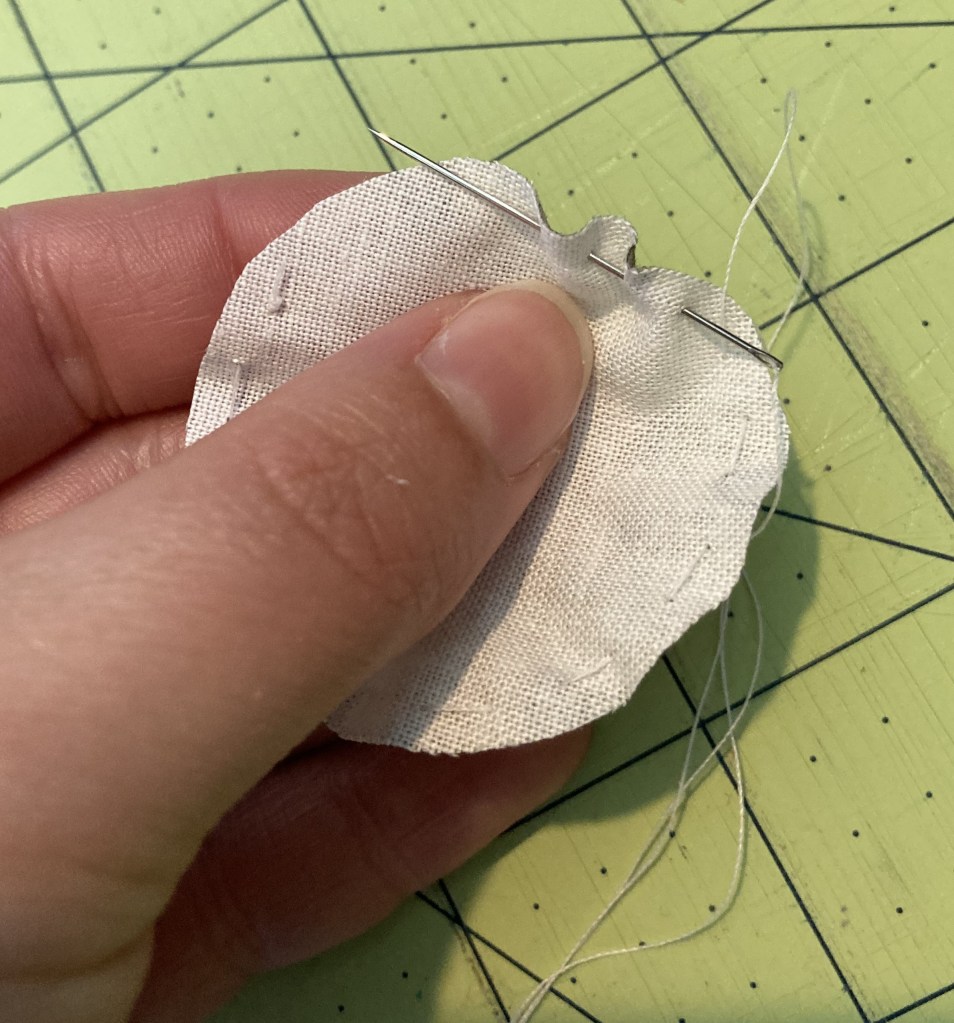
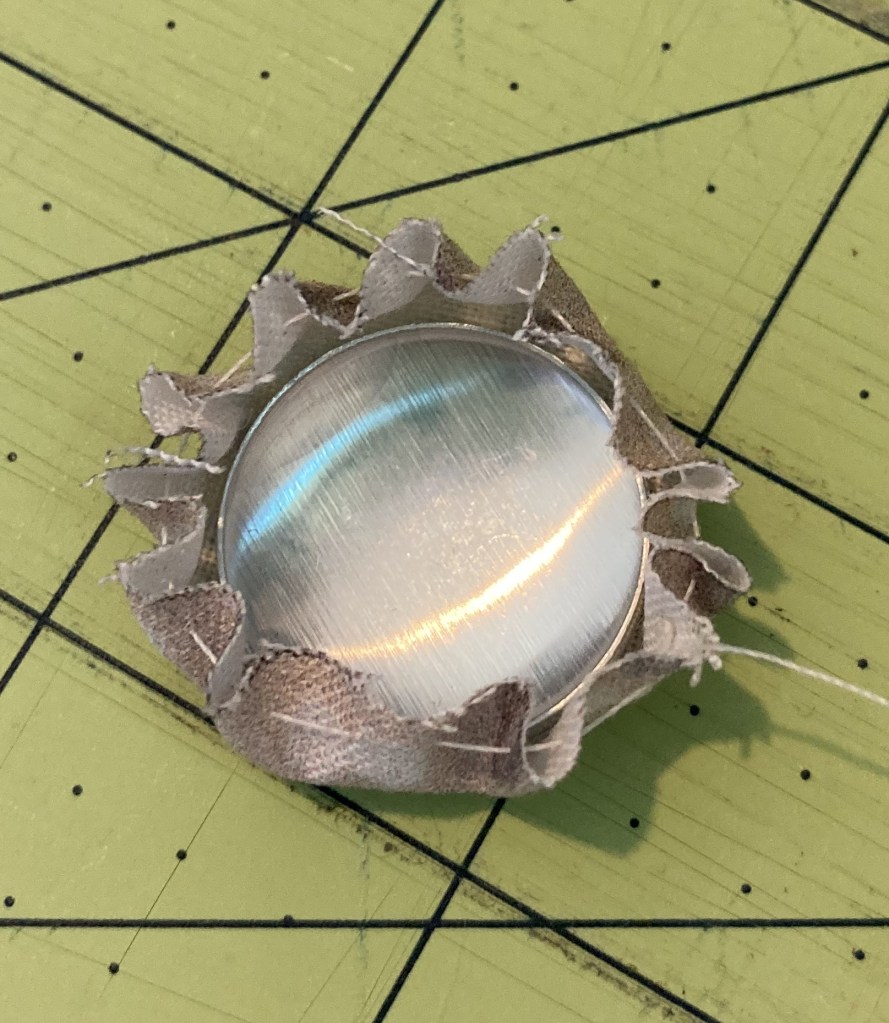
With the needle and thread, knot one end and run a small running stitch around the edge of the fabric circle. Place the rounded top of the button on the fabric circle (wrong side of fabric to the metal), and pull the stitching to gather/close in the fabric around the button top. If you have a design you want centered, now is the time to adjust it so it’s spot on. Pull the thread tight so the fabric is snug around the cover Keeping the gathers taught, knot off the thread.
Step 4: put it all together!

The button kit should come with two additional tools: a flexible plastic or silicone mold, and a hard plastic pusher (kind of looks like a cap). Push the fabric covered button top into the mold. Run a small line of super glue along the edge of the fabric. This will help keep the fabric from pulling out over time/use. Place the button back into the mold with the magnet facing UP. Place the pusher on the center of the button back (solid side facing UP). Push down until you hear/feel a pop. TIP: to help put even pressure on the pusher, place something sturdy and stiff on top and push down on that. I use a ceramic plant saucer. This is also a hand/thumb saver—trying to push it down with just your hands is tough!
Let the button sit in a well-ventilated area so the glue can cure and off-gas. Once it’s cured it’s ready to use! You can use another magnet as-is for the back, or make a hexie needle minder to make a matching back!


I want to see your fabulous work! Tag a photo of your needle minder or fridge magnets @mcwolldesigns on social media!
Download written instructions below. Written tutorials will always be free to download, but if you’d like to show your support, you can buy me a virtual coffee.
