We all have a place we build our models and do our research. For me much of the research is on the couch with the iPad. But where do we build our models? My usual answer is on a piece of plywood between two filing cabinets. For me formal education interceded and I learned about ergonomics. Probably too much seriousness for just a hobby, I agree.
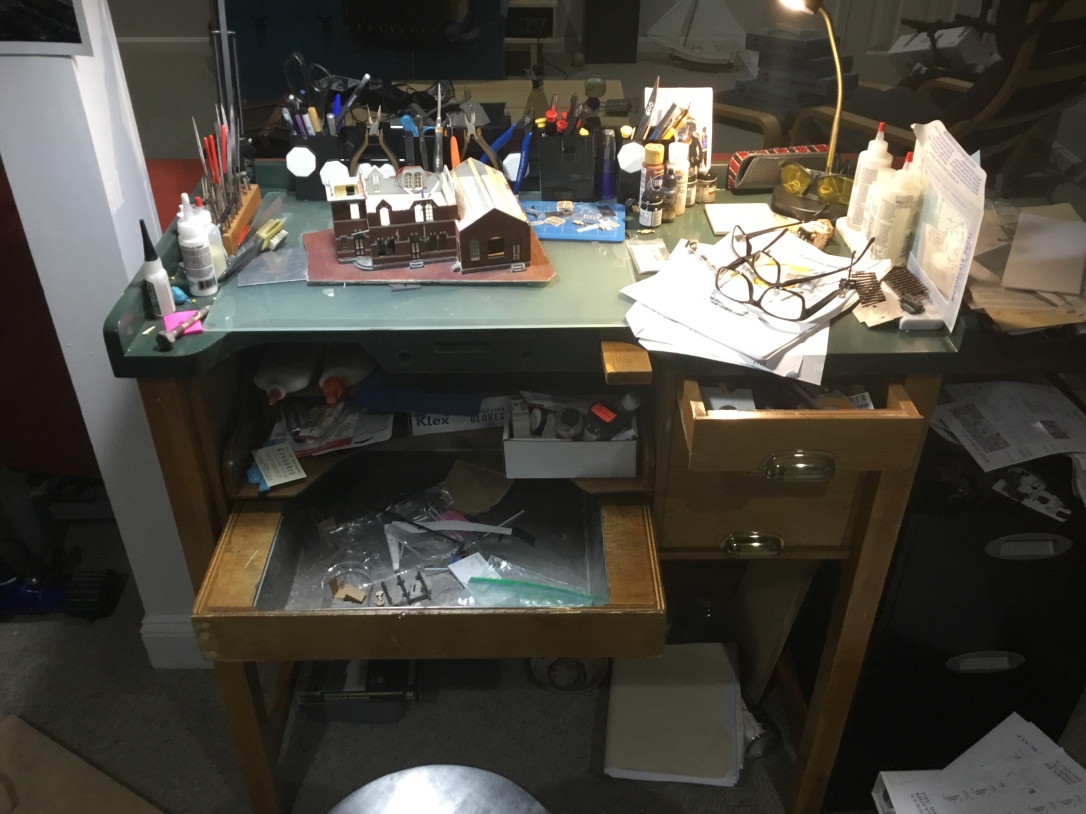
One day I wondered into a local jewelry store in Greensboro, NC, the kind of place that does it all. I just wanted a new band for a watch. You remember watches, we wore them on our wrists before we used our mobile phones to tell time. I noticed the proprietor changed my watch battery at a sophisticated bench that was meant for so much more. His skilled hands could create fantastic jewelry at this bench and I saw a great modeling bench. It had a pan to catch to dropped parts, places for small vices, storage for small files and drawers for tools needed on a whim. A modeling bench!

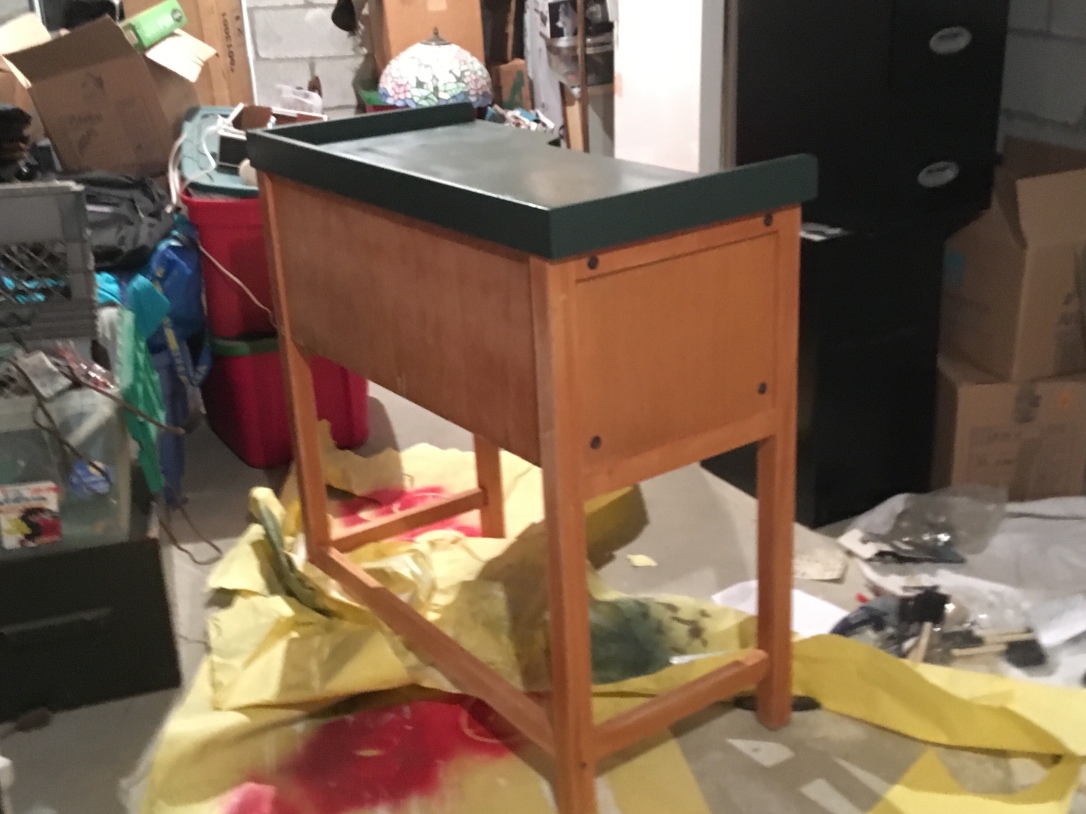
He called it a jeweler’s bench, I thought tomato vs. tomato. A jeweler works on small parts and builds things, so does a modeler, maybe your bench could fit my hobby. I asked him where I could buy one cheap and he told me about a local jeweler’s group. I picked up a used bench for $50. The main work surface was pitted from soldering operations gone astray. I decided I could do some light sanding in the frame, refinish the bench top.

Since this piece was going to reside in the finished part of the basement, I decided to give it some color. I sprayed the bench top green, reminiscent of a dispatchers desk and gave the legs a few coats of polyurethane. It now resembles furniture and could be added to the finished part of the basement.

A cheap stool from Ikea added an adjustable seat to meet ergonomic considerations and I was in business. It is still a little disorganized as I put it into use while still trying to figure what should go where. I am hoping time at the bench will help me understand which tools are most used and need to be closest to the work surface. The metal lined tray tray below is designed to catch dropped parts but it has turned into a trash bin at present. It still catches stray parts but I have to search for them. There are elbow rests that extend from the work surface. I have yet to use them, but I am sure they will help me have a steady hand for fine detail work. It may not work for everyone, but I am happy with my investment. It has made me more organized already and I continue to go in that direction. Frustrating accidents and lost parts are being reduced and I am learning to be more systematic. So far, so good.

1 thought on “Making a Modeling Bench”