Before any security vulnerability detection on systems, the LANDesk Security Suite must be updated with security bulletins. These bulletins will be downloaded from a database hosted by LANDesk.
Unlike a traditional WSUS, EPM allows for managing patches from « standard » publishers.
Downloading Definitions
Creating Groups
We will create multiple groups to manage the approval of patches and pilot terminals.
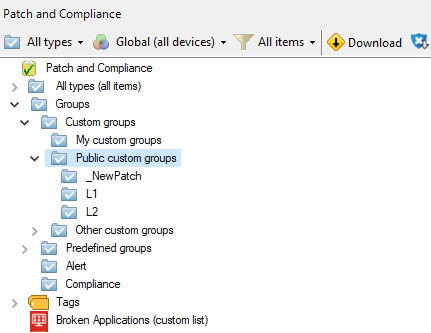
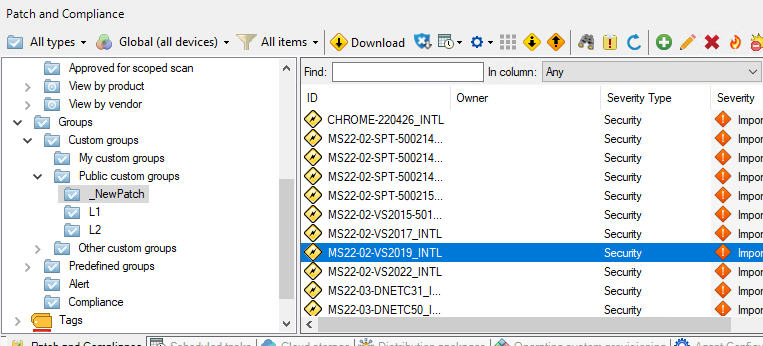
- In “Patch and Compliance” \ “Public Custom Groups”, we will create the following groups:
- _NewPatches => For new patches awaiting validation
- L1 => For technical recipe testing of patches on a small group of terminals
- L2 => For widespread deployment
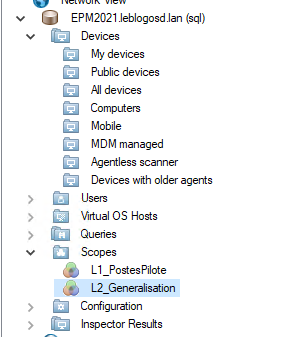
Creating Scopes
We will create scopes that will be associated with the groups, consisting of:
- L1_PilotTerminals
- L2_Widespread
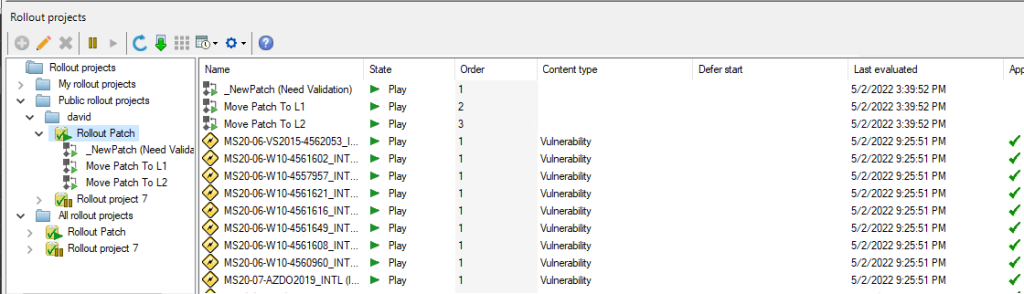
Creating Rollout Projects
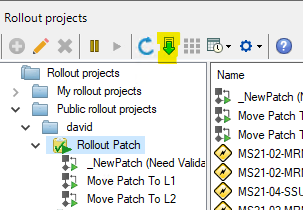
Rollout Projects
- In “Rollout Projects”, we will initiate a new project

- The project will involve three key steps:
- Patch validation => _NewPatch (need validation)
- Technical recipe transition => Move Patch To L1
- Broaden the deployment of patches => Move Patch To L2
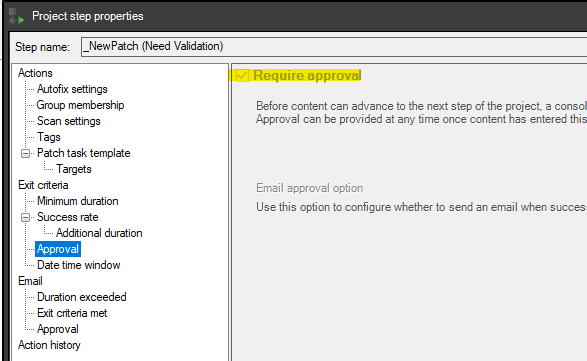
Step _NewPatch (Need Validation)
- Create a new step
- Rename it to _NewPatch (Need Validation)
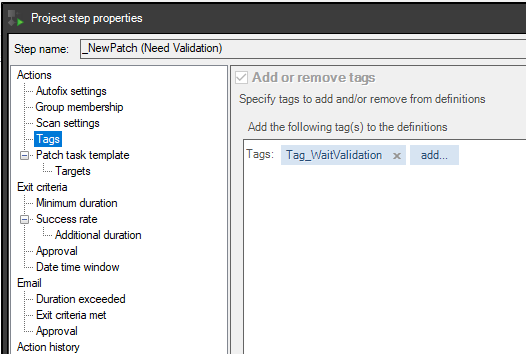
- In Actions \ Tags, add a tag
Patches will be moved to L1, provided they are validated.
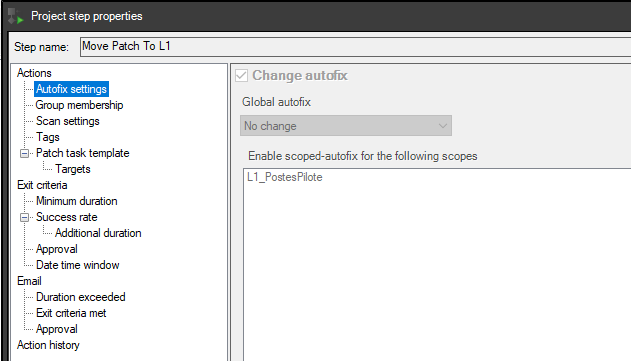
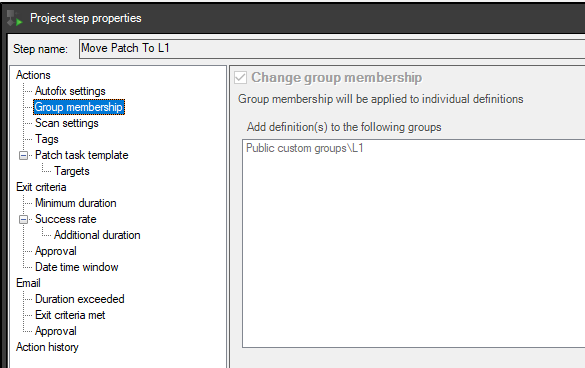
Step Move Patch to L1
- Create a new step.
- Rename it to Move Patch To L1.
- In Actions \ Autofix settings, change the autofix for the L1_PilotTerminals scope.
- In Actions \ Group membership,
- Add to the L1 group.
- Remove from the _NewPatch group.
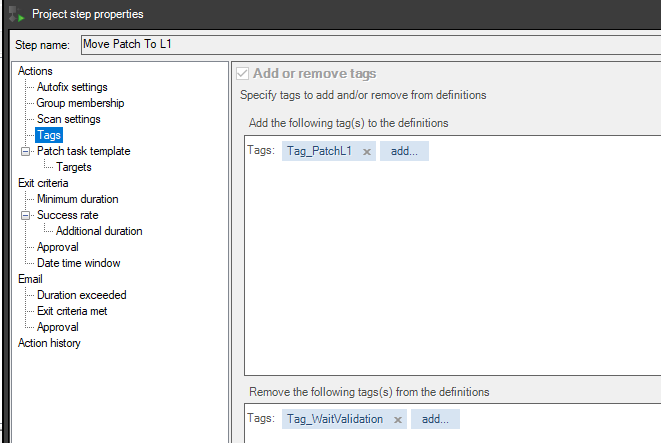
- In Actions \ Tags, we will make the following changes:
- Add Tag_PatchL1.
- Remove Tag_WaitValidation.
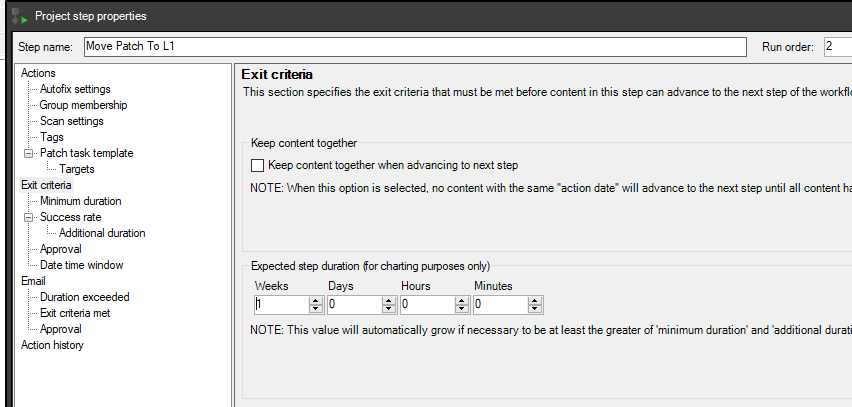
- In Exit criteria \ Minimum duration,
- Add 1 week
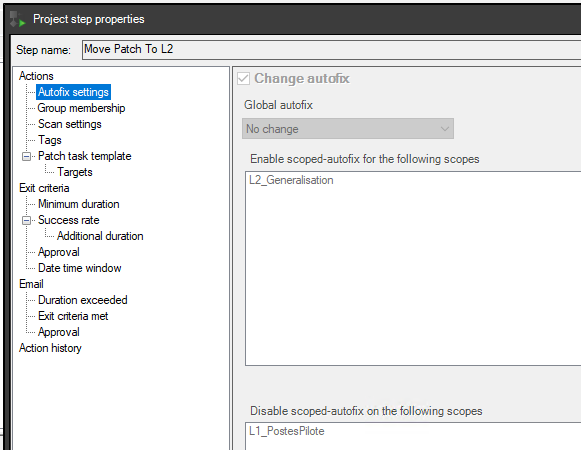
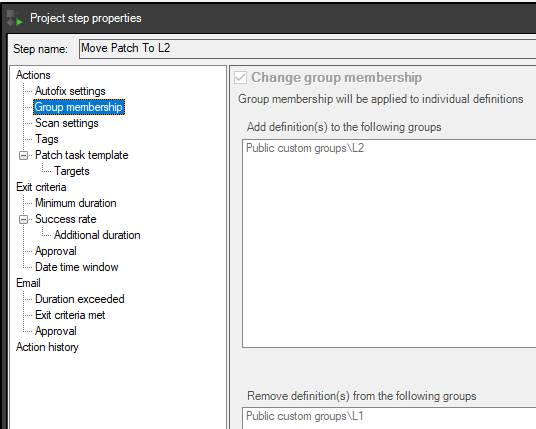
Step Move Patch To L2
- Create a new step
- Rename it to Move Patch To L2
- In Actions \ Autofix setting
- Add the autofix for the L2_Generalisation scope
- Remove the autofix for the L1_PilotTerminals scope
- In Actions \ Group membership,
- Add to the L2 group
- Remove from the L1 group
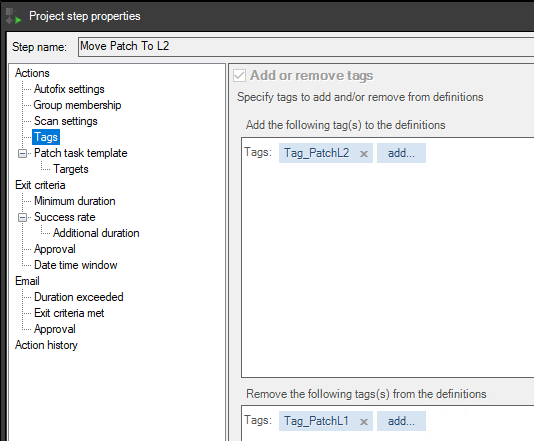
- In Actions \ Tags, we will add:
- Add Tag_PatchL2
- Remove Tag_PatchL1
Downloading Signatures
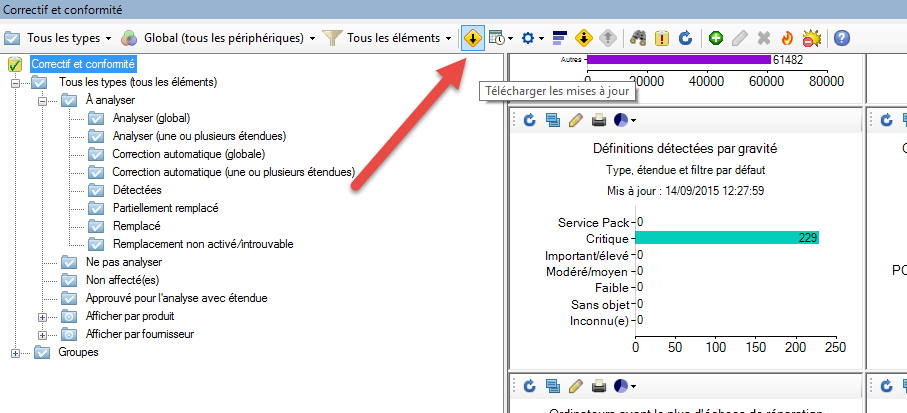
Downloading
- Select the “Download updates” button
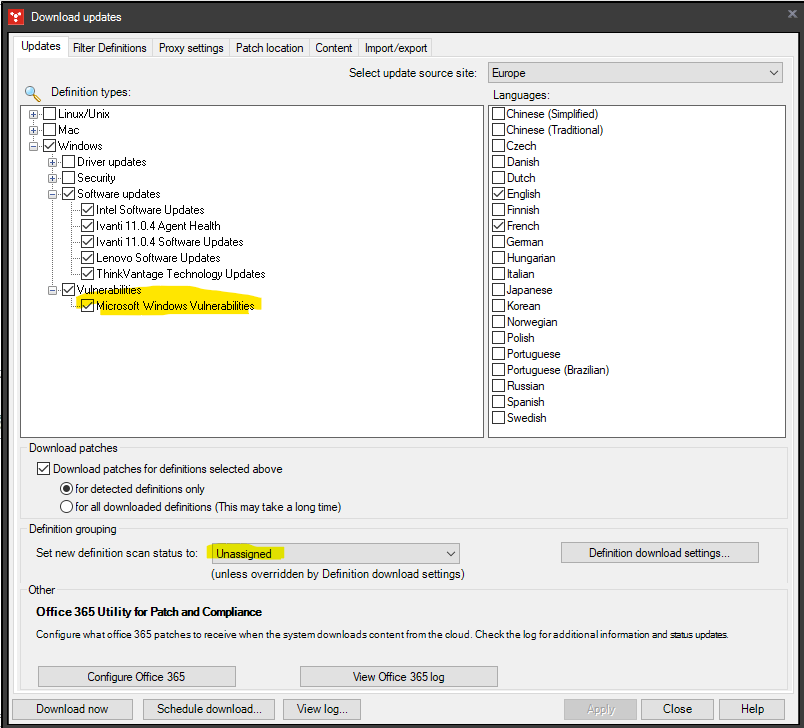
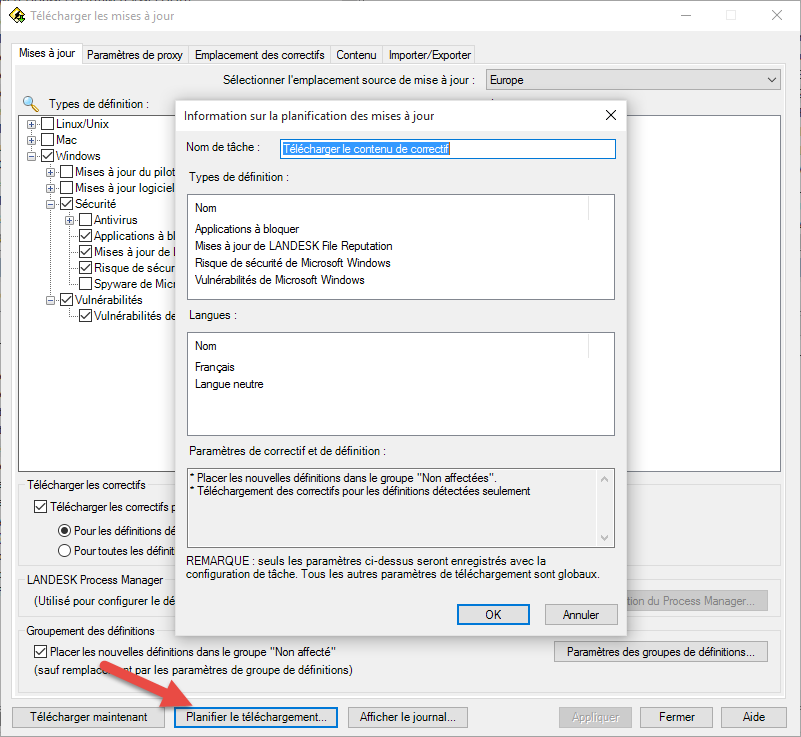
Updates Tab
- In Select update source site,
- Select “Europe”
- In Definitions,
- At minimum, enable Microsoft vulnerabilities
- In Definition grouping,
- Select “unassigned”
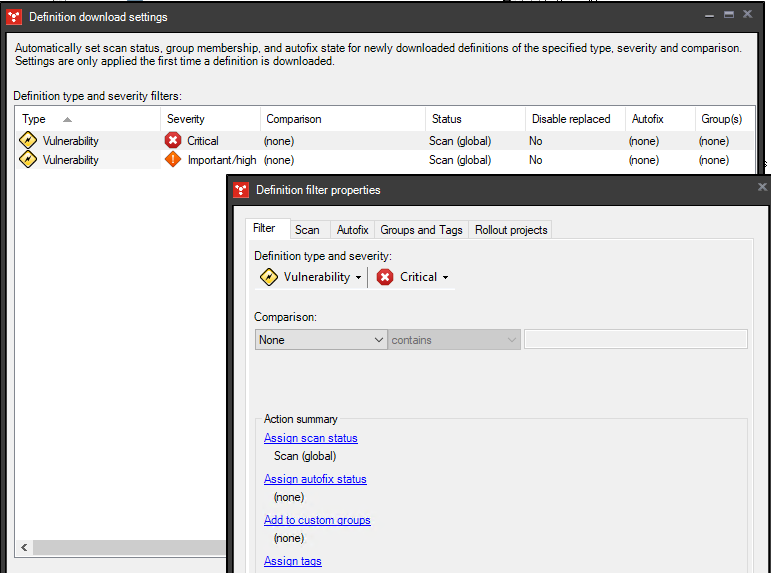
- Click on “Definition download settings”,
- Apply the scan for critical and important patches (for example)
The scan does not apply the patch but simply identifies the devices where the patches are not installed
ATTENTION: If you want to download drivers, you must configure the HII LANDesk first (it allows configuring the location of the drivers)
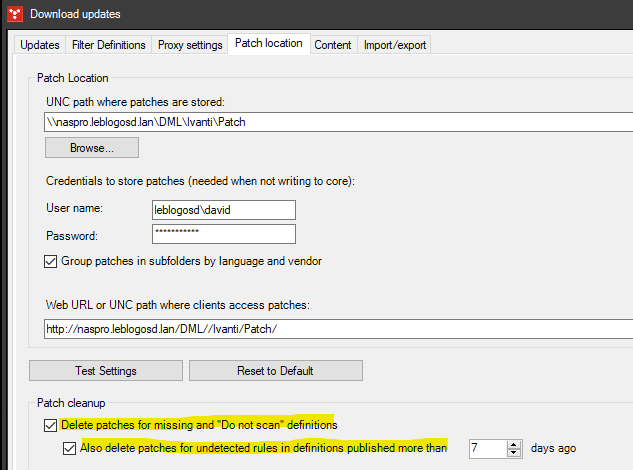
Patch Location Tab
- In this tab, indicate the UNC and HTTP paths where the patches will be copied
- Enable automatic patch cleaning
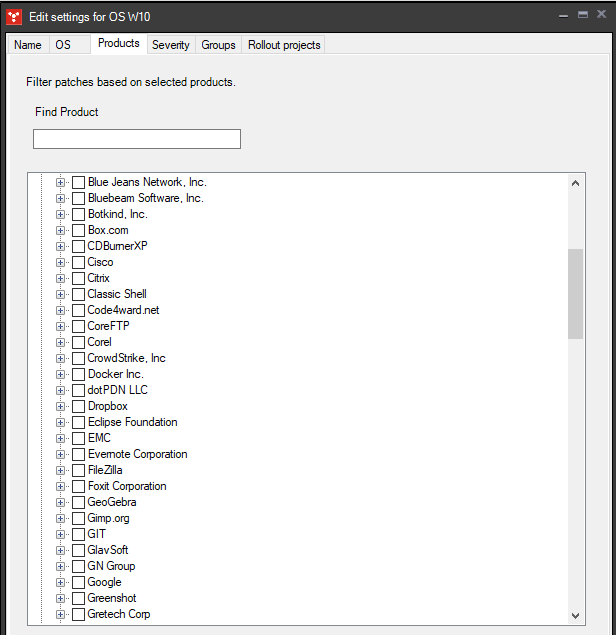
Filter Definition Tab
- Create a new filter
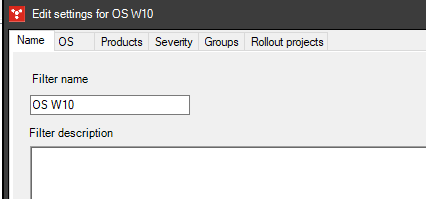
- Under the Name tab,
- Indicate a name for this filter
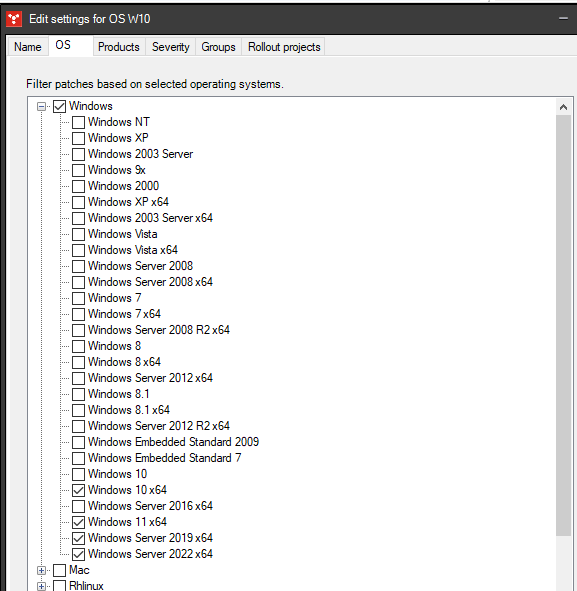
- Under the OS tab,
- Select the OS you want to manage
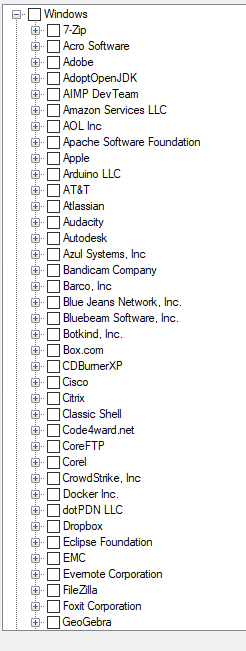
- Under the Products tab,
- Select the applications you want to manage
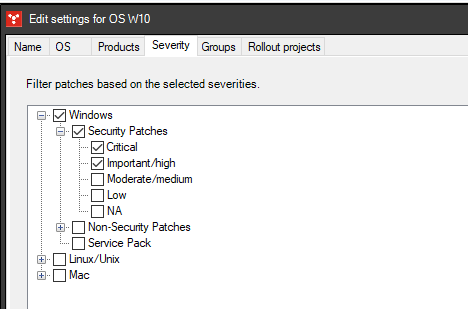
- Under the Severity tab,
- Indicate at least Critical Patches
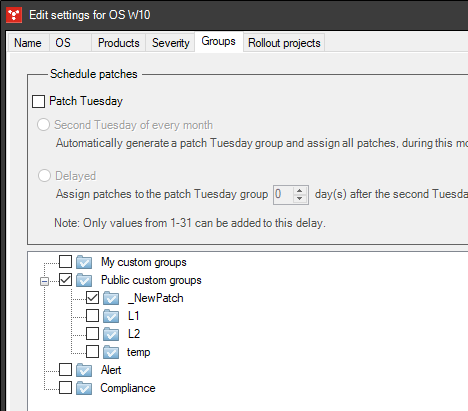
- Under the Groups tab,
- Add patches to the _NewPatch group
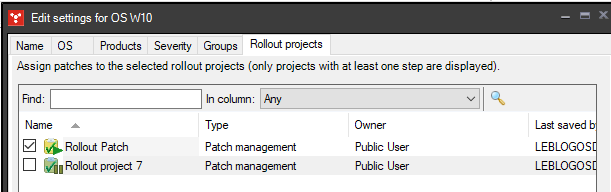
- Under the “Rollout Project” tab,
- Associate with the previously created Rollout Project
Scheduled Tasks
There will be 3 tasks for patching, so you can create a folder to « organize tasks ».
“Rollout Projects”
- If you don’t want to schedule the project, simply click the “Process selected Item Now” button
- Otherwise, schedule the project with the Create a task button

Downloading Patches
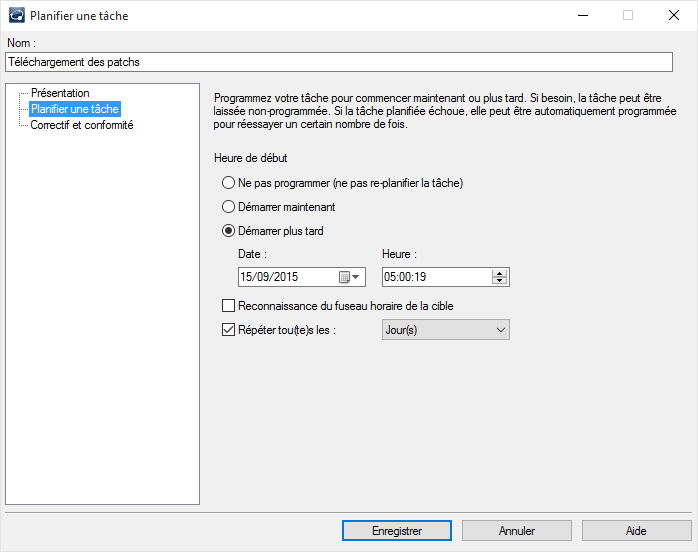
- Click on “Schedule Download” to create a scheduled task that will download new definitions.
- You can change the task name. Click “Ok”.
- The task is scheduled to run daily.
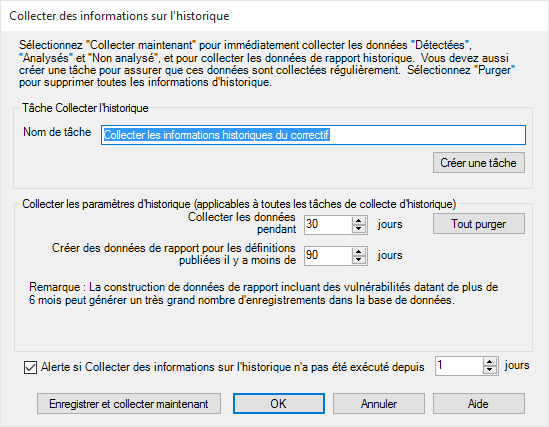
Data Collection
- Go to “Create a task \ Collect historical data…”
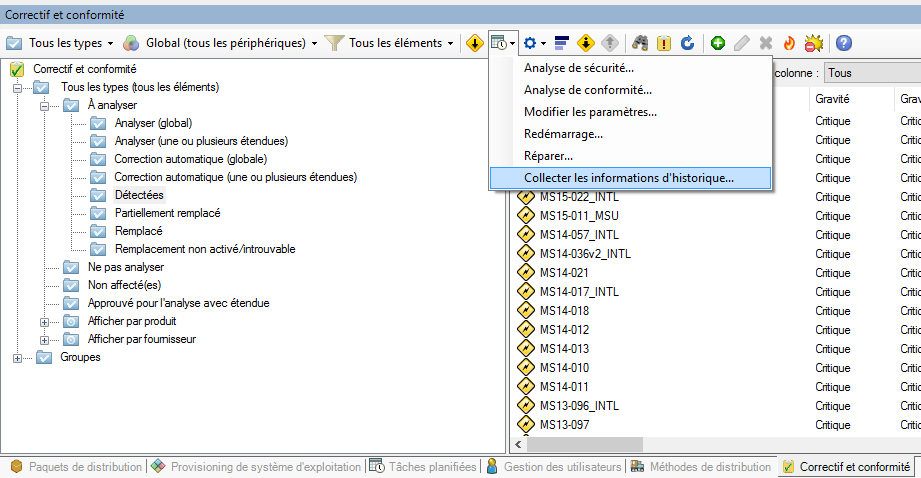
- Click on “Create a task”.

Go to the task properties.
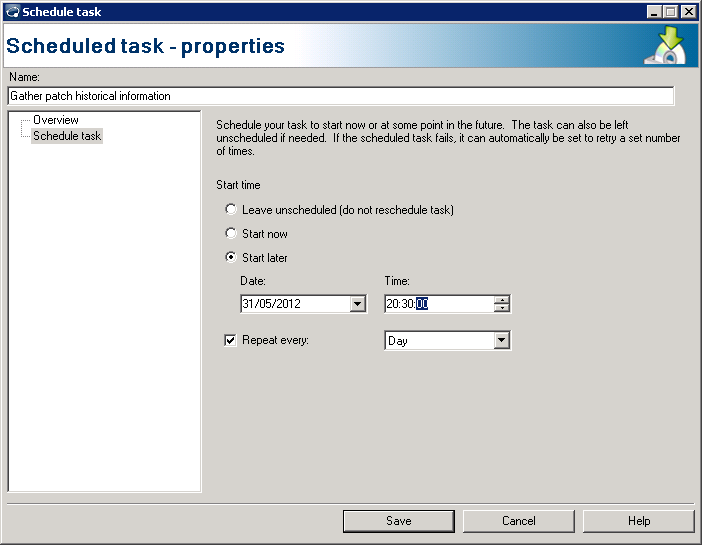
- The task is scheduled to run every night at 10:30 PM
How Patching Will Be Done
Downloading Patches
This is the role of the scheduled task Download patch content.
Once launched, the new “critical” and « important » patches will be copied to _NewPatch.
Patch Approval
During the execution of:
- The scheduled task “Rollout project task”
- Or with the button “Process selected Item Now”
The new patches will be in the “rollout project” awaiting validation.
Installation on L1 (Pilot) Group
Once the patches are validated, during the execution of:
- The scheduled task “Rollout project task”
- Or with the button “Process selected Item Now”
The patches will move to the L1 group.
Installation on L2 Group
Once the one-week period has passed, during the execution of:
- The scheduled task “Rollout project task”
- Or with the button “Process selected Item Now”
The patches will move to the L2 group.