
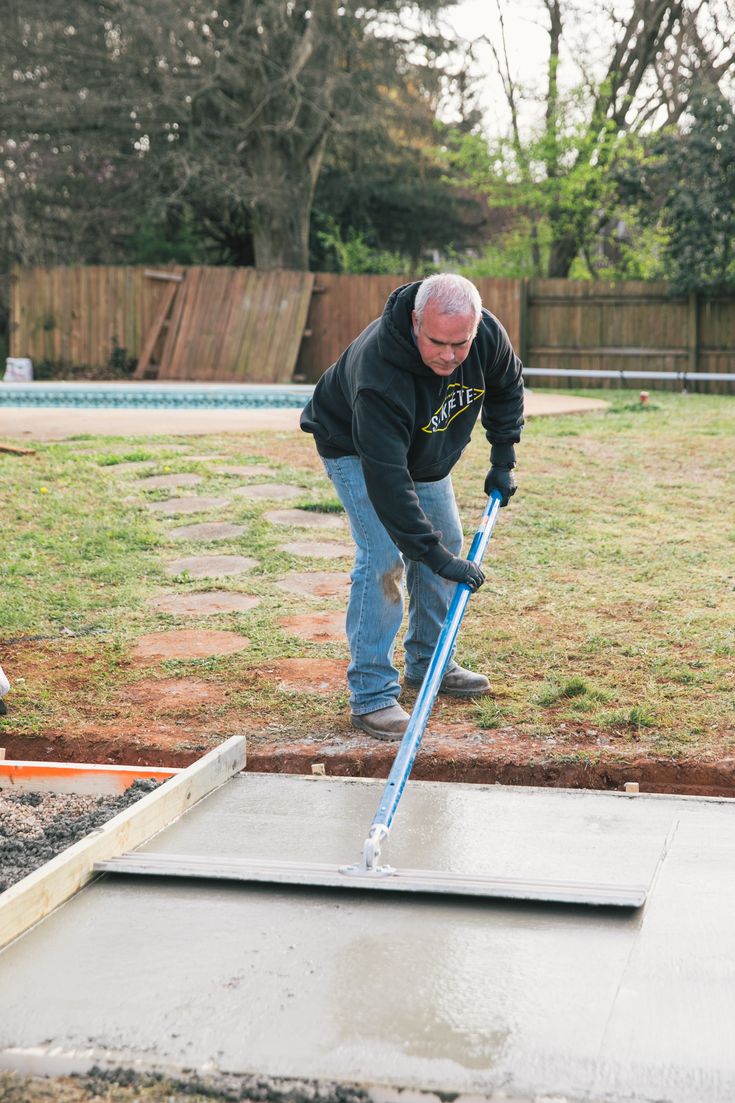
Concrete repairs have been the standard solution for cracked walls and floors. In many cases, property owners would seek professional services to handle these. But with the advent of DIY tutorial videos, homeowners try upskilling themselves in home improvement. Many start with fixing cracks and chips. Then they try to develop their DIY skills until they could work on more complex cement projects at home.
If you’re a homeowner who wants to develop your DIY skills in concrete repairs, this article may guide you. You can learn more about concrete repairs here, as well as some crucial steps to do it.
What Is Concrete Repair?
Concrete repair includes the process of fixing an area of concrete that’s showing or starting to show signs of damage. In other words, it’s a way of restoring a damaged cemented surface.
There are different kinds of concrete repairs. The following are some of the most common types that construction firms, like Concrete Contractors and similar providers, do:
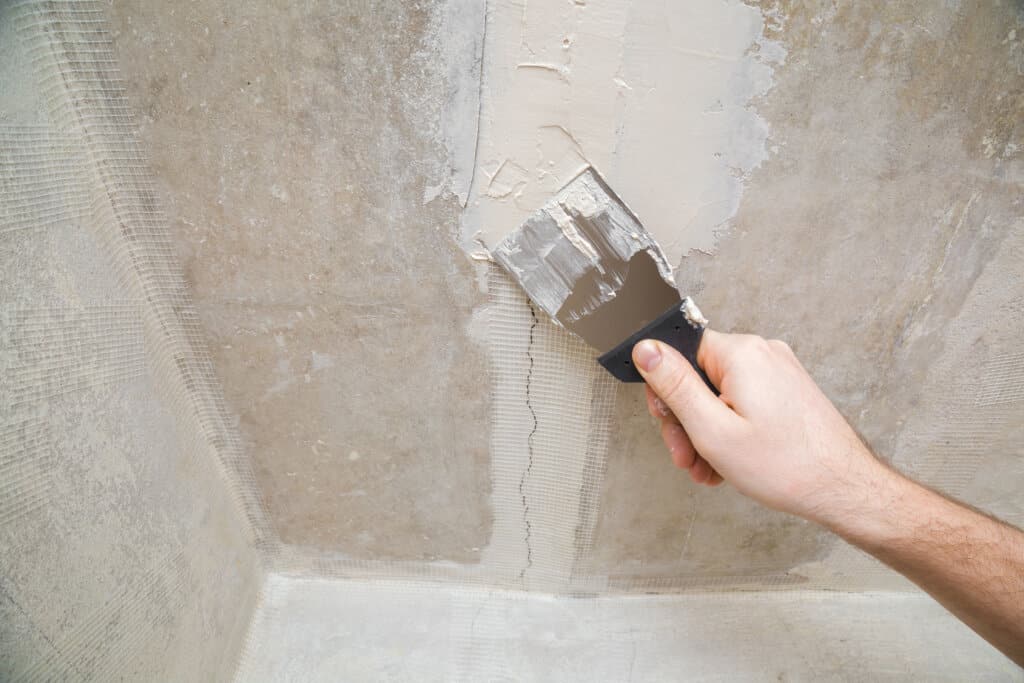
- Crack repairs: When cracks appear in walls, beams, and other concrete surfaces, they may be fixed by a simple grout application or patching. Hairline cracks on your property, although visible, aren’t always dangerous. But if you’re unsure if they could cause harm to your property, observe the damaged surface. Check whether the cracked parts separate from each other or sound hollow. You’d also know if the cracks are dangerous if water seeps into them. When this happens, they may cause further damage to your property.
- Spalling repairs: Spalling is the flaking of concrete, which occurs due to exposure to freeze-thaw cycles or inappropriate concrete mixing. Generally, you could address this problem by applying high-quality concrete sealant and resurfacing.
- Sinking and lifting repairs: These may be the most complicated of all the concrete repairs. Here, cement workers typically use lifters or piers to put concrete back to where it’s supposed to be. Aside from this, other methods used are concrete leveling and mud jacking.
Are There Easy Tips For A DIY Concrete Repair Project?
Doing concrete repair can be that challenging to start with, especially if you’re a beginner. But to make your do-it-yourself (DIY) concrete repair project easier, here are some tips and tricks you can follow.
Do A Mockup Project If Possible
For extensive concrete repairs, you may start with a small portion of the concrete if you’re unsure how to do it. Doing this can save you money, time, and effort and would allow you to assess if your chosen method is just what you need for your concrete repair work.
Ensure You’re Working On A Clean And Dry Concrete
Before diving into your concrete repair task, ensure the surface is clean and dry. The presence of moisture is a massive factor in the quality of concrete repairs. It may trickle into cracks and holes, resulting in the soaking of the concrete’s interior, which may further weaken it. By making sure the surface is clean and dry, you can reduce the risk of water damage to the concrete.
To do this, sweep or scrub the concrete’s surface with a wire brush or broom. If there’s a thick layer of dust or a sticky film of goo, you may apply a high-pressure water blast to flush away the dirt and grime.
If the surface is painted, you may use a paint remover to scrape the paint easily. Then use a washer to peel off the paint. After this step, air-dry or blow-dry the surface until it’s dry enough for you to begin your concrete repair job.
Use Appropriate Tools And Materials
The proper tools and materials (combined with the right skills) are the key to quality concrete work. Each type and level of repair would require special tools and materials for specific purposes. Here are some of the tools and materials you can use:
- Tools
- Caulking gun: useful for injecting concrete compounds into narrow cracks
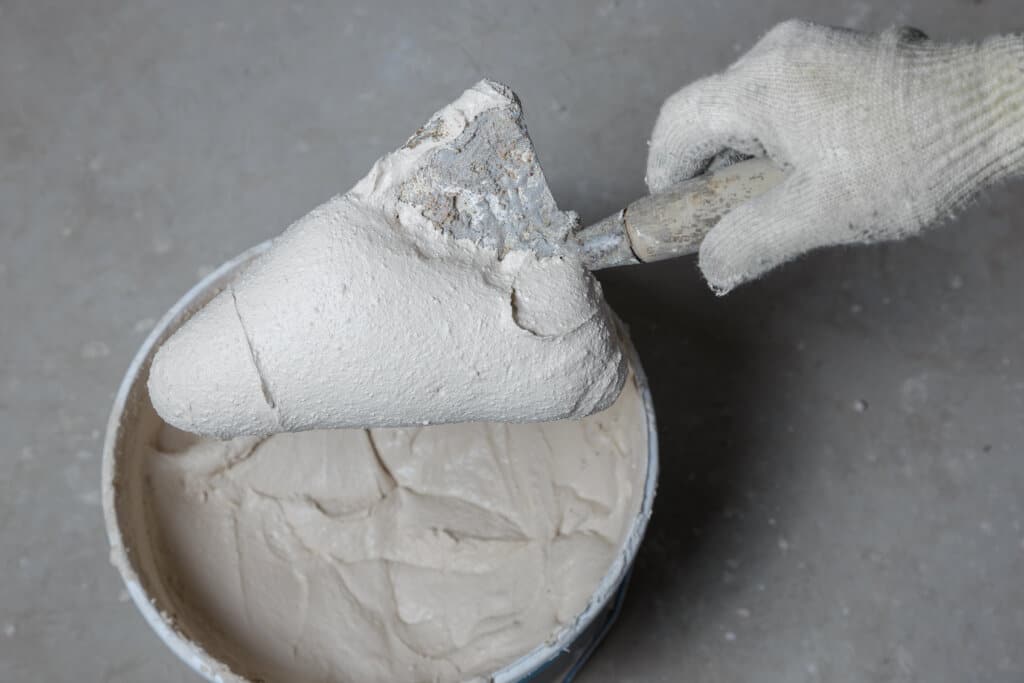
- Putty knife: used in finishing compounds or patches
- Trowel: used for filling in concrete mixes in wide cracks
- Wire brush and broom: useful as cleaning tools during the prerepair stage
- Sledgehammer: used in undercutting concrete edges to allow a broader base
- Pressure washer: helpful for removing dirt and grime buildup, which is done before starting the concrete work
- Materials
- Sand: mixed with cement to create concrete
- Quick-setting concrete: has less setting time and is helpful in construction work when time is important
- Concrete mix: a traditional combination of cement, sand, and gravel used for concrete production
- Caulk: used for sealing air leaks through cracks, joints, or gaps in concrete
- Epoxy: useful in filling and bonding cracks and gaps in concrete
Mix The Concrete Properly
Pour the contents of a concrete mix into a wheelbarrow (this would enable you to move freely as you patch and apply the mix into a long line of cracks). Then little by little, blend the mix while you pour water into the concrete mixture. You may use a trowel for small combinations and a hoe for larger compounds.
Make sure you combine and wet all the contents to guarantee high-quality concrete. During the process of applying the mix, you may use a trowel to spread the mixture into all of the gaps, especially in hard-to-reach areas.
Ensure All Parts Are Compact And Filled
A hollow portion in the concrete could begin the damage in a concrete repair project. To ensure your repair work lasts longer, you should ascertain each space or gap is appropriately filled. You may use epoxy for small hollow areas or a concrete mix for larger ones.
Wrapping Up
A DIY concrete repair is one of the most common fixes you could learn and apply at home. However, it may take days and repeated practice for you to master it. Luckily, you could always go back to the pro tips above to help you become a reliable DIYer. Then purchase the necessary tools and continue watching video tutorials that could help you acquire the appropriate knowledge.
You may also look into your home maintenance needs all year long as they’re likely to be the basis of your repairs. Think about simple concrete problems that may not waste too much money, time, and effort if you fail on your first try. Continue practicing until you develop the necessary knowledge and skills to make you fit for your DIY concrete repair job and do it like a pro.