
This project seems like it was doomed to failure from the beginning. How did I ever miss the signs? But yet – there is definitely a happy ending!
 I liked Cake Patterns – I made a ton of Espresso Leggings last year. I needed help with understanding how to handle some wrinkles and the seller never responded to me on Etsy (as of writing, eight months ago) Life goes on, right? I eventually figured it out.
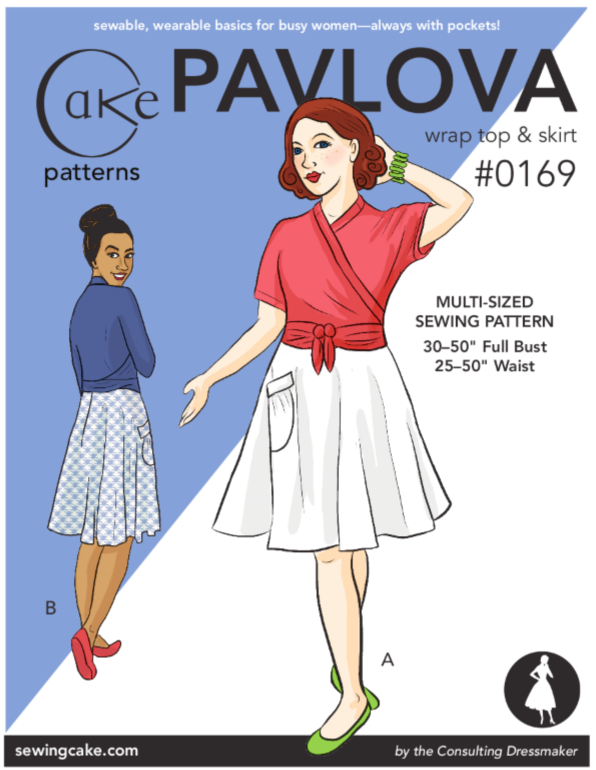
- One day, I was looking at wrap tops and couldn’t decide between the Pavlova top and the Gillian top/dress. I’m still not quite sure why, but I went with the Pavlova top which was called “Pavlova wrap and skirt” – I thought it looked awesome. I bought it, then realized I didn’t have enough fabric. Meh. Life goes on. I think that was the Sunday I installed Linux on our media server instead of sewing.
- I realized that Andy over at Sew Pretty in Pink seems to wear her black Pavlova skirt all the time. Sweet! I have the pattern! Side note: she’s the one who inspired me to give the Jenna cardigan a go! I had all the information for it mixed into the info for the Pavlova wrap top.
- I went out and bought 1.75 meters of black drill from Textilcentrum. The funny story here is that I thought it was on Järnvägen in Solna and told the TomTom so. It turns out that it was on Järnvägen in Sundbyberg, which is right next to Solna. It was a nice Saturday for a drive, regardless – I had a blast with the windows down and good music!
- I went to print out the pattern… and realized that while the pattern was titled “Pavlova wrap top and skirt” and it had the information for fabric, notions, etc., it did not actually have the instructions nor the pattern pieces. I emailed the pattern seller on Etsy. No answer. As of this blog post, there still has been no answer and it has been four weeks. I finally figured out that it really was a separate pattern and coughed up the extra 9.50 AUD for the second time. Really, it’s not expensive and I don’t mind supporting the independent designers in most cases. It was the sheer frustration of it all.
- While searching for instructions, I’d found the Pavlova sew-along. It mentioned that there was an error in the waistband. You can see my modified waistband in the top of the picture below. When I went back for supplemental instructions (4 and 5 August), the Flickr pictures are no longer working. I seem to remember there were some really useful pictures.
- I laid out the fabric and put the pattern pieces on top. Hmm. What now?
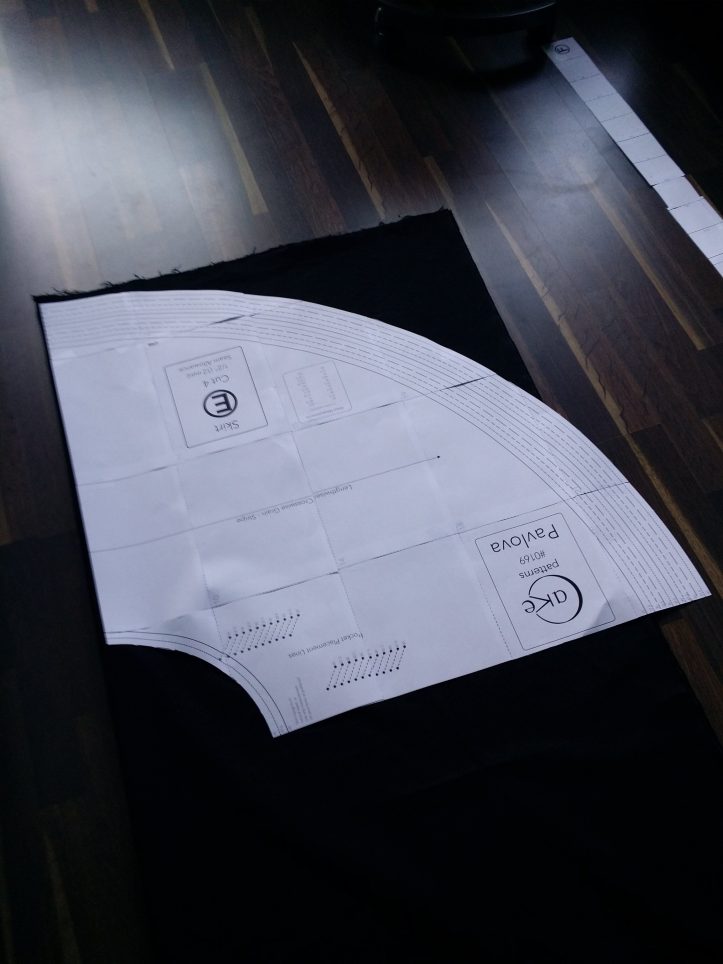
- I unfolded the fabric and started putting down the pattern pieces. I’m still not quite sure how I was supposed to lay them out – in hindsight, I probably should have put the waist opening towards the center. I didn’t know. After all, the reason I bought this pattern was because I’d never done a skirt like this. Also, lesson learned – standing on the pieces while using chalk does not really make for accurate lines.

- To add to my frustration, I now can’t even find the listing of patterns on the Cake Patterns site. *sigh* That’s why there are no links to the pattern page on the Cake Patterns site.


After all of that, I put the pattern together with no further serious mishaps. In fact, I had a bit of a blast going through all of the different feet that I seem to have for my sewing machine! (Note to self: this would be an excellent subject for a post, wouldn’t it?)
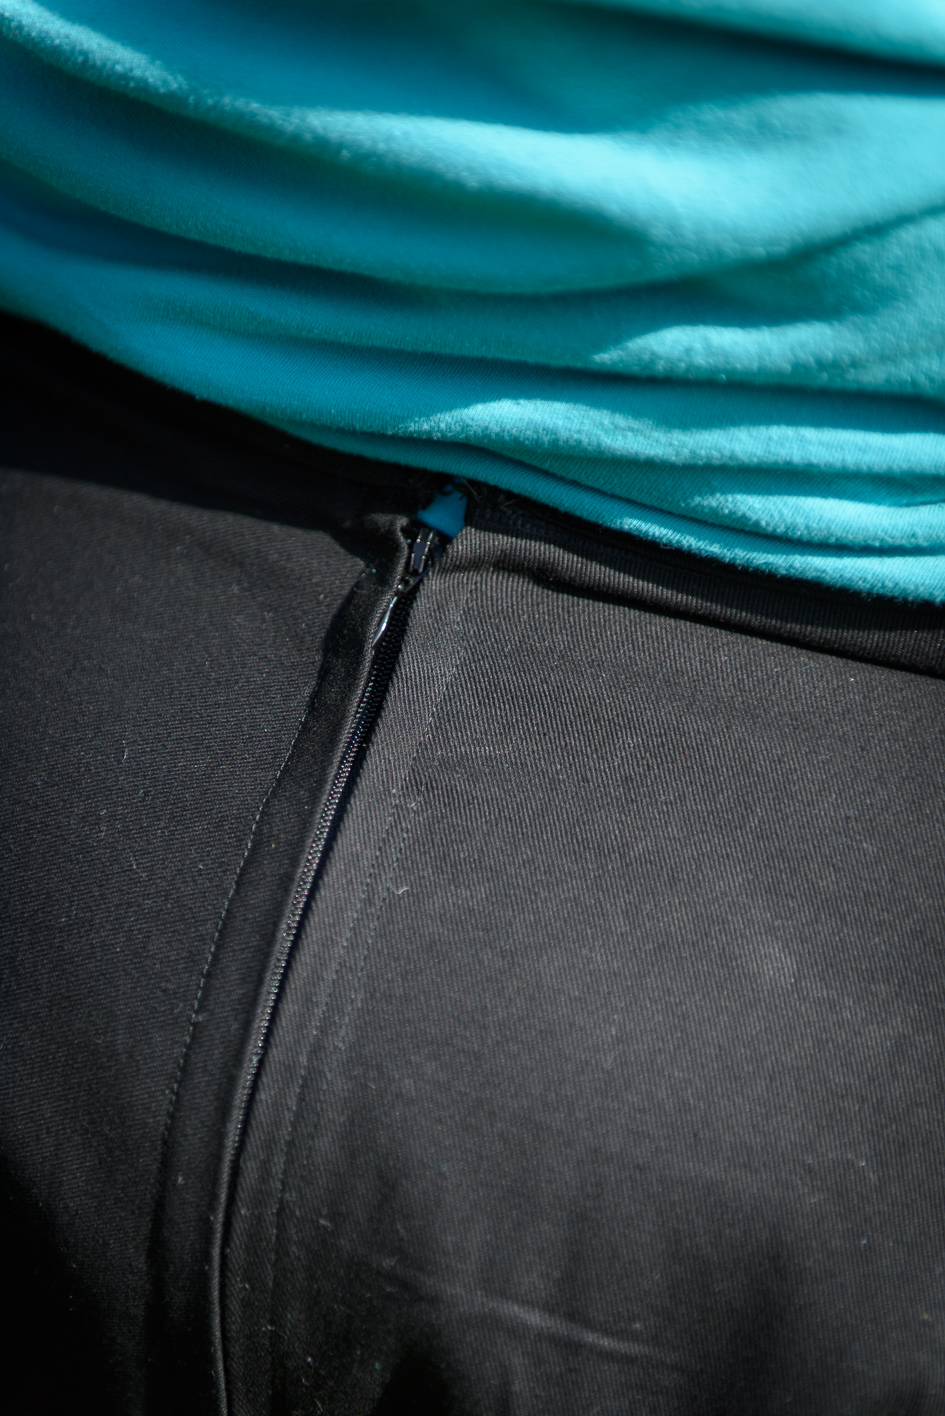
I even managed the zipper, which was my first zipper – it’s not 100% but good enough. The free Craftsy class Mastering Zipper Techniques helped out, especially with how to shorten a zipper. The class also taught me not to put the iron on the zipper coils. 🙂 I now know that I inserted a slot zipper and now I know what an invisible zipper is, as called for in the pattern. I ended up shortening my 35 cm zipper to about 20 cm. When looking at the fabric, 35 cm just seemed far too long – I was worried about being able to reach the bottom of it! How to install zippers into your clothing or sewing projects helped me out quite a bit, too.
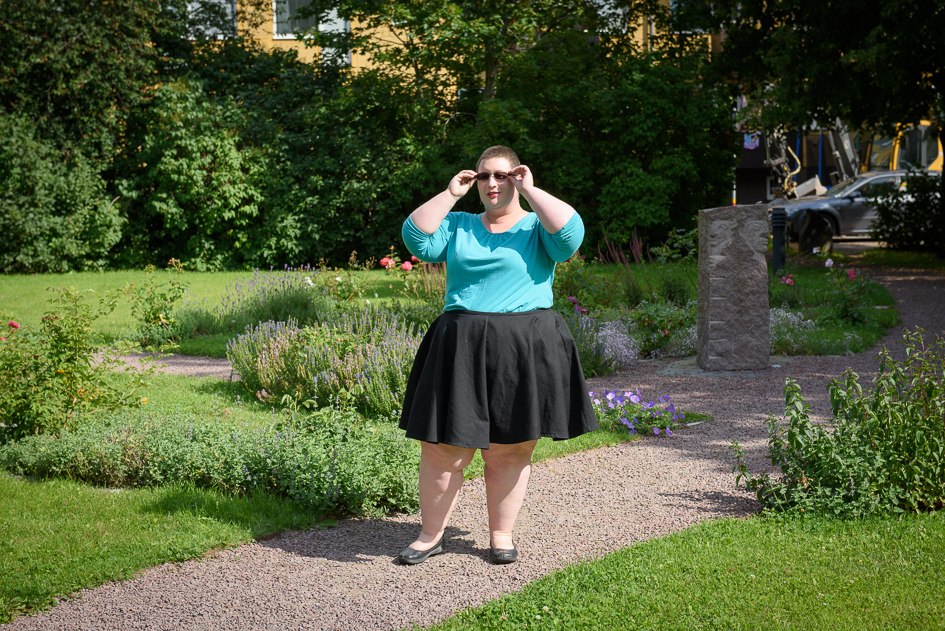
The flaps of the zipper do not always want to stay flat when going over the curve of my caboose; I’m really not sure if there’s anything to be done about this.
For the practical details, I cut a 45 in the waist as I measured my waist at 45″. I cut the length at the size 50, because there really wasn’t that much difference and because I wanted to make sure there was enough for in the back. As this was the first time using this pattern, I figured better safe than sorry. After sewing up, there is about 2-3 inches of extra fabric in the waist. It works out okay, as I had measured my natural waist, which is where I prefer to wear my skirts. Now it sits between my waist and my hips.
The pattern called for 1.7 meters of 150 cm wide fabric for sizes 42.5-50:

When the skirt piece didn’t fit on the folded fabric, I did double-check the width of the fabric. Perhaps it shrank in the wash? But no, it really was 150 cm. I did get the four skirt pieces and the waistband out of the 1.75 meters that I bought, but barely. I’m not sure there would have been enough for the pocket.
I didn’t do the cute little pocket. I wanted this skirt to be dressy enough for work and the pocket doesn’t really fit. Also, I was more interested in trying out the whole pattern. Once I realized there wouldn’t really be fabric for it anyway, I just put the pattern piece aside, hopefully for another time.
Once I just followed the instructions, the waistband made perfect sense! Next time, I’d be a bit more aggressive with folding it over – I thought it was kind of like bias binding, but no, pull it right down and iron it so it comes down as far as possible on the front.
After the skirt had hung over my ironing board overnight, I got Fred to help me mark an even hem. I ended up taking off 2 cm in the back and 14 cm (!!) in the front. I considered a rolled hem, but I’m finding that they require more ironing long term as the edges like to flip up inconsistently! I ended up going with a double folded hem (1 cm + 1 cm), but this gave me a lot of trouble between the wavy hem (easing the fabric into the curve) and the fact that I just couldn’t seem to sew straight. I’m pretty sure that it’s not noticeable, so I’m just going with it for now, but may end up taking my serger to it and making it into a rolled hem.
Circle Skirts: Inspiration & Resources over at the Curvy Collective turned out to be extremely beneficial on finally understanding the different types of circle skirts and how to draft them. It might have helped if I’d read this before starting with the Pavolva – on the other hand, sometimes it’s more helpful to have the practical knowledge from doing something and then fully understand it. I’m not sure if a circle skirt is a tad full for me. Maybe I’ll try a half circle skirt next!
Final thoughts: once everything was sorted out, it was a fairly simple and easy pattern
Next time (and there will be a next time), I will:
- Reduce the size by about 3 inches (probably cut the 42.5 size instead of 45)
- Buy a shorter zipper (20 cm?)
- Add side pockets?
- Cut size 50 length again
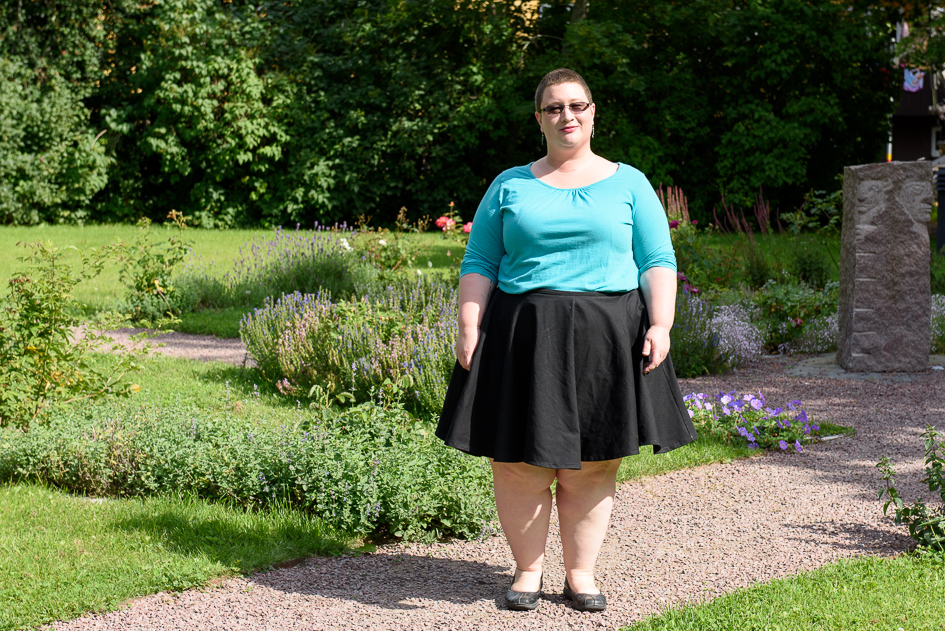
Thanks again to Fred for his photography and photo editing help!


Even though it sounds like a pain to sew, the skirt looks so incredible on you! Just gorgeous! 😀
LikeLike
Thank you! 🙂
I’ll admit to a tiny “squeee!” when I realized who the comment was from. You are such a wonderful inspiration and I love your style!
LikeLike