Hello! Jen Roach here and today I’m going to show you how to make an embossed resist background using some clear embossing powder, glossy cardstock, Ranger Distress Inks and the YNS Fun with Borders set.
Let’s get started. First stamp the border stamp with Versamark ink onto some glossy cardstock (note that glossy cardstock works best for blending ink colours). Heat emboss with clear embossing powder.
Now it’s time to apply the Distress Inks. I picked three colours from one of the seasonal sets as they are designed to work together. Start with the lightest ink colour and using a sponge applicator apply randomly over the card base.
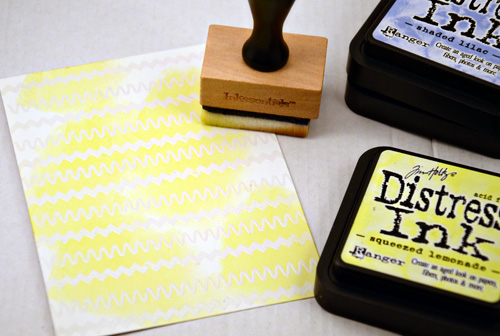
Then apply the other colours of ink and blend well.

This is such a fun technique to play around with. You can switch up the ink colours and stamps to create lots of different looks.
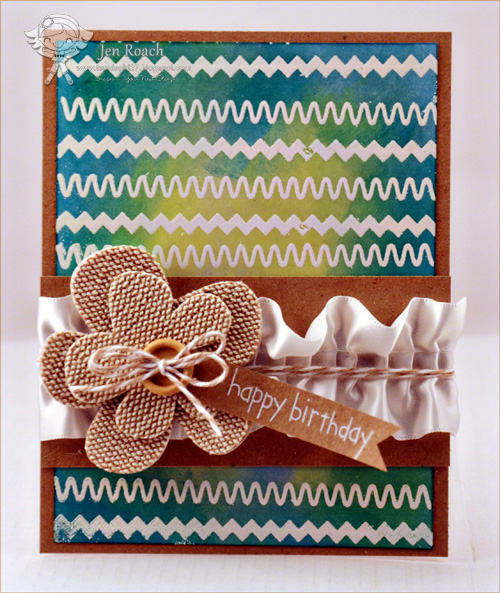
Here is the card I created with the background. I wanted to keep it simple to show off the background so I added some kraft cardstock, ribbon and a burlap flower.
I hope you enjoyed today’s tutorial!
Supplies:
Stamps: Fun Borders set from Your Next Stamp
Ink: Ranger Distress Ink (Peacock Feathers, Squeezed Lemonade, Shaded Lilac), Versamark (for embossing)
Papers: Glossy Cardstock, kraft cardstock
Accessories: MLYB burlap flower embellishment, The Twinery twine, Pebbles Inc. rubon on sentiment, white ruffle ribbon
Thanks for stopping by!
Jen R.


Love this Jen! TFS!
looks amazing!
Gorgeous background you created!
Thanks for reminding me of this technique. Love your card–it’s just perfect!
Thanks Jen fabulous tutorial!
I just bought some Distress inks and I am going to try this technique out this weekend — looks like a lot of fun and the possibilities would be endless. Thank you for showing us a great tutorial.