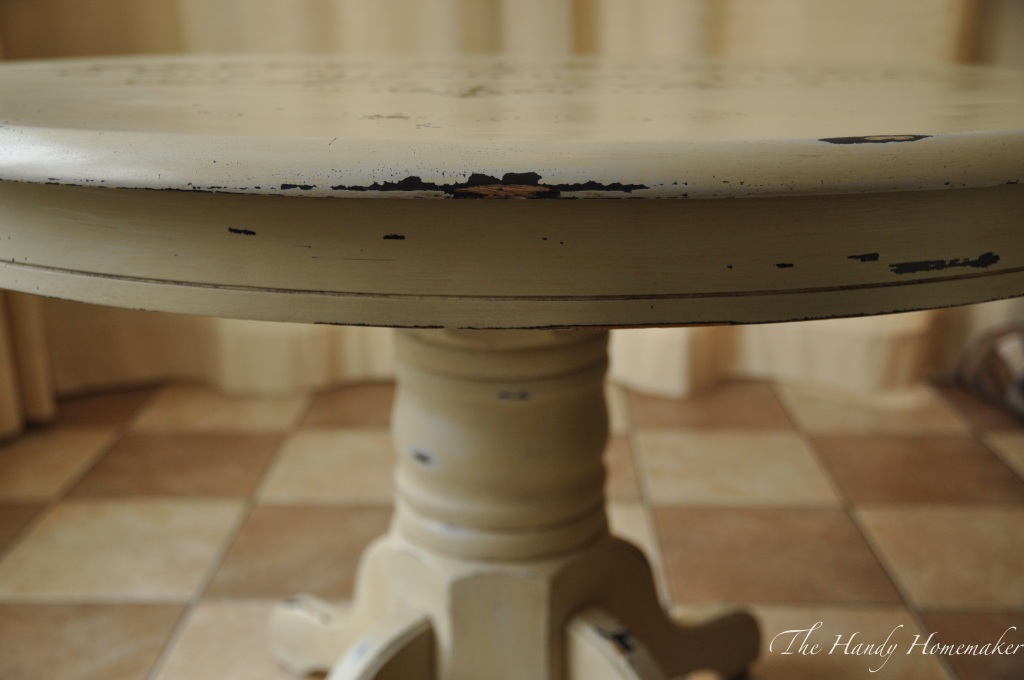
I have refinished this solid oak table three times since we purchased it seventeen years ago. The first time I refinished it was after a few years of craft, and homework abuse that left marker stains and printing marks pressed into the wood. It has been natural oak, white, black and now cream with a stencil. It’s taken some abuse over the years and I think this is the best it has looked. I really love the style of this because no matter what is done to damage it this time will hopefully look timeless. I can still see a few signs of those elementary school printing skills from my children’s early days that were not completely sanded out.
Materials needed:
- Table
- Acetone or mineral spirits
- Paper towel & lint free cloth
- Milk Paint- Grain Sack and Mustard Seed yellow, mixed as per instructions on package in desired color
- Bonder is required if painting over smooth or glossy prepainted surfaces
- Sand paper (Optional- Sander)
- Hemp seed oil
- Antiquing wax
- Furniture wax
- Paint brushes
- Paint scraper or old scissors as per pictures below
- *Optional materials needed for stencil-
- Paper and printer
- Milk Paint – Trophy
- Artist paint brushes
- Black pastel
- Painters tape
- Pencil or pen
Instructions:
- Clean table thoroughly to remove any grease, dirt or oil build up. Wipe down with Acetone, or mineral spirits.
- Sand the surface of the table to etch the surface and to remove some of the gloss of the previous paint. If your table is stained or natural wood, skip this step. Apply a coat of stain then move on to the next step.
- Mix the Milk Paint as per directions on the package. I mixed about 1/2 cup per each coat of paint. Previously painted surfaces for limited chipping effect as per my finished table add the bonder which will help the milk paint adhere to the surface.
- For parts that you want to chip off in a large way you may want to use wax or hemp oil dabbed on the spots you want to lift before applying the first coat of milk paint. I however did not do this step for my table.
- Paint a thin coat of Milk paint over the table. Don’t worry too much about brush strokes being perfect. You will need to sand between layers. Let dry as per instructions on the milk paint or overnight before applying second coat of paint. You should not need to apply bonder to these next layers of paint.
- Lightly sand the entire surface to smooth out any unevenness, or small flecks of milk paint. Wipe away the dust with a lint free cloth. Apply the second coat of paint. Let dry.
- Mix milk paint together. I decided I wanted a creamier color so I added 3/4 tsp of mustard seed yellow to the 1/2 cup of grainsack milk paint. Lightly sand, and then remove any remaining dust with a clean lint free cloth. If you want completely solid coverage you may choose to add one more coat as I did here. Apply 3rd coat of milk paint and then let dry overnight.
- You can freehand a pattern if you like or use this free poster making website follow the website instructions to print your pattern to the scale you need. I found this great pattern The Graphics Fairy
- Tape the pattern together, flip the pattern over and color the reverse side of the stencil with a black pastel. I tried to use a light grey pastel, it didn’t work. I recoated the pastel with black.
- Center the pattern on the table and lightly tape in place with painter’s tape. Use a pencil or pen to trace the pattern of the stencil. This will transfer the pattern in pastel onto the table.
- Mix the trophy milk paint with water, and bonder. You want a dark charcoal to black color.
- Fill in the stencil with the black paint using small artist brushes. Let dry for 2 hours or overnight.
- Lightly sand the entire pattern and table top. Sand away edges and parts of the table to give a worn look.
- You can use a sharp tool like a paint scraper, or pair of scissors to scrape away any paint that is lifting and for a heavier distressed look on the table.
- Next I sealed the table with hemp oil, applying it lightly with a clean lint free cloth.
- With a brush or cloth add antiquing wax to age the table. Buff excess away with a clean, soft, and lint free cloth.
- I finished my table with a coat of Furniture wax. Leave on for 3 minutes then buff off with a clean cloth. However for a more durable finish for a table that gets heavy use you may want to use a more durable protective finish like Minwax Polycrylic.


2 responses to “Parisian Script Table Using Milk Paint”
Very nice oak table love the style and stencil work,it will look like new when you are finished. That style would make a beautiful coffee table.
LikeLike
Thank you Marion. I love this style of furniture. I never worry about marks or stains. It’s part of the charm. Yes, I thought a hutch or coffee table would look fantastic with this style as well.
LikeLike