Leveling with you
I realized last week that it has been way too long since I have added to our Toolbox! Especially when you consider how very busy Summer is as a DIY season. So, let’s do some catching up today and add another great hand tool to our repertoire.

Today we are going to talk about the spirit level. That’s my level in the picture above and it gets quite a regular workout.
Levels are used to make sure that things are straight, or “level”, along a horizontal plane. Things that are straight/level on a vertical plane are called “plumb”. Easy, right?
It’s called a “spirit level” because there are little vials of liquid in it to help display the degrees of incline. The liquid is actually a “spirit” in the old sense of the word. It’s alcohol with a little dye in it. This will make more sense when I show you how to use one, in another paragraph or two.
How To Buy
Pictured below is the collection of levels available in the hand tools section of Sears, which is where I like to buy hand tools. (Love the Craftsman brand. I’ll have an upcoming post to explain why.)
 There are a lot of choices here, some pricey, some not. This large level stands six feet tall…
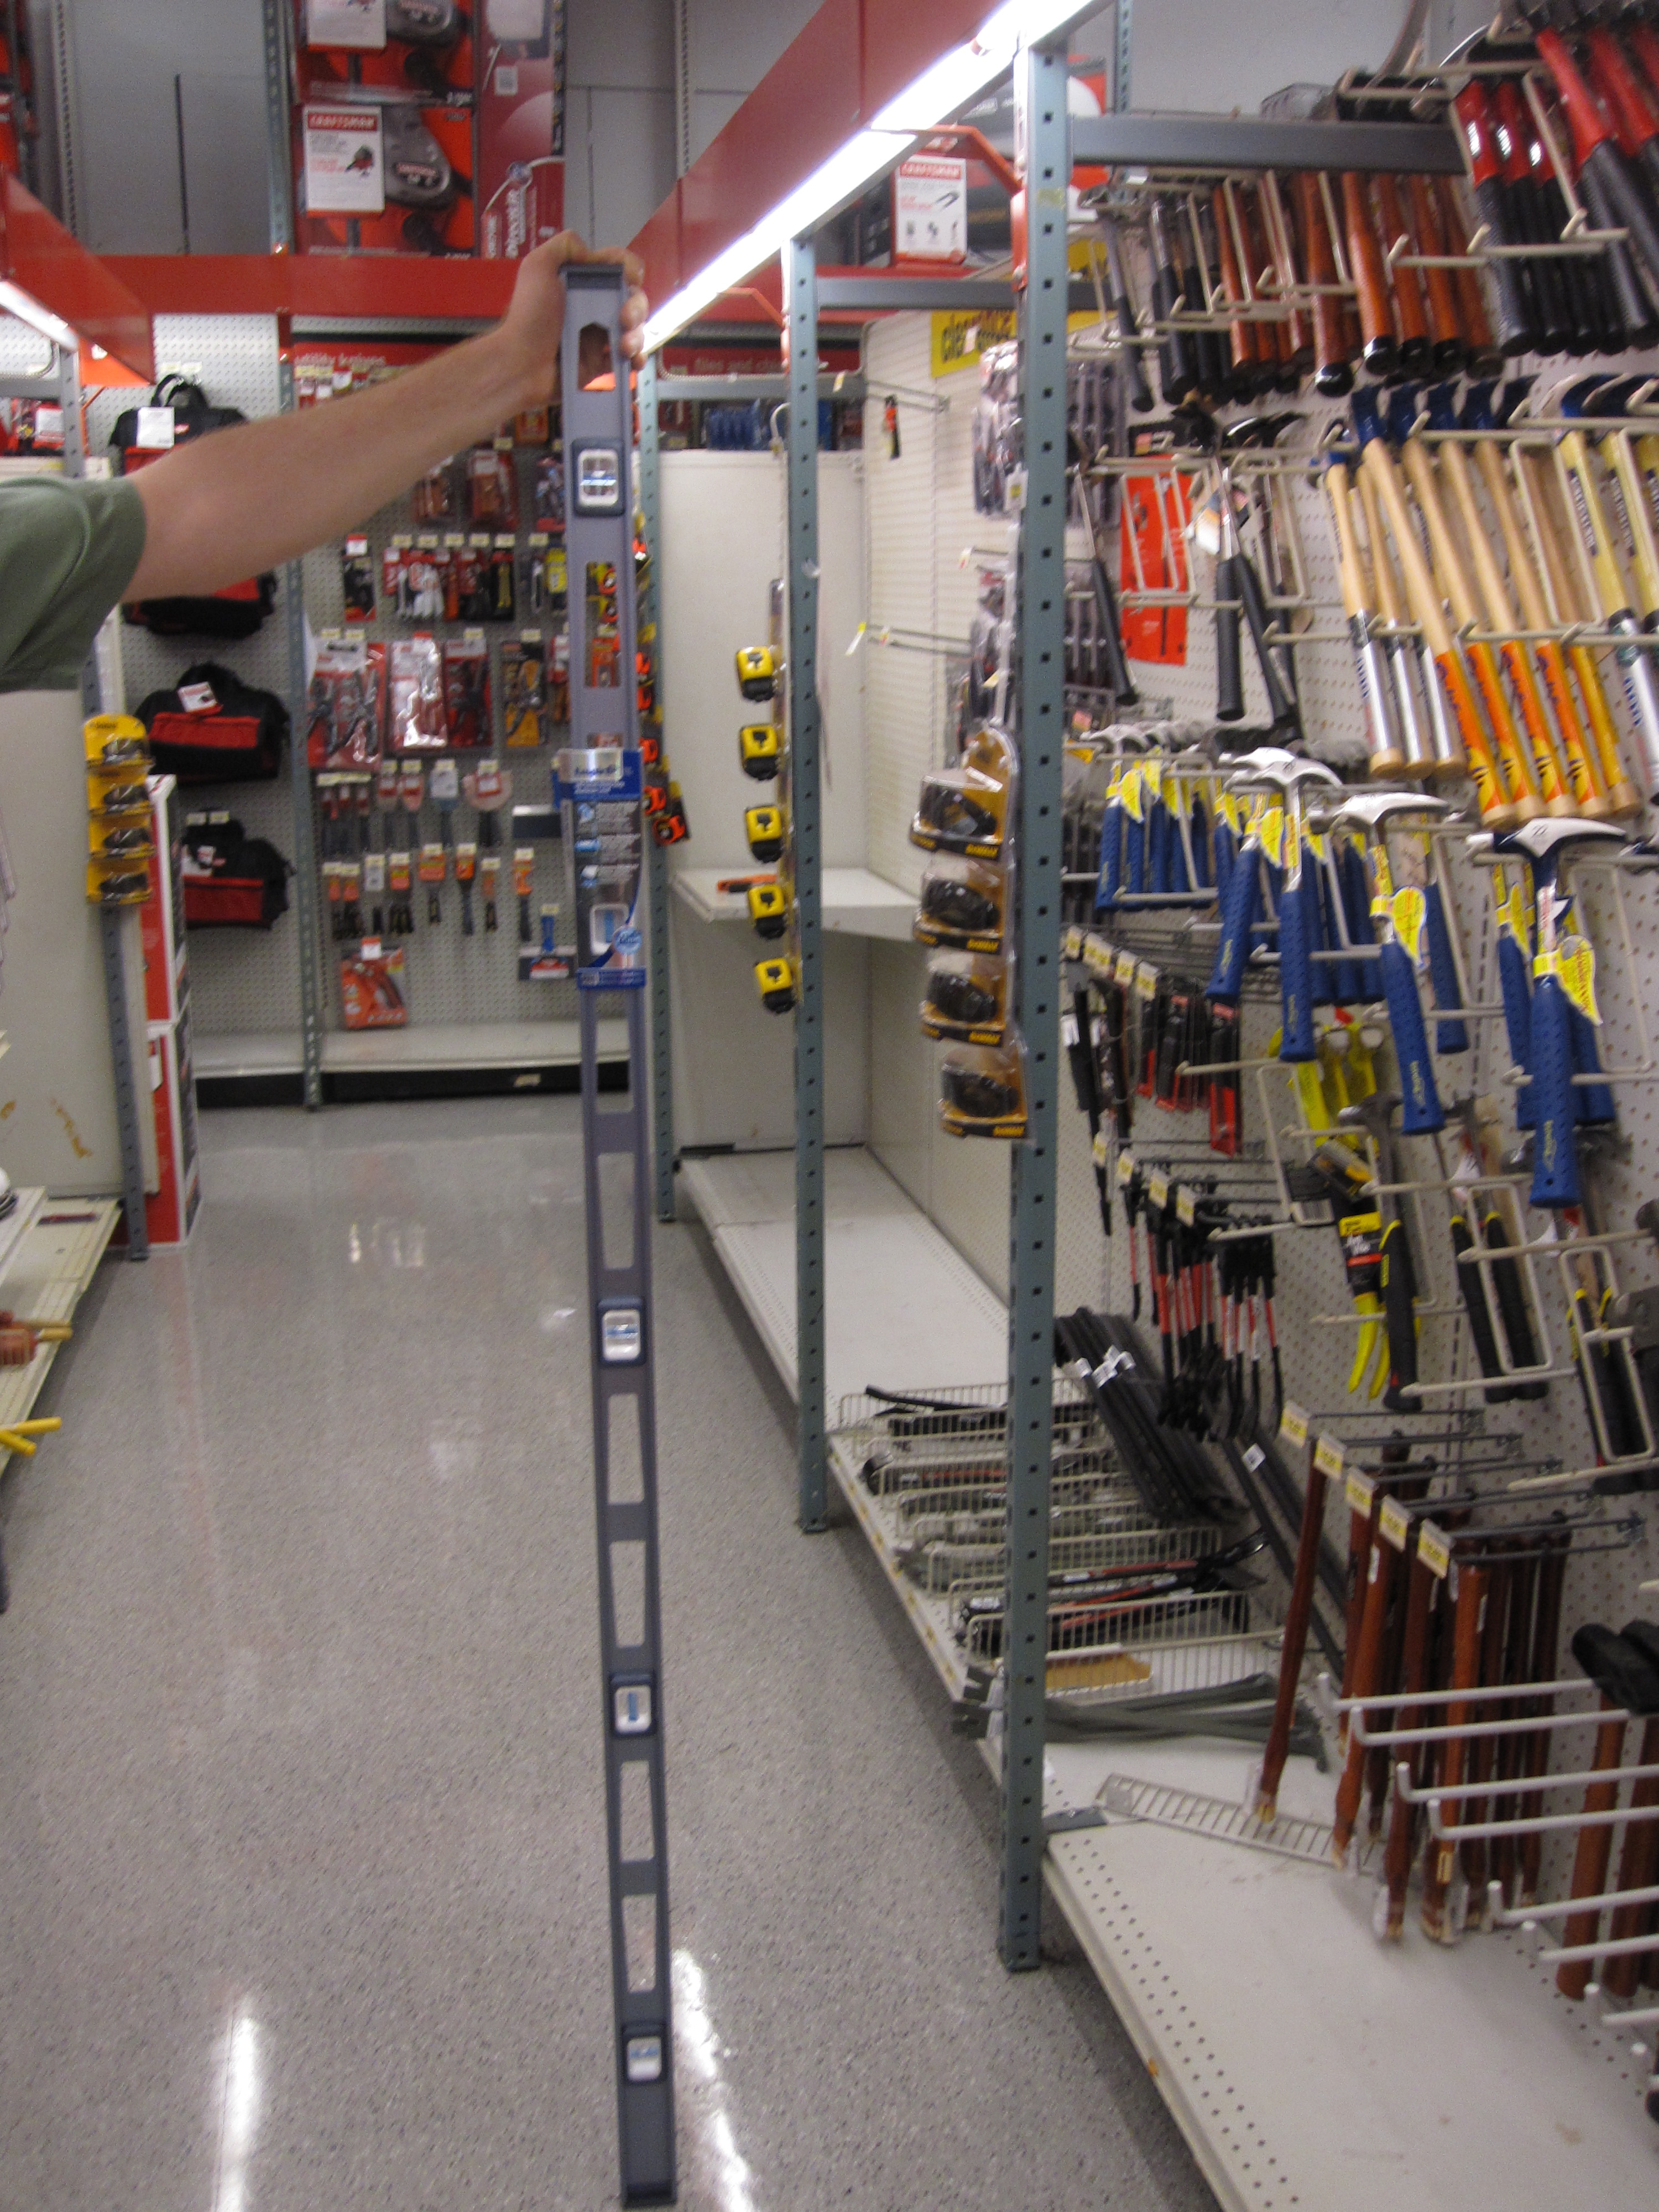
…but we don’t need anything that large for our toolbox. Or anything close to its $80 price tag. We’ll leave those big levels to the professional contractors and look for something smaller. This should do it:

This level is 9 inches long and its $6 price tag is much more practical. Once we get it home, we’ll just discard it’s plastic packing sleeve and throw it in our toolbox. The only tools that really should stay in their packing are power tools.
How To Use
Using a level is very easy once you know how. (Tip to parents: This is great job kids can help with during a DIY project in your home.)
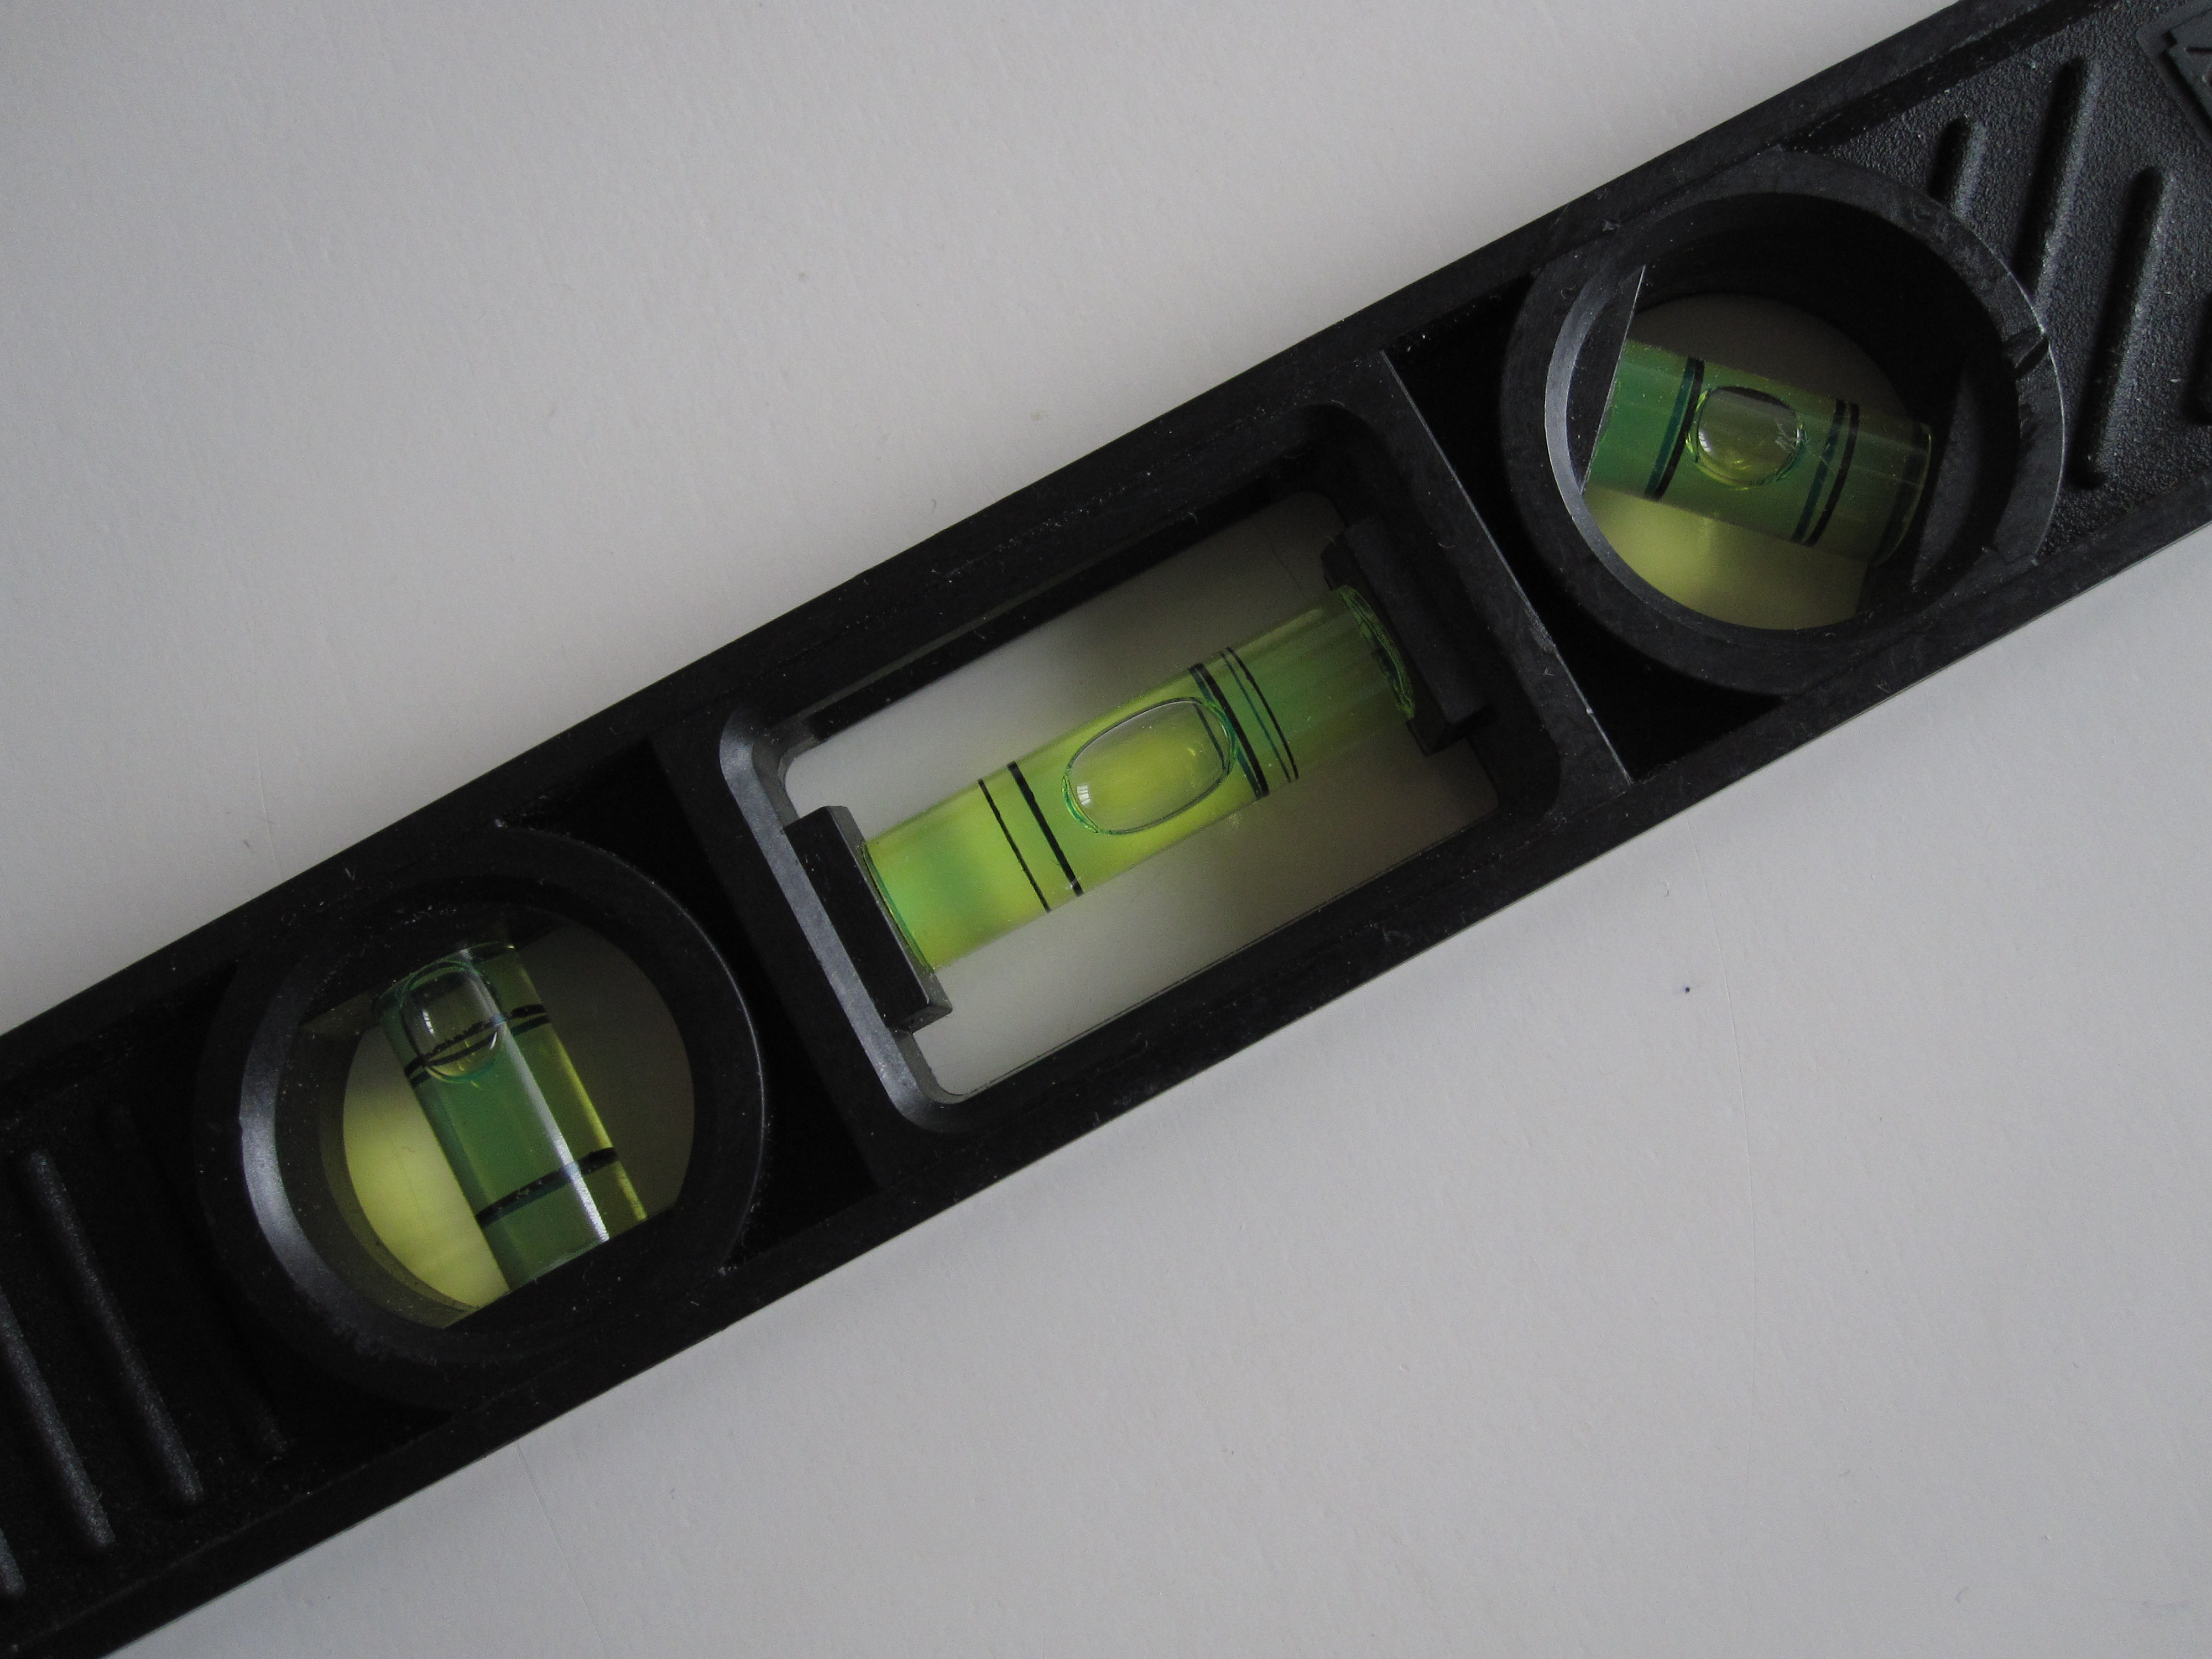
There are three vials in each level. Each vial measures for a different type of plane.
The middle vial on any level always measures for a horizontal plane. Think of this as meaning that it will indicate if something is level with the horizon.
At one end of the level, on the left if we’re using the picture above, is a vial that measures for the vertical plane.

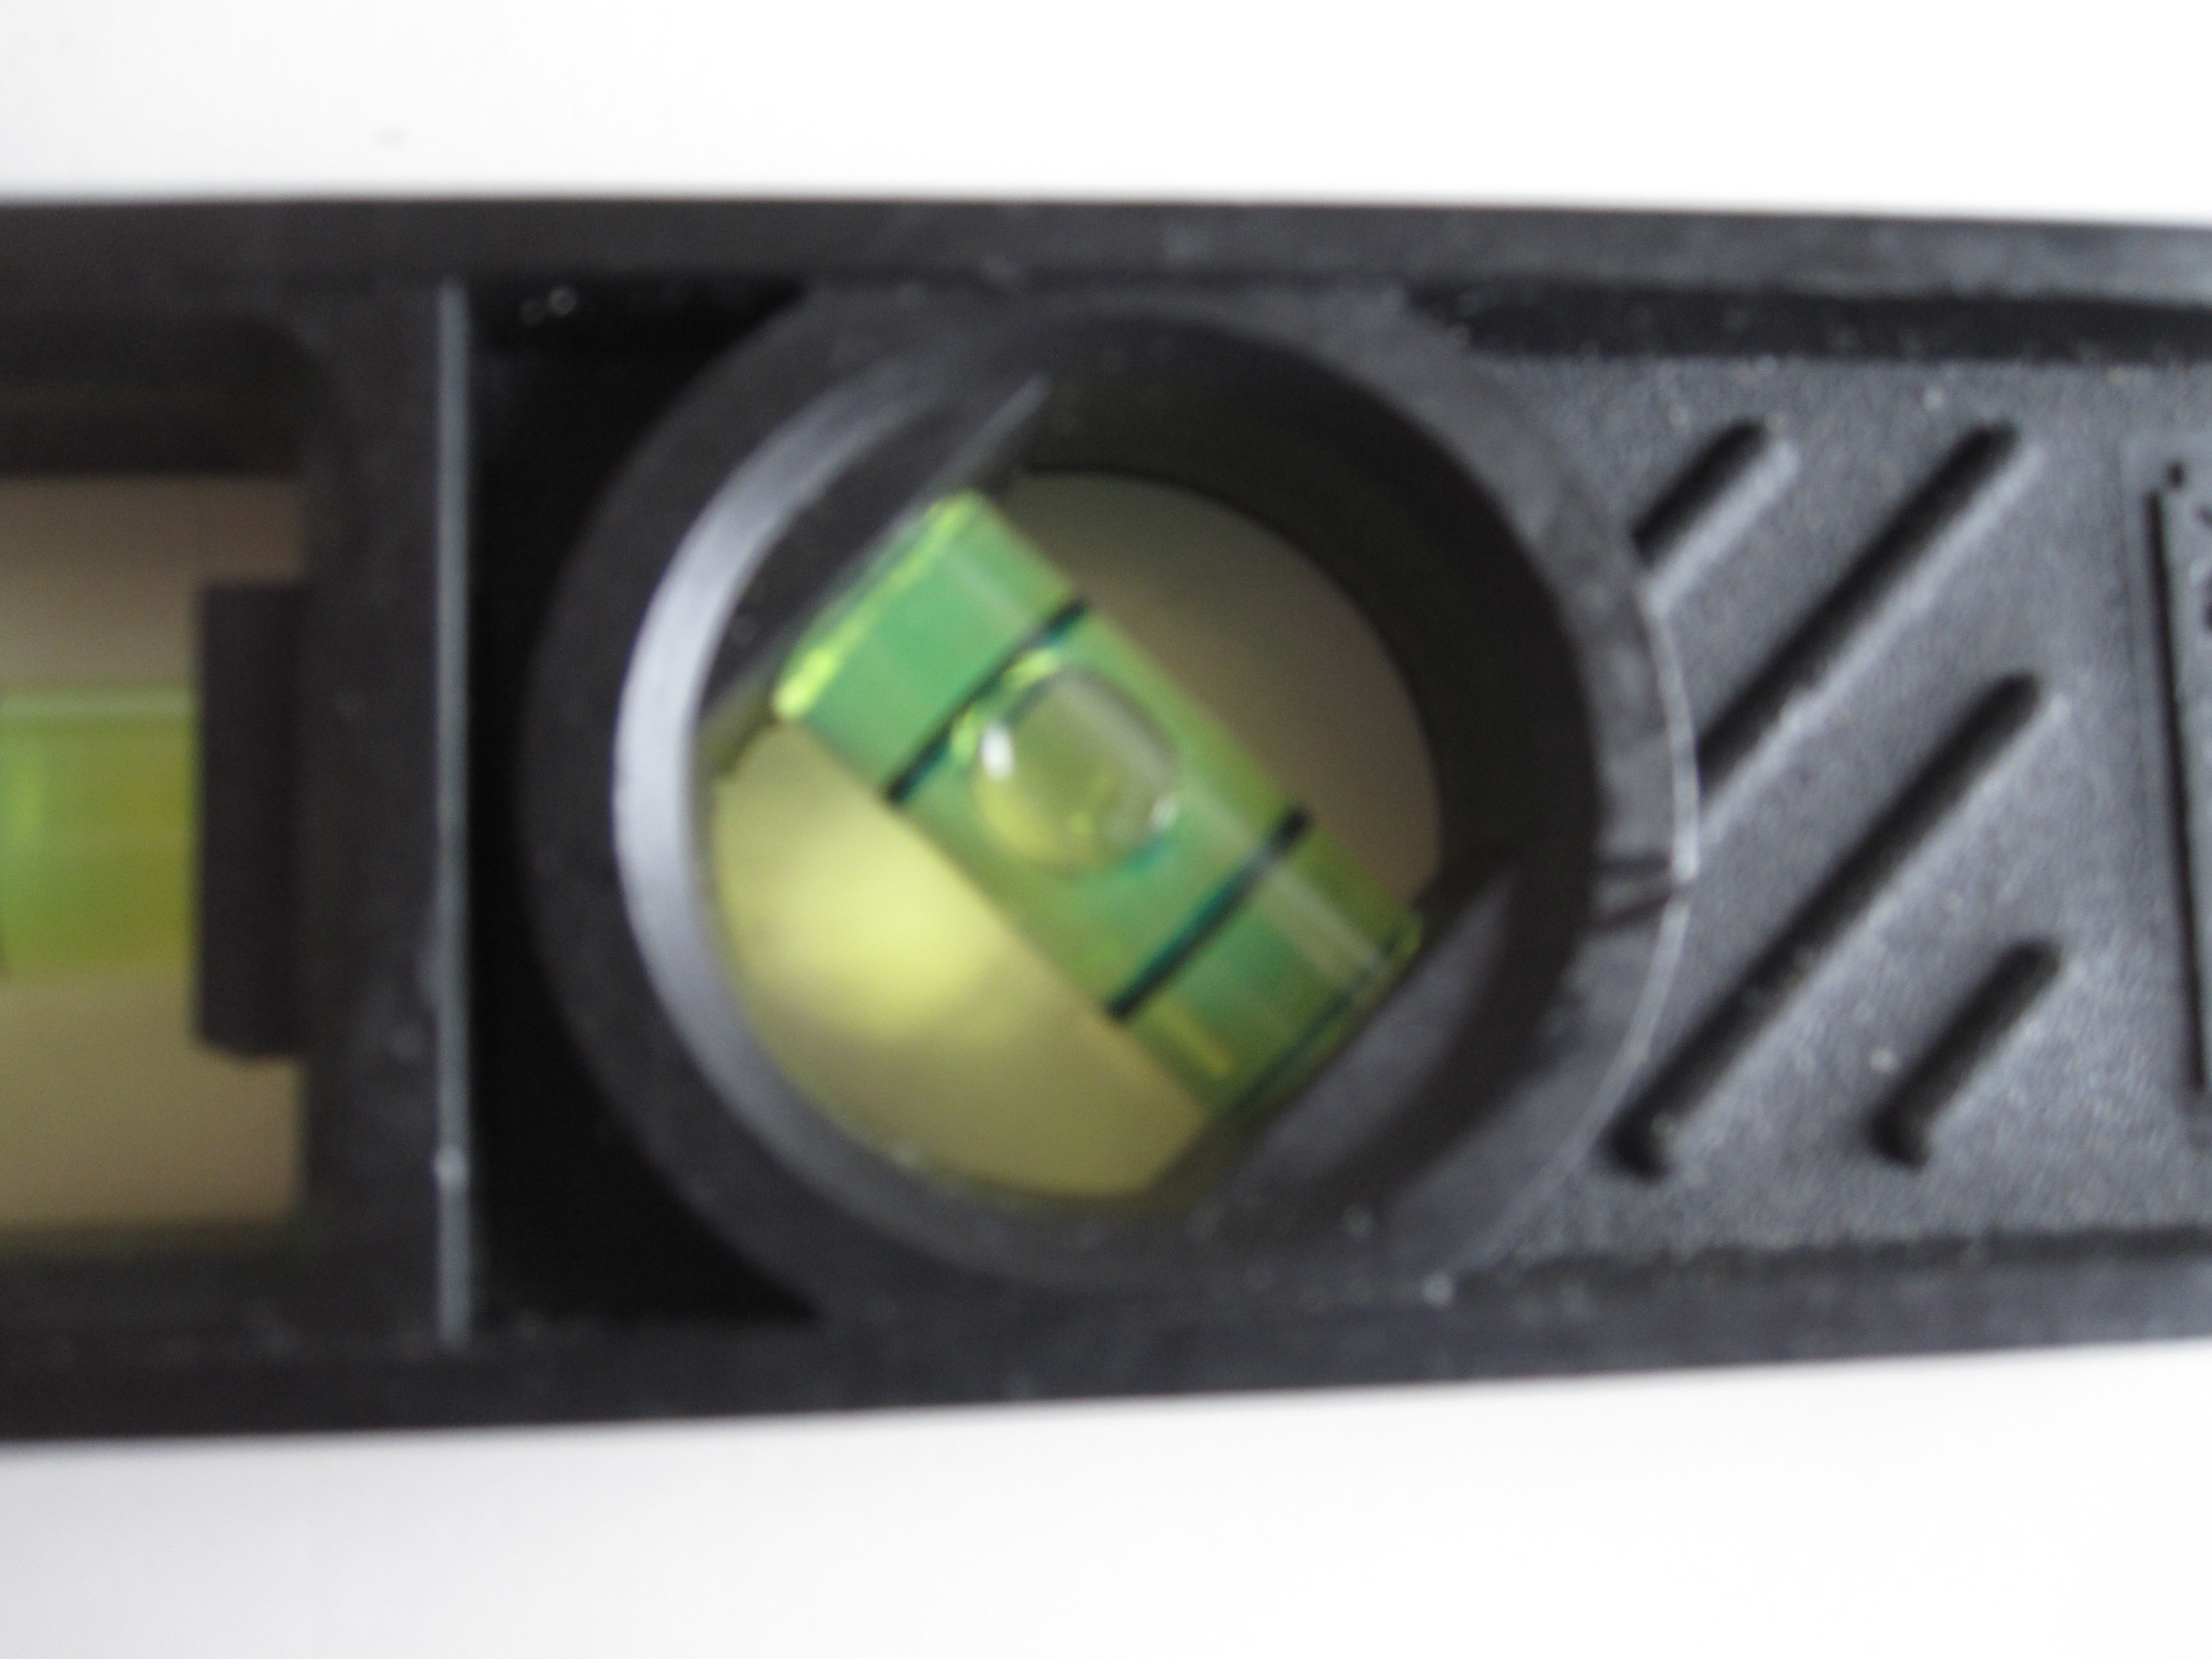
Just a tiny bit blurry on this pic, sorry!
See how the liquid and the lines on the vial run perpendicular to the horizontal vial shown above?
The other end of the level has a vial that measures a plane at a ninety degree angle.
Have you notices the little lines on each vial? They are very important. For something to be level on the plane you have chosen, the bubble has to be evenly between the two lines on the vial.
Here’s an example using the horizontal plane of my desk. I’ll put my level on the desk. However, if I hold one end of the level up, clearly creating an un-level surface reading, the bubble slides outside the lines:

But if I place the level flat on the desk, the bubble moves between the two lines.

This proves that my desk is level on the horizontal plane.
Remember that giant 6 foot level I showed you at the top of the post? Masons use it to make sure that their foundation surface is level before they start building. Carpenters use levels to make sure their frame for a door is hung properly. You may notice appliance delivery experts using a level to make sure your new stove or fridge is level on the floor, which can really make a difference in how that appliance works. The uses for a level are everywhere in a home.
How To Use: Example
We’ll use a picture frame from a previous project to show how to read a level in a real DIY situation. I put the frame pictured below on the wall as part of a large gallery wall, which you can read all about right here. (There are a lot of picture frames in this project!)
While the picture frame looks straight at first glance, I want to make sure that each frame is really level or else the whole grouping of pictures tends to look like a background scene from Inception. Just being honest here.

Can you see how the little bubble in the middle of the level is not between its vials lines?
All I need to do is make a slight tweak to the frame and voila!

The bubble is in the center of the level which means this frame is now straight. On to the next project!
Think you can do this? You’ll be amazed at all the places you can use a level in a home. How will you use one in yours?


I’ve seen these before and I always wondered what the three little tubes were. Now it all makes sense. I think I will use this tool. Thanks!