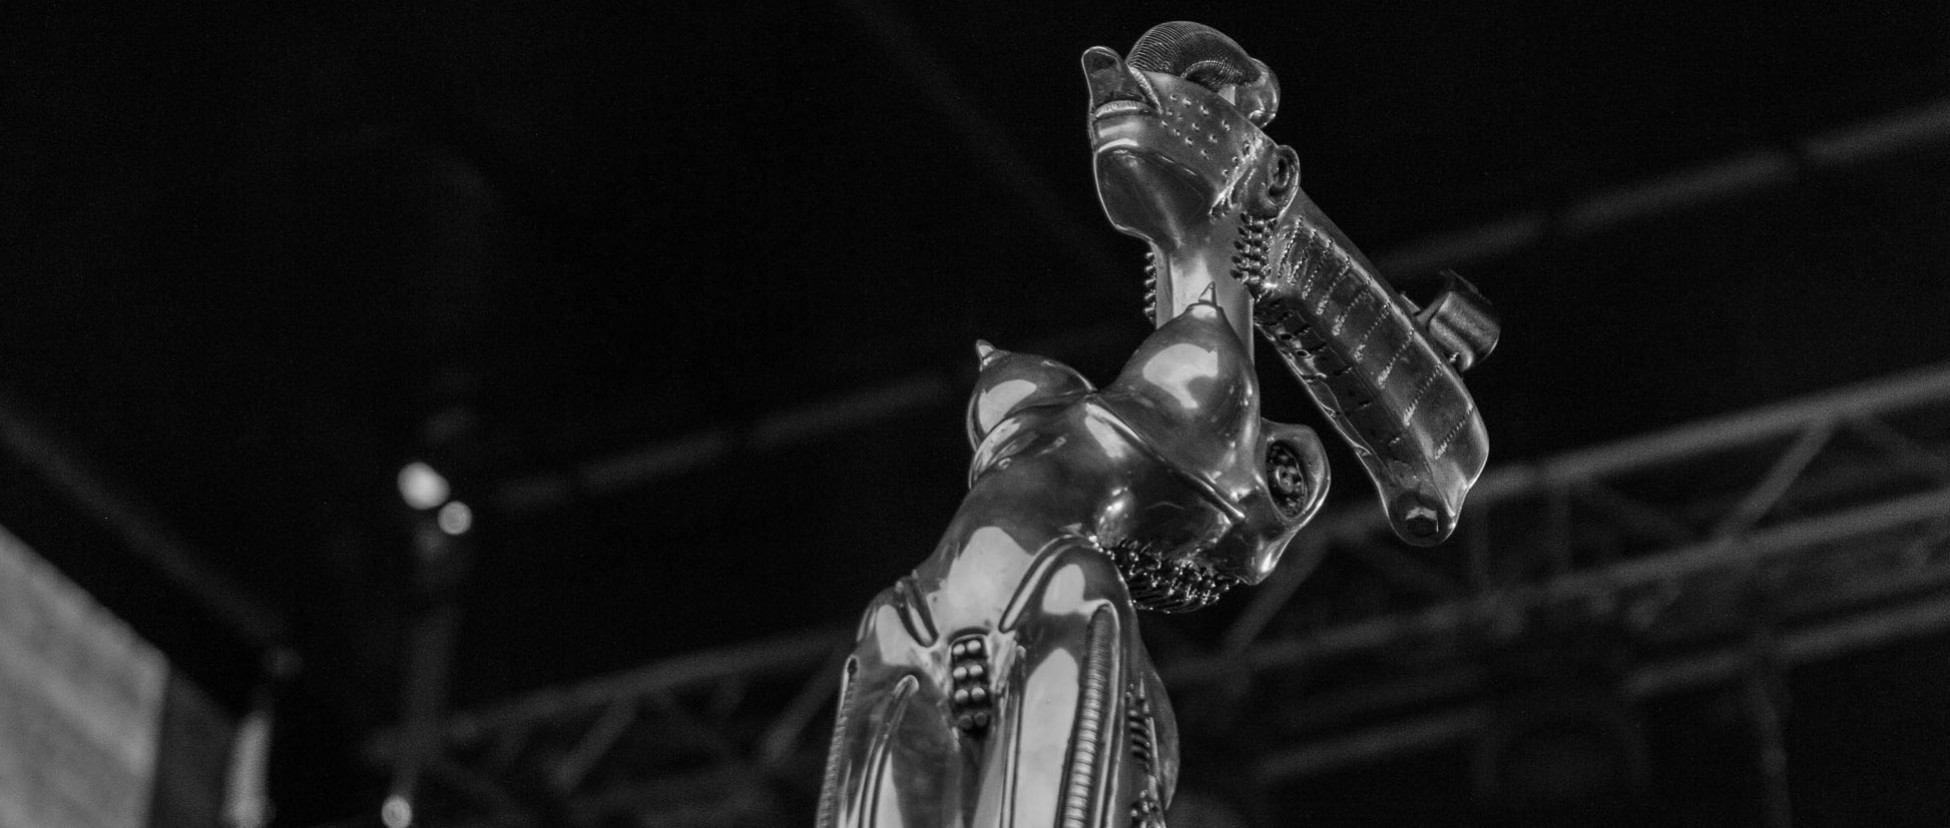


I have begun my journey in building a Female Tusken Raider from Attack of the Clones costume for me and my husband is building a Male Tusken Raider from A New Hope costume for himself. I’ll be updating this page as we progress through our builds. The costumes we are building are to join 501st Legion Golden Gate Garrison and Krayt Clan so they must be screen accurate costumes.


Reference Images
August 2017
Materials I Chose To Use
Outer Robe (Male) and Hood/Shawl (Female)
8-10 yards (Male) 2-4 yards (Female) Monks Cloth Fabric, 60″ wide, Natural

Monks Cloth (Natural)

Canvas Work Gloves
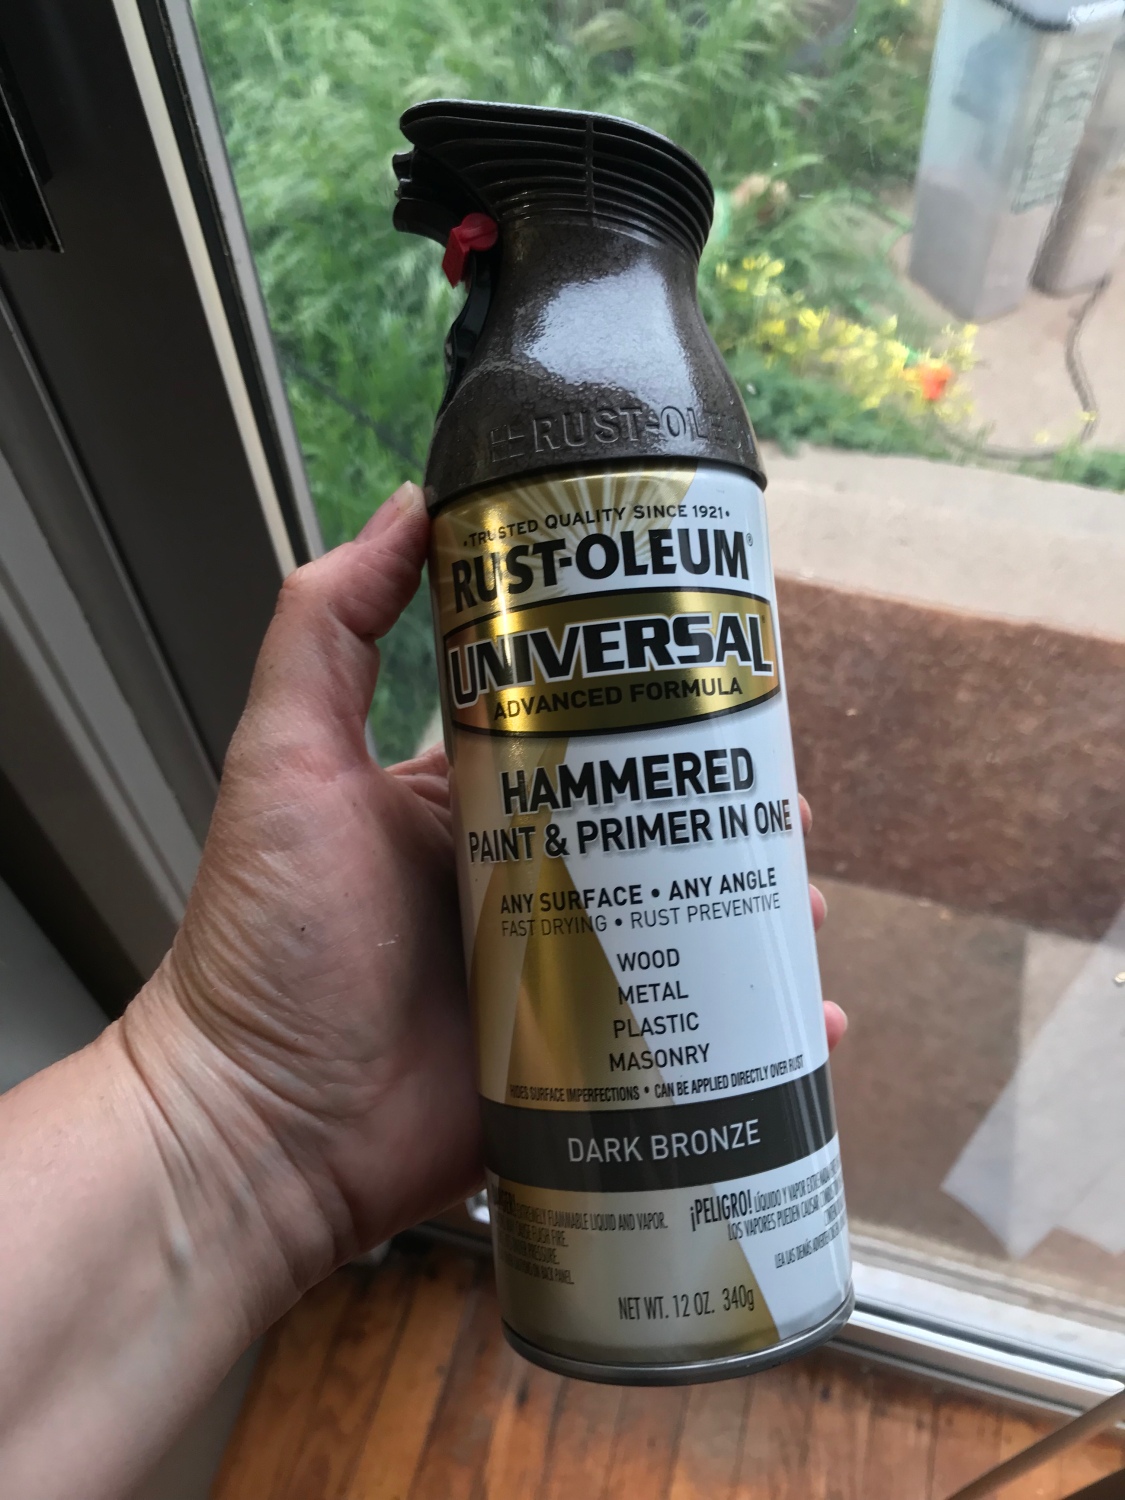
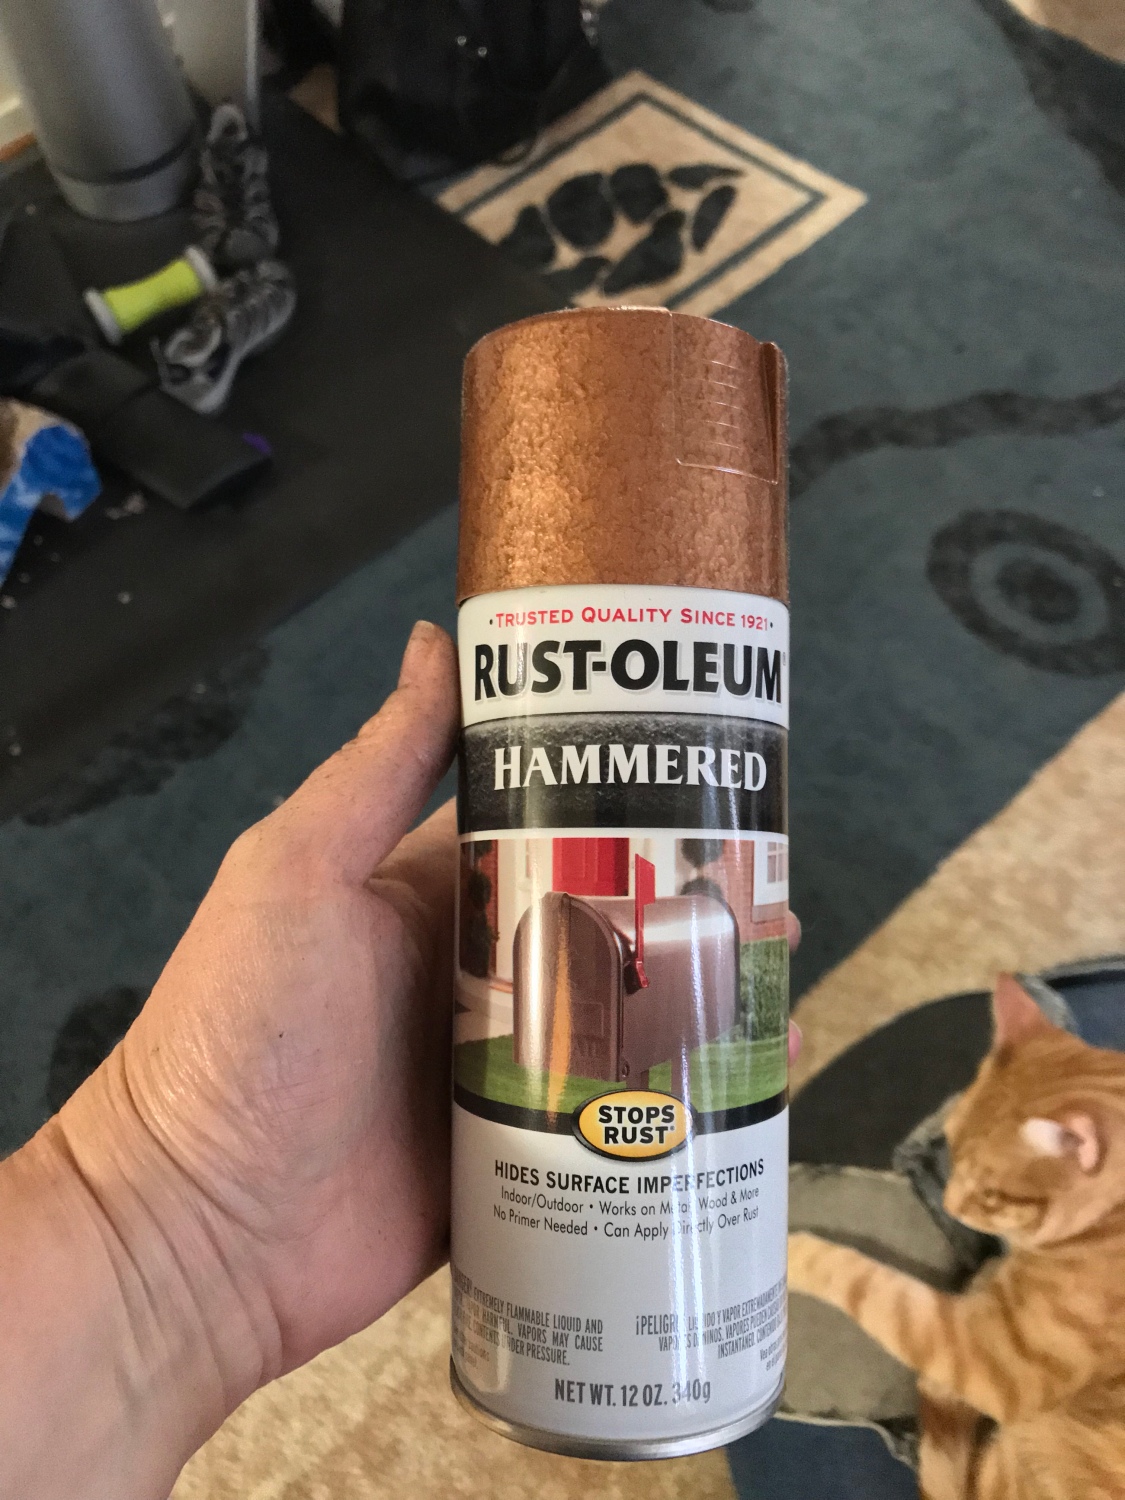
Rust-Oleum 258199 Universal All Surface Spray Paint, 12 oz, Hammered Dark Bronze
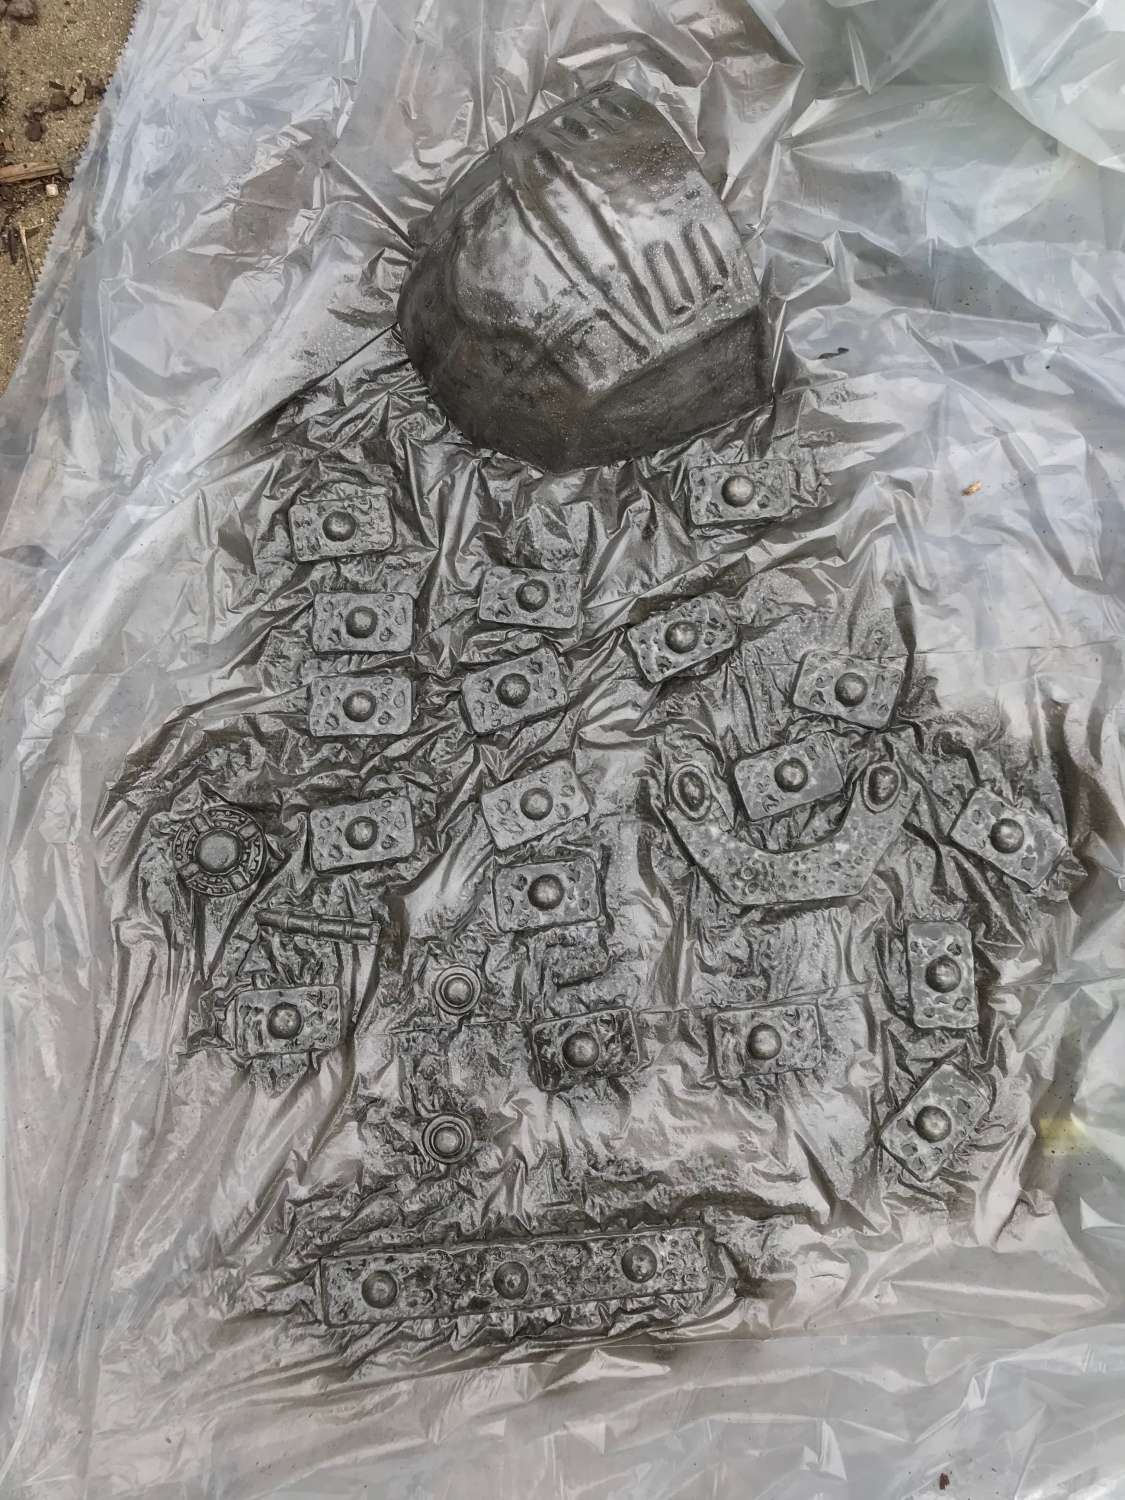
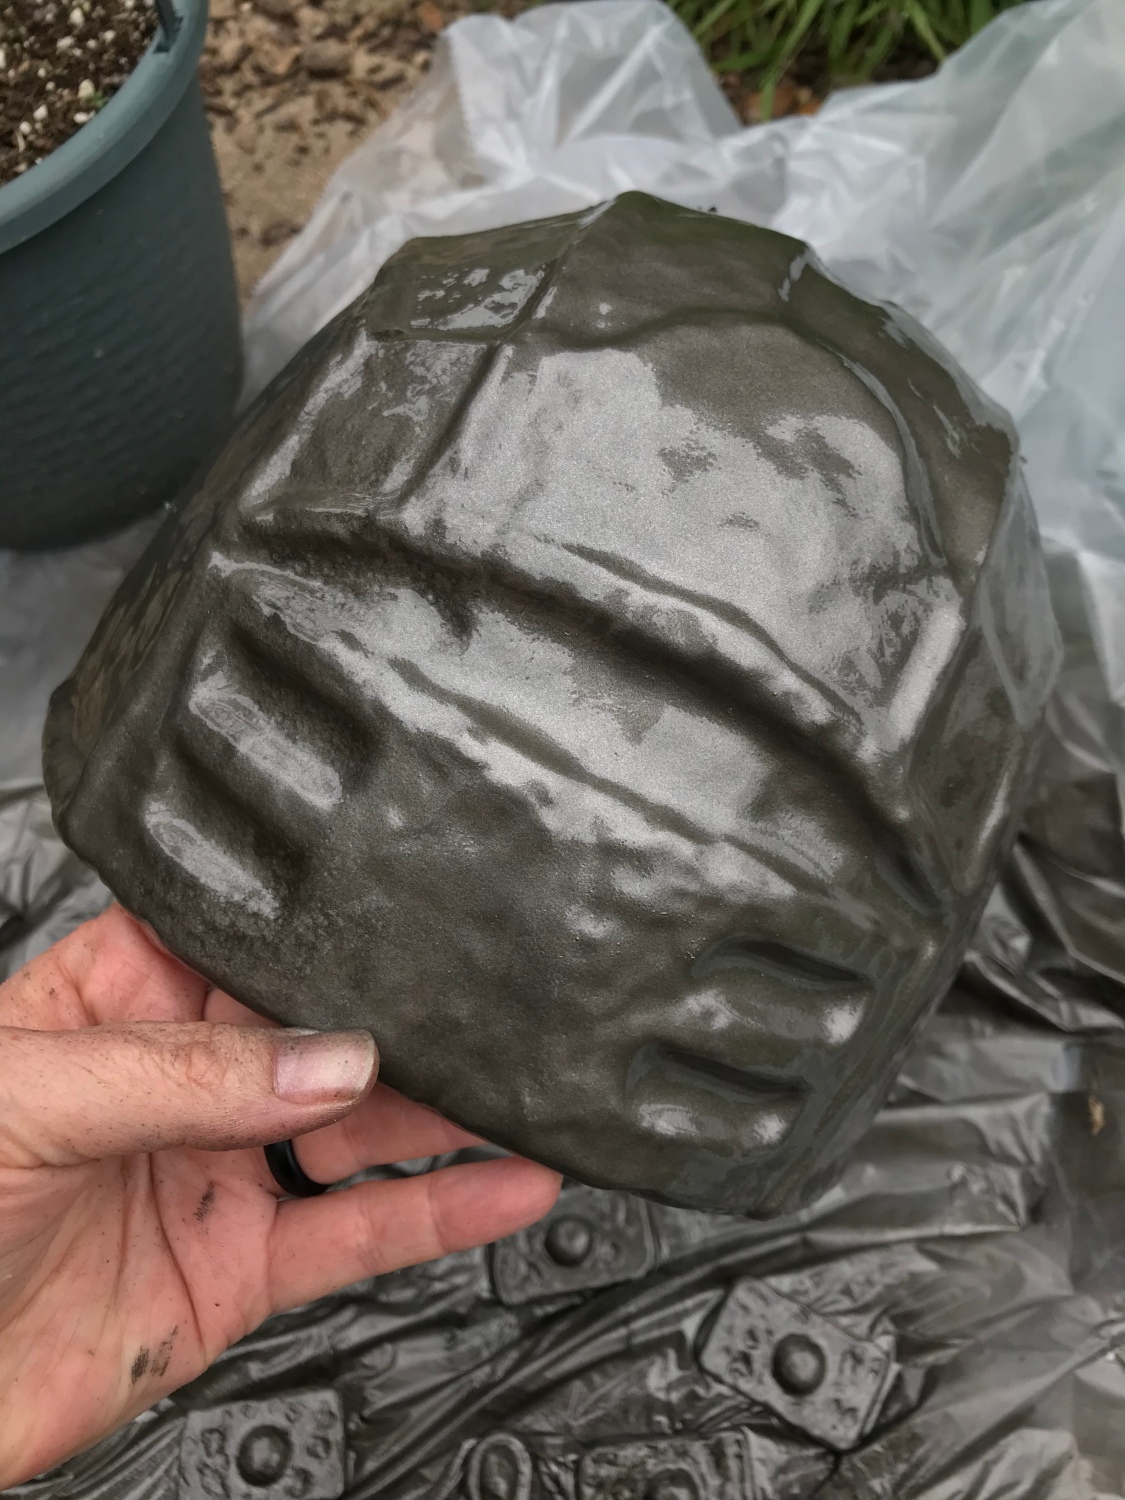
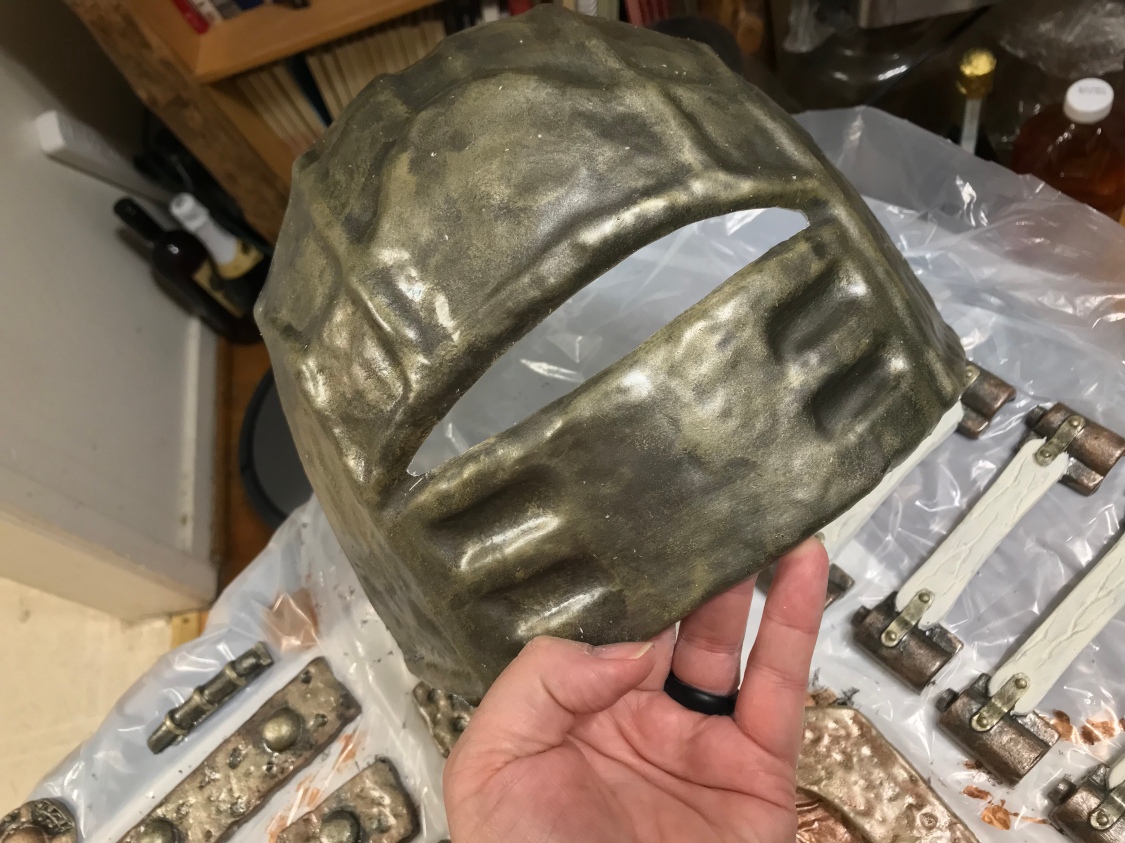
First sand all the rough edges of the resin and then apply the first coat as a base coat for the mask parts. Allow to dry for about an hour and then apply the second coat.
Allow the second coat to dry and then paint the “U” shaped part and the center medallion raised circle with Rust-Oleum 247567 Universal All Surface Spray Paint, 12 oz, Hammered Copper
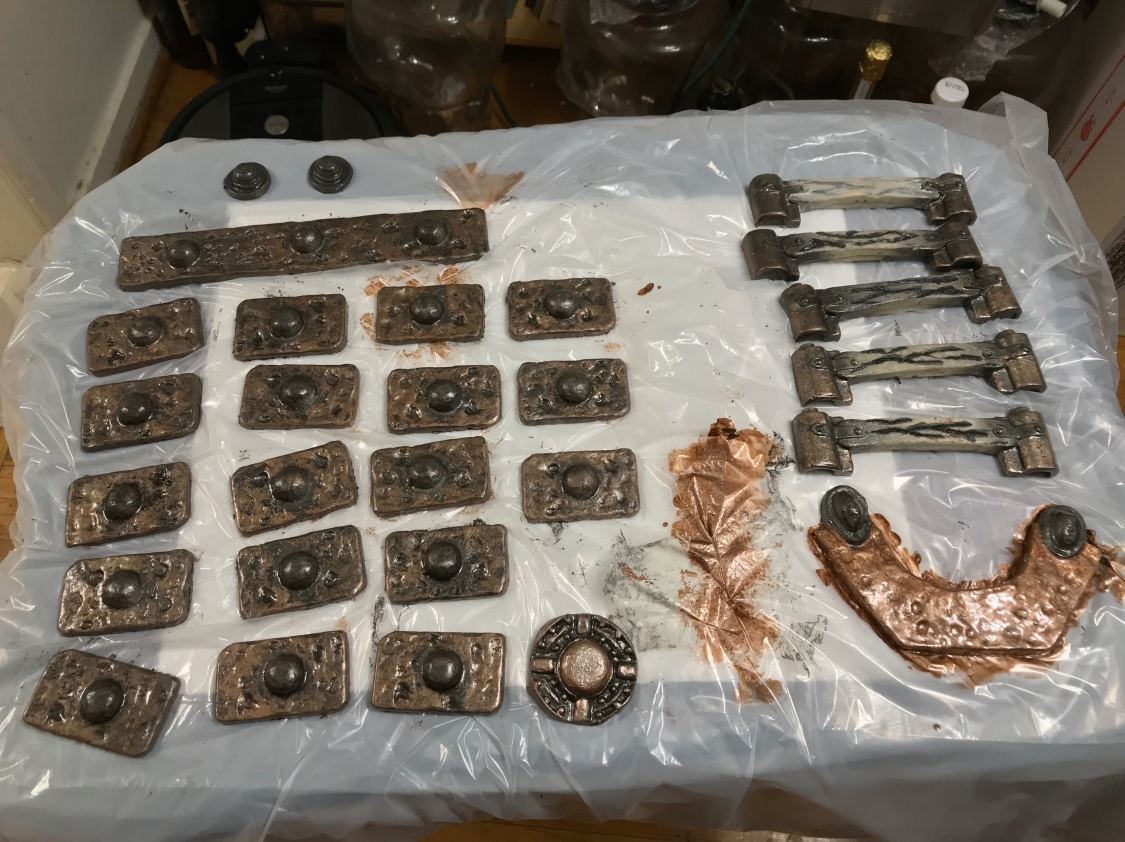
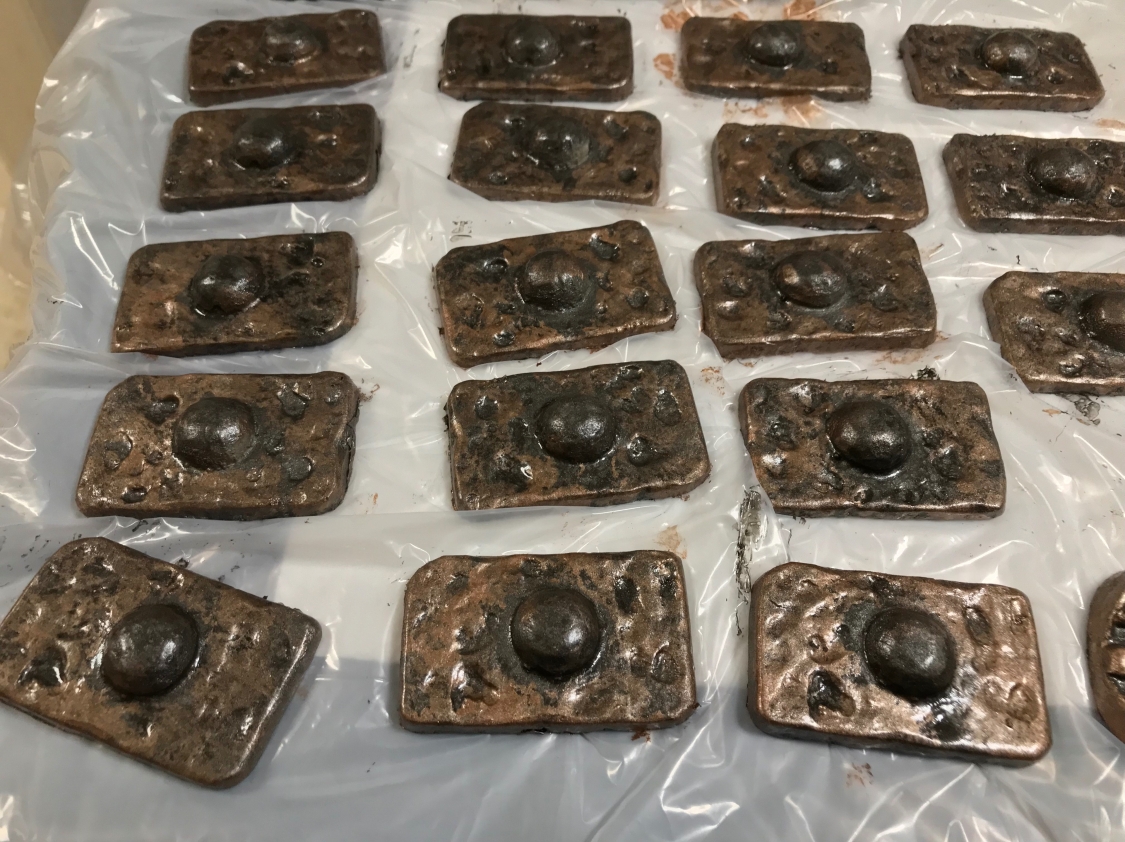
Allow the coat to dry for about an hour and then use the same paint to dab onto all of the parts using a paper towel or a sponge to give the parts an old weathered copper look.
Allow all of the paint to dry for 24 hours.
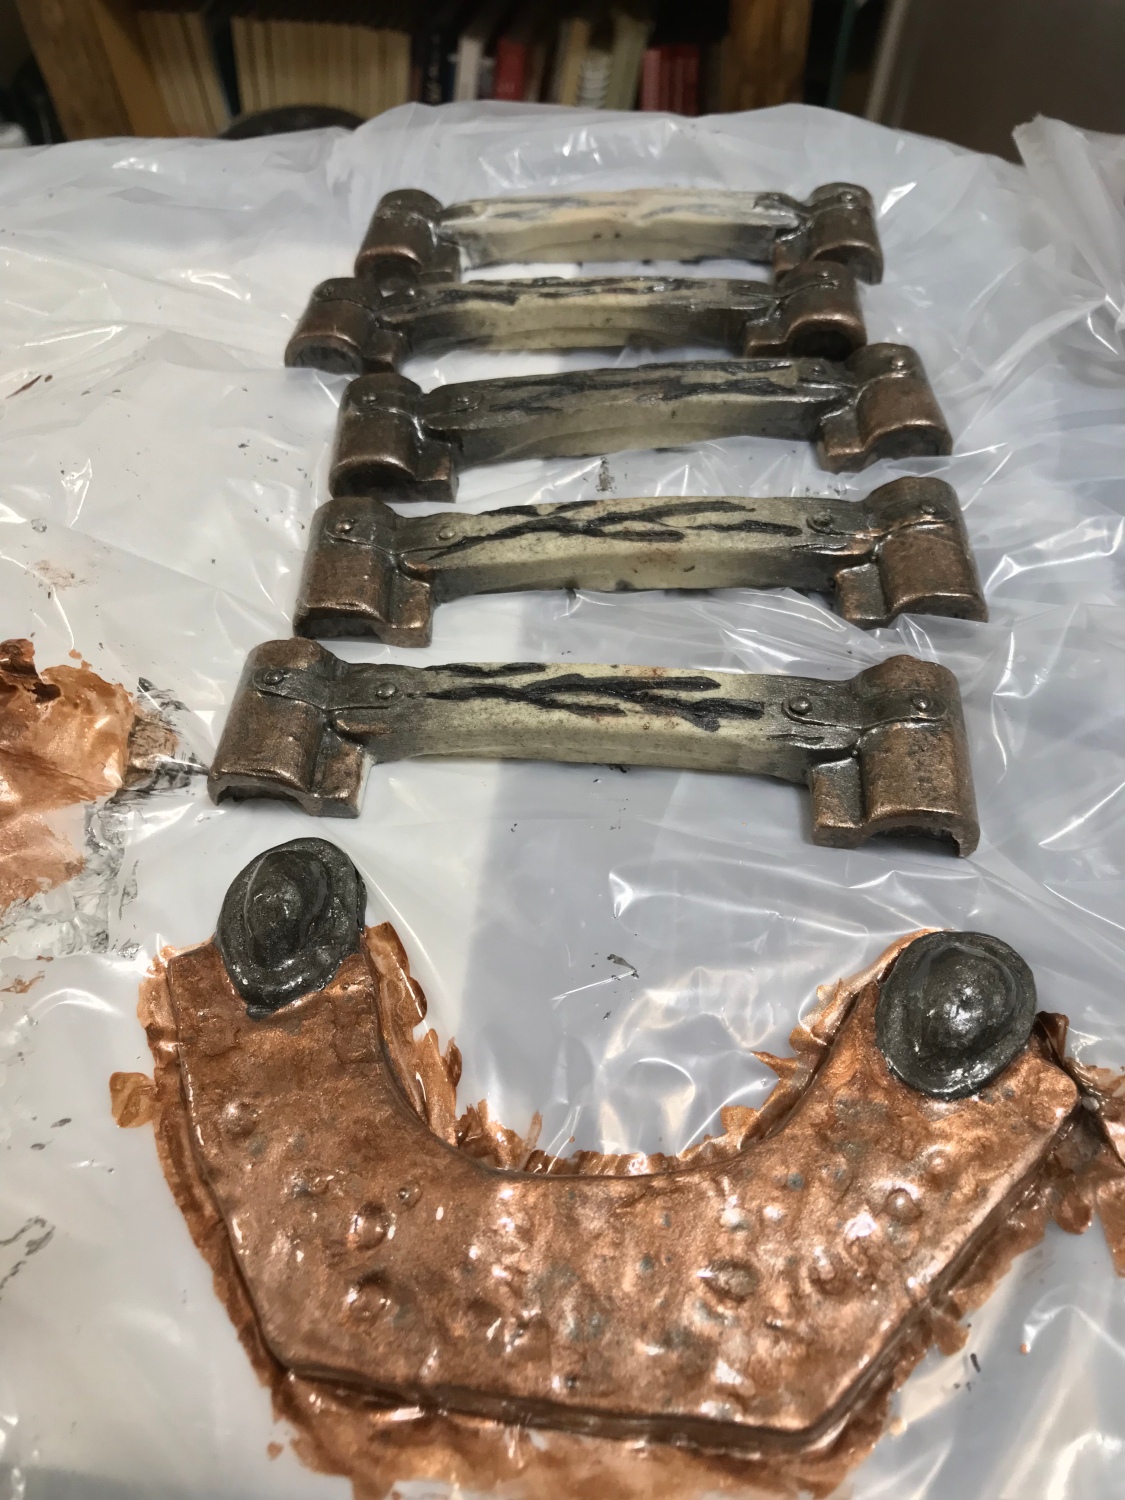
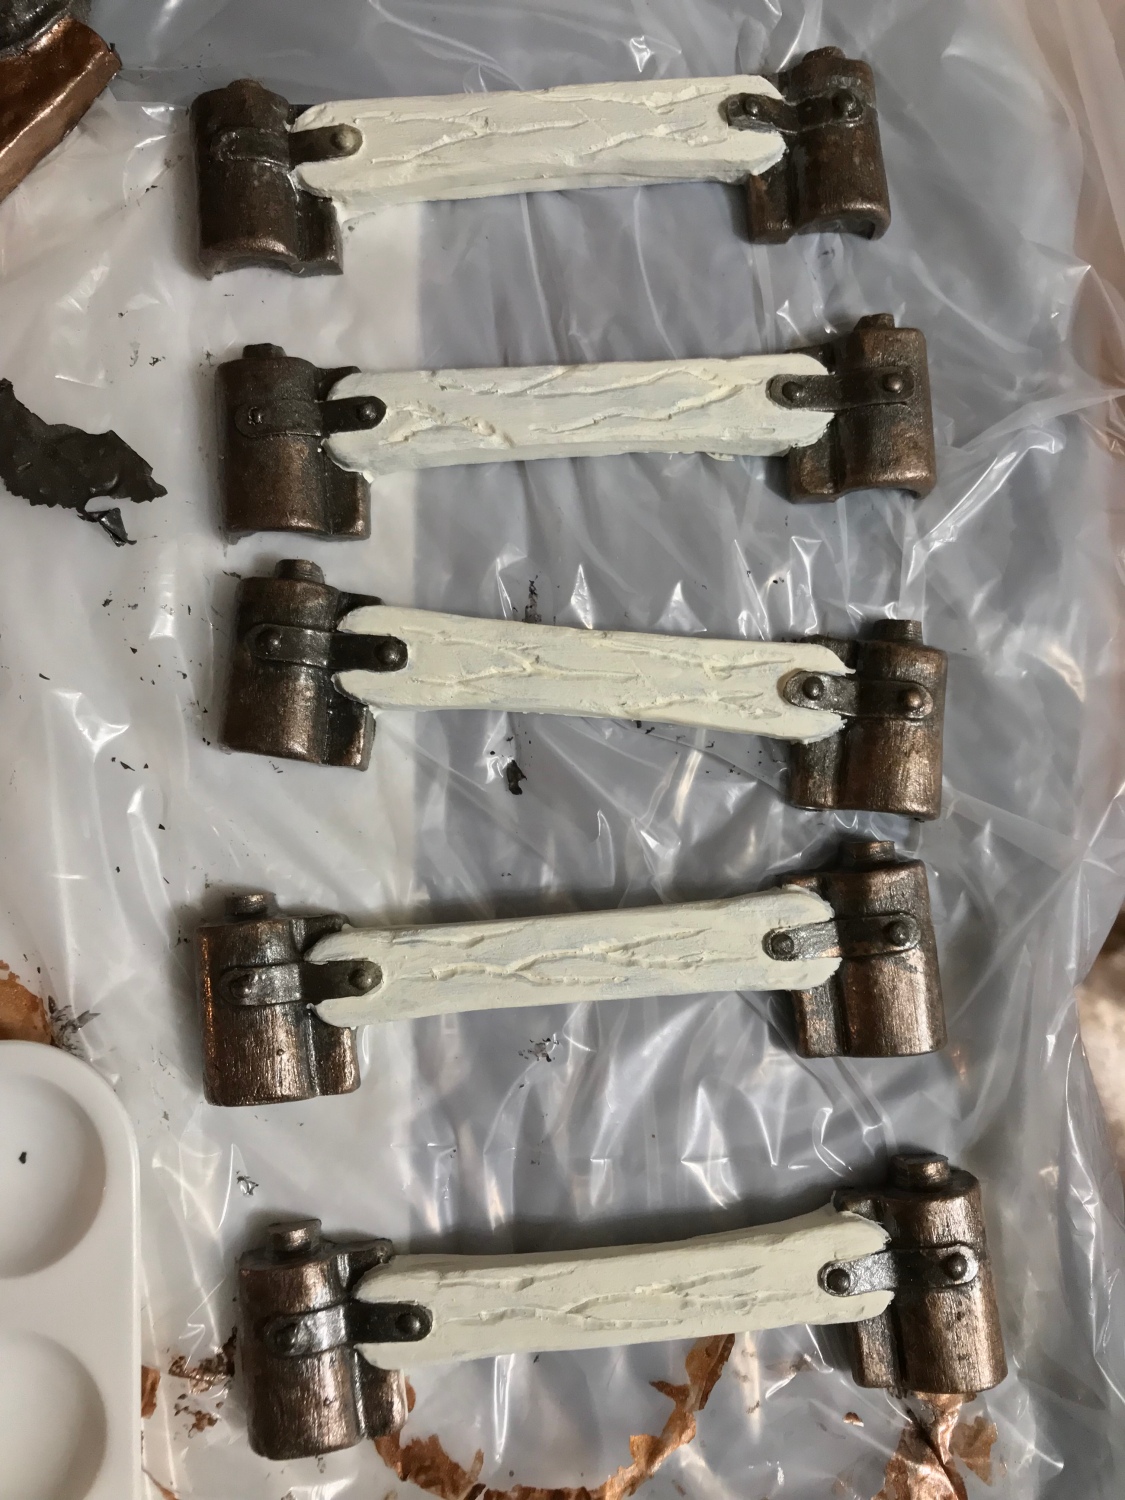
Today I decided to put the base coat on the bone parts of the mask. I used FolkArt Home Decor Chalk Furniture & Craft Paint in Assorted Colors (8 Ounce), 34151 Sheepskin and brushed it on with a small paint brush. I will let it dry overnight and I’ll put a second coat down tomorrow. Then I’ll add some gray in the cracks of the bone parts and wipe it with a paper towel and then put a thin coat of the chalk paint on top to make the bones appear weathered and cracked.
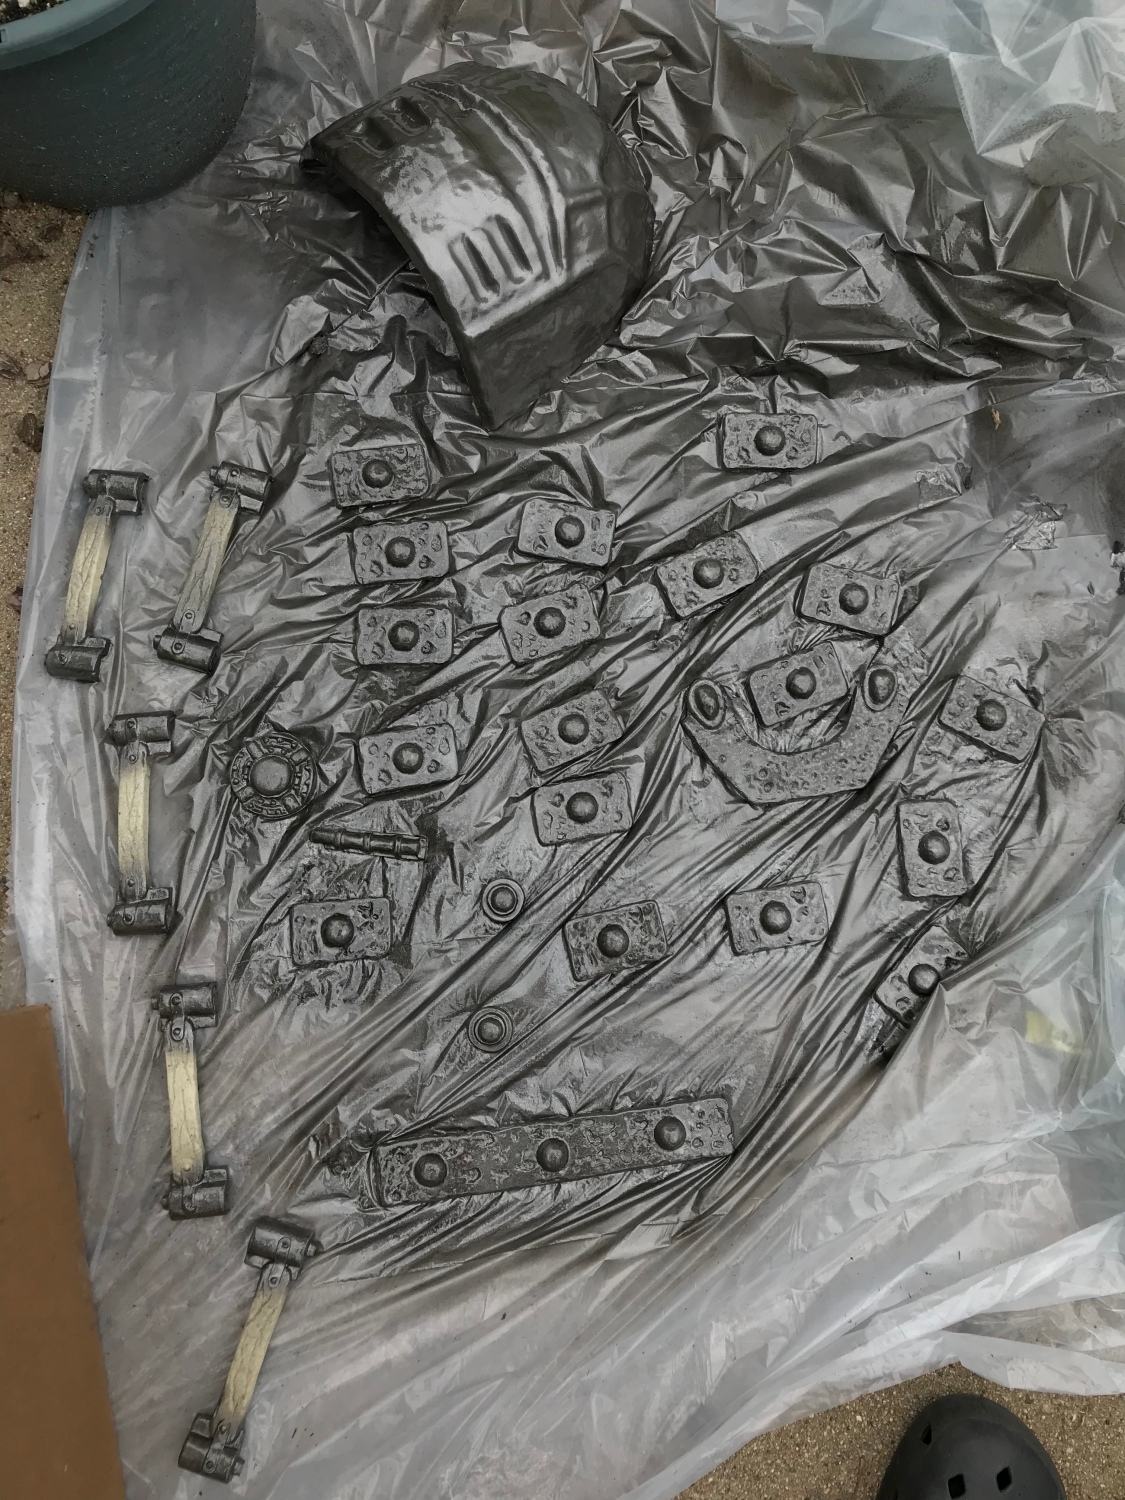
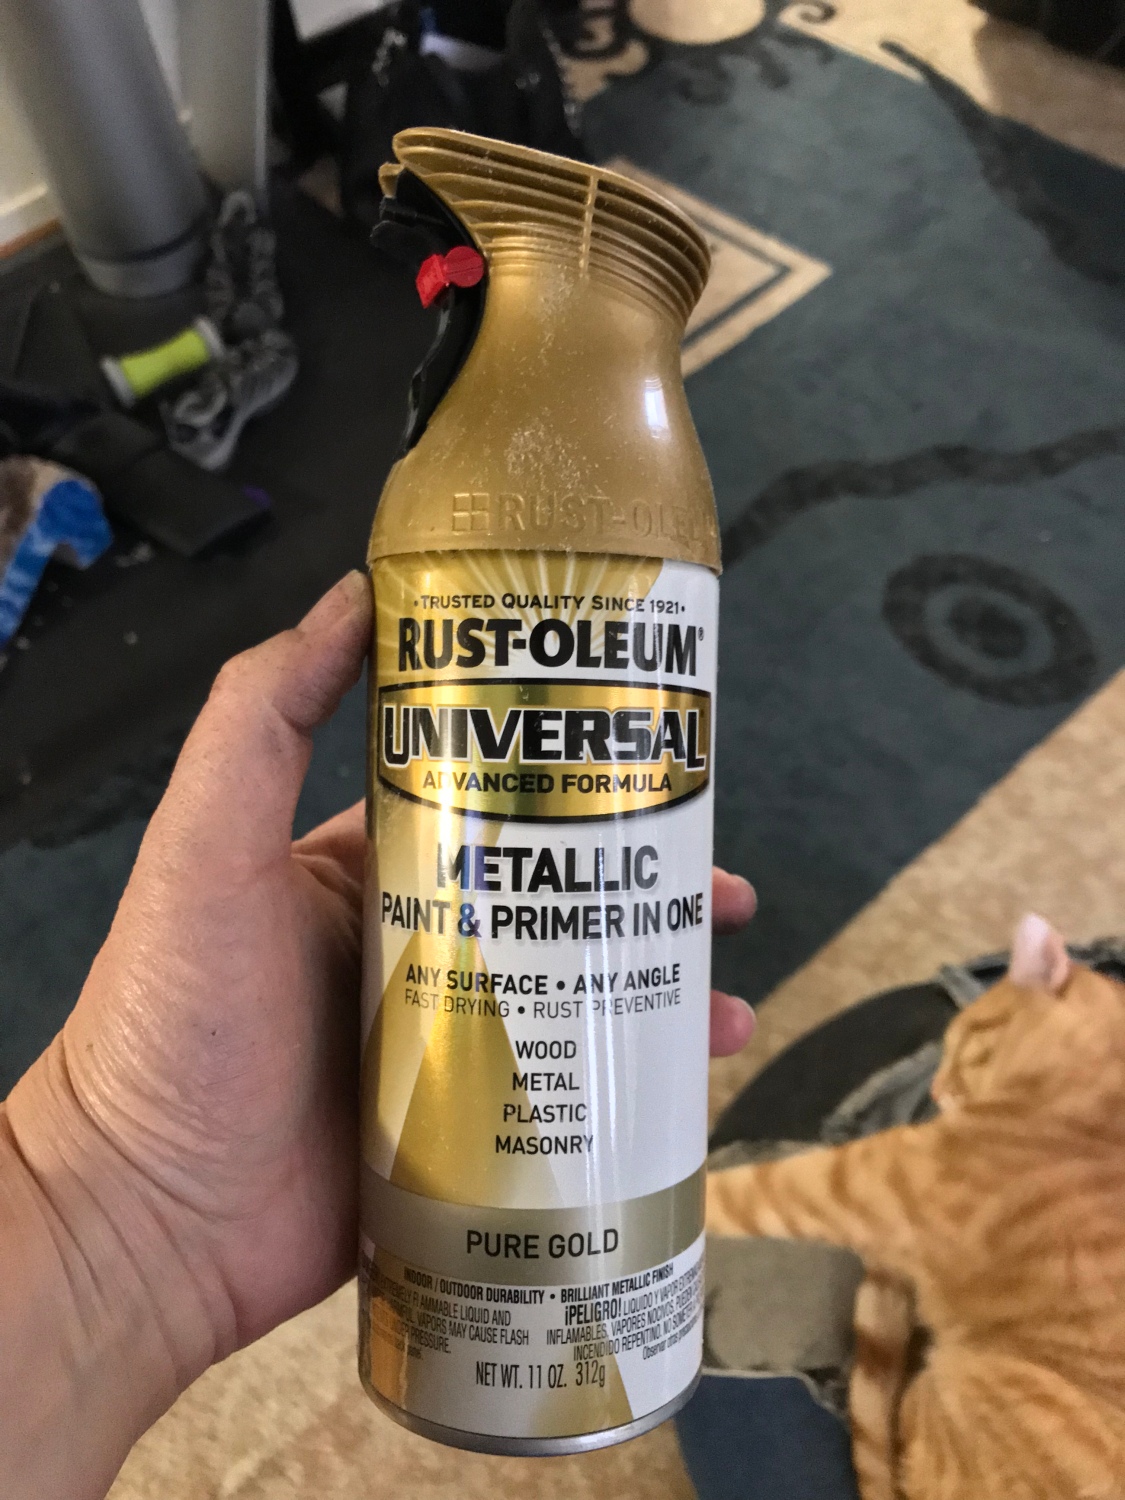
Today I applied the Rust-Oleum 245221 Universal All Surface Spray Paint, 11 oz, Metallic Pure Gold using a natural sponge and dabbing and wiping to make the gold appear mottled and dulled. I used a paint brush for the hinges but all the rest of the parts were painted using the sponge.
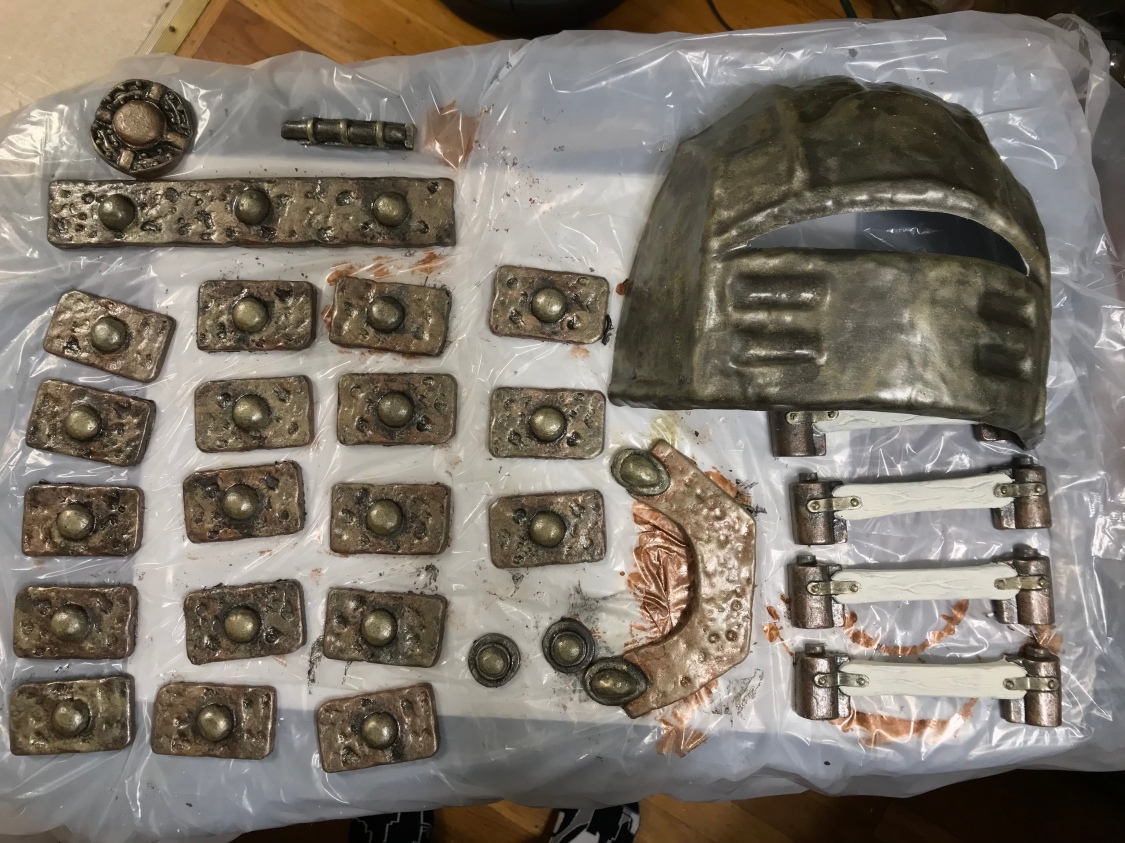

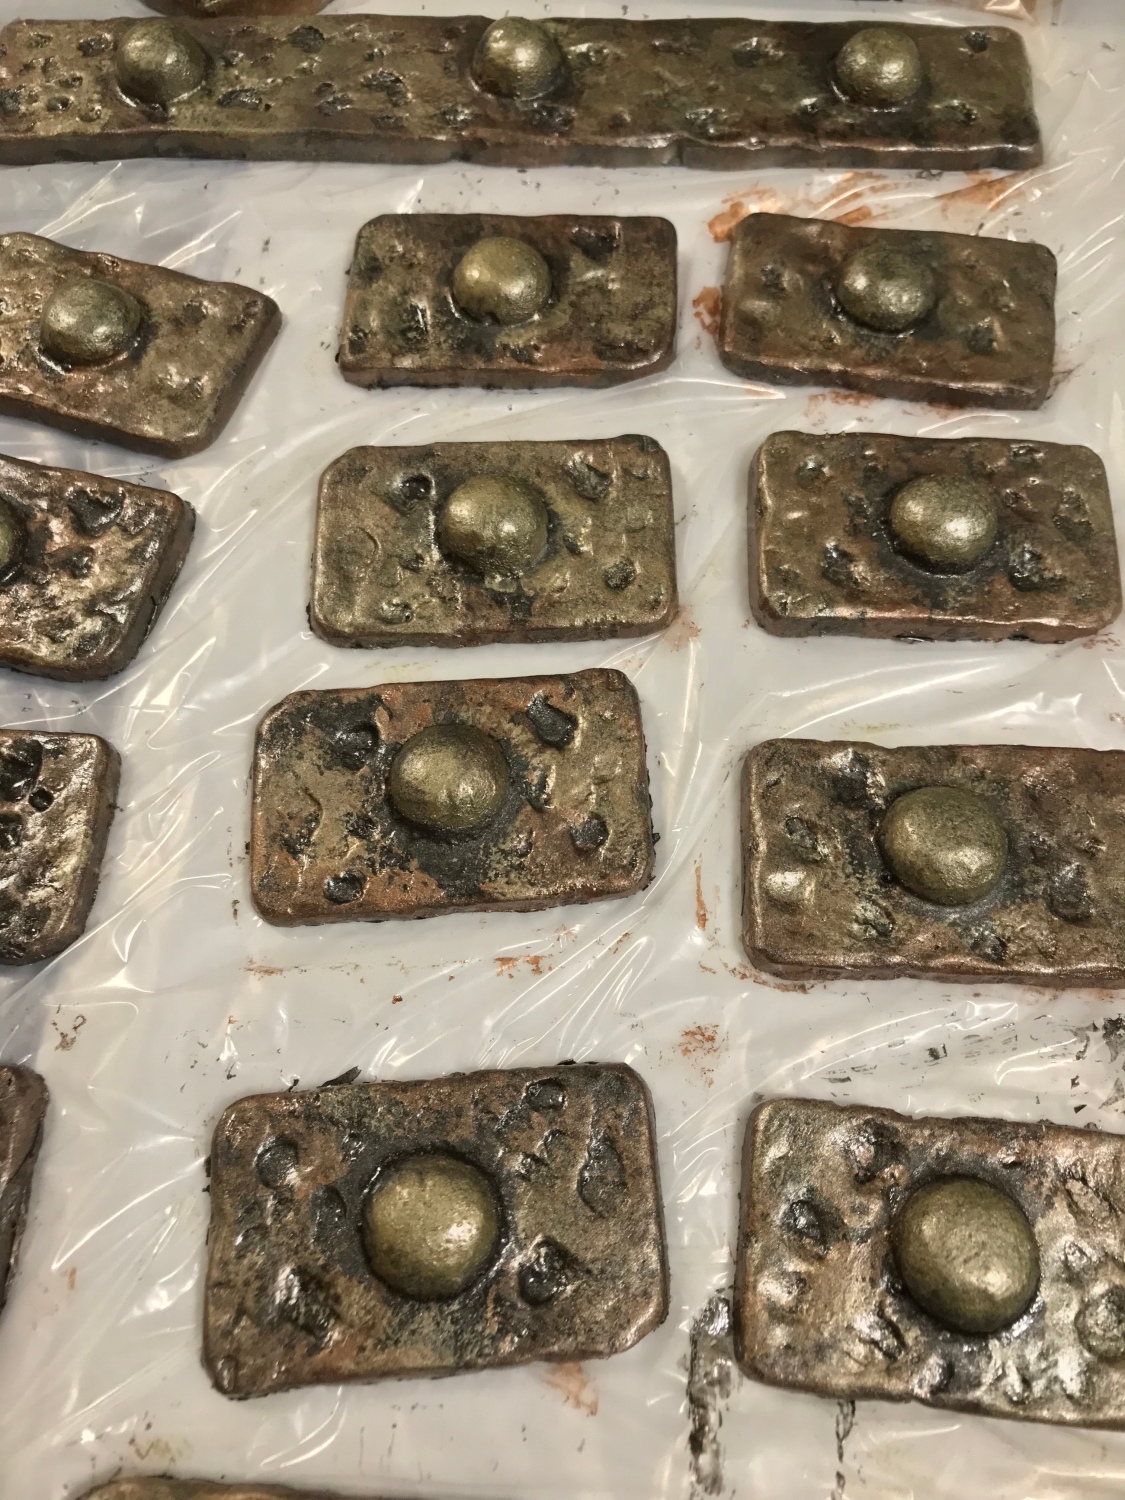
Next I will go back over with a little more of the Hammered Dark Bronze using the sponge and then go over it lightly with some Rust-Oleum 245217 Universal All Surface Spray Paint, 12 oz, Hammered Black using a sponge to weather each of the pieces a bit more. My goal is the appearance of metal but not shiny.
I’m still working on my mask but needed to work on the fabric too so today we did the 2nd dye using RIT dye and the color formula of 3 bottles of Rit Dye Liquid Fabric Dye, 8-Ounce, Tan, 1/2 bottle Rit Dye Liquid Fabric Dye, 8-Ounce, Taupe
, 1/4 bottle Rit Dye Liquid Fabric Dye, 8-Ounce, Sunshine Orange
, 1 package of Rit All-Purpose Powder Dye, Pearl Gray
, 2 cups of salt and 17 gallons of boiling hot water in a 22 gallon Rubbermaid bin. The 1st dye was the same color formula but it just wasn’t dark enough, so we did the same formula again to make it a bit darker.


