

This is the sixth and last block. It is constructed in the same way as my first free form mini quilt.
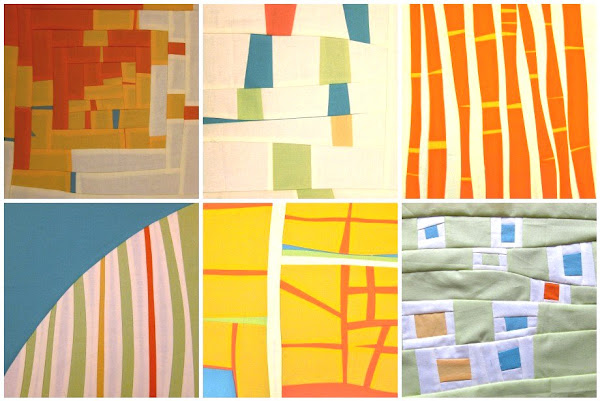
See
- improv / free form quilt block number 1
- improv / free form quilt block number 2
- improv / free form quilt block number 3
- improv / free form quilt block number 4
- Improv / free form quilt block number 5
The block is constructed like a log cabin block.
Cut the strips of fabric with a pair of scissors or with a rotary cutter without using a ruler. Start with a small rectangle for the centre. Use strips made of different colours to build the block around the centre. The strips can be one single colour or the strip can be made of different colours joined together.
Keep adding strips of fabric until your block can be squared to 10 inches.
The sides of the block may get very wavy as you keep sewing. To straighten a wavy strip, you need to place the side of the block on top of the new strip of fabric, pin it, and cut around the edge of the block on the fabric below (see picture).You will end up with a wavy strip of fabric as per picture below.
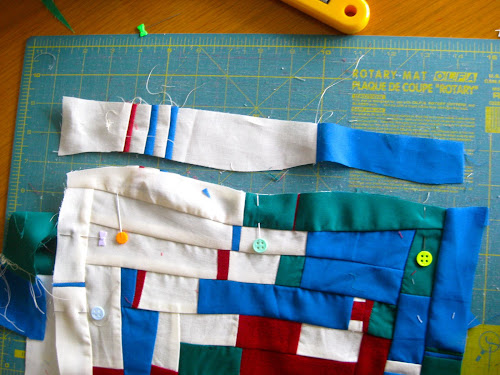
To add the wavy strip to the side of the block, pin it in place matching the inside and outside waves really well. It can be tricky to start.
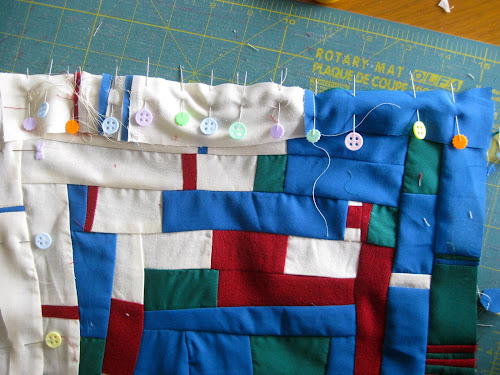
When you’re done with the block, square it to 10 1/2 inches.
So we have now a set of 6 blocks. Next time we will add the sashing and a border ready to mount on canvas.

I love your confidence. I am wound far too tight to attempt something that’s not perfectly lined up 🙂 Keep it going!
LikeLike
I find it harder when things need to be perfect. With free form almost anything goes so you can’t really make any mistakes. You don’t need to worry about your points not aligning, etc. It’s quite freeing.
LikeLike
for some reason all of mine look free form when i get thru with them
LikeLike
LOL
LikeLike
Looks great….I find it much easier not using pins.
LikeLike
It’s not probably obvious on the tutorial but I only use pins for wavy seams.
LikeLike
Really good tutorial. I hope to be as advanced as you one day. I love your designs.
LikeLike