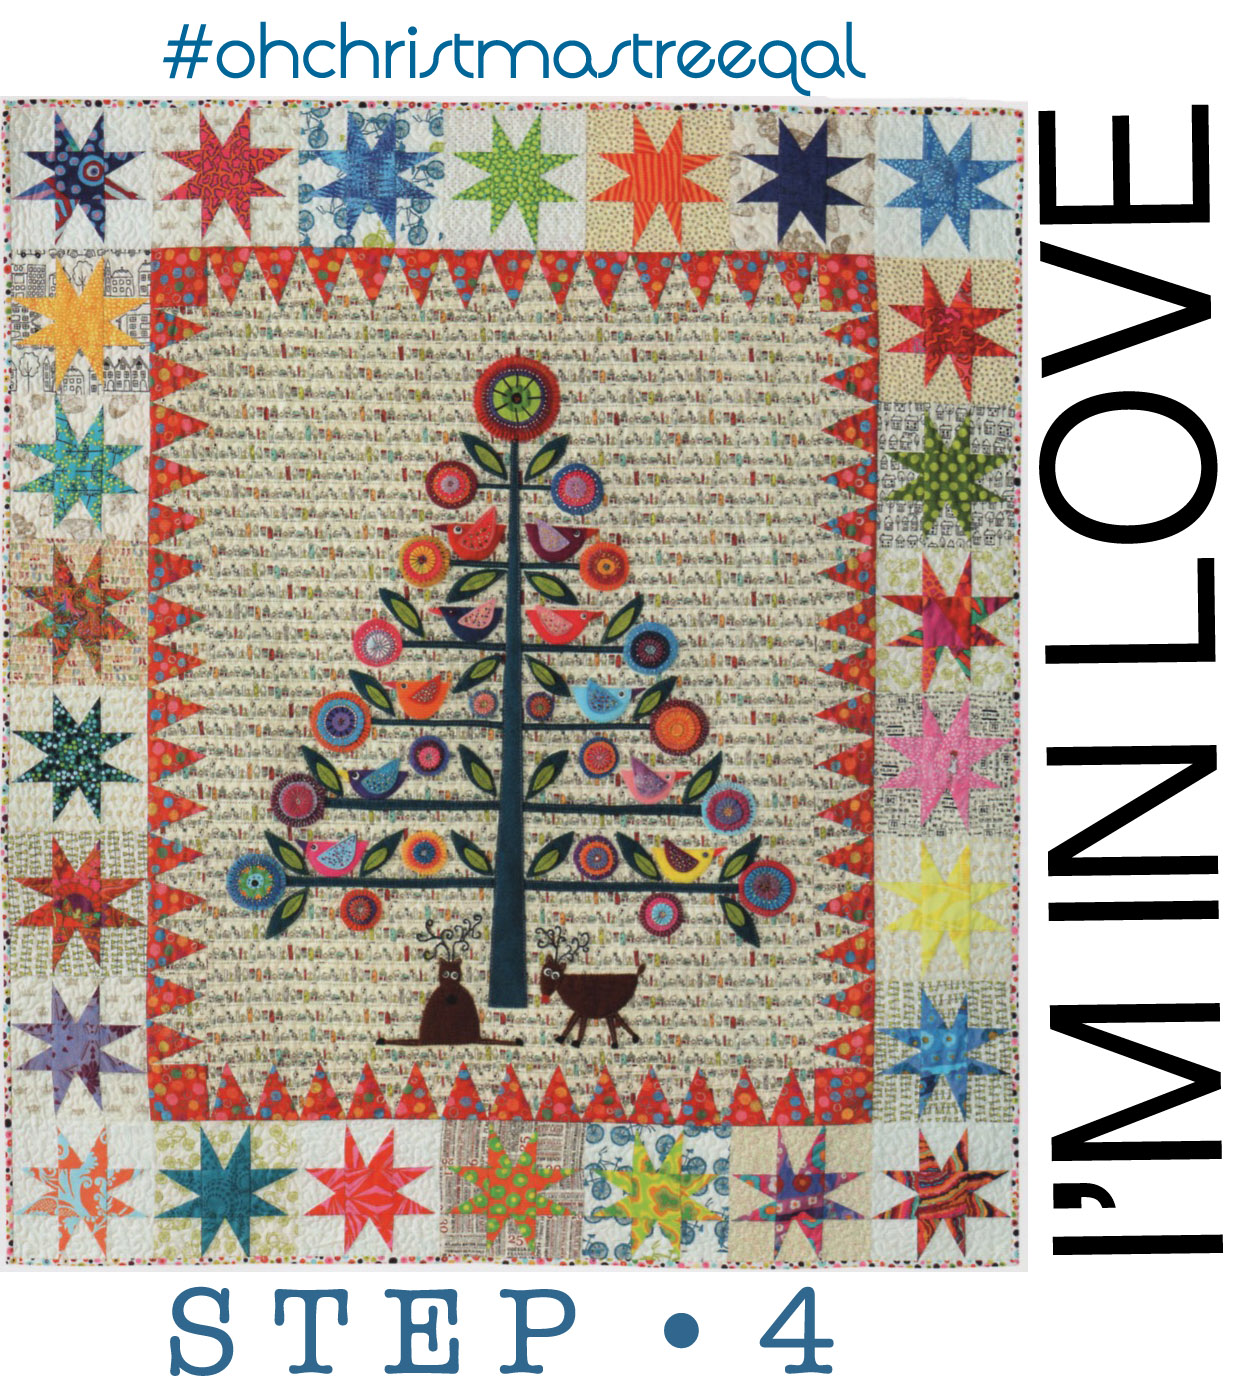
Today is Step 4 of our Oh Christmas Tree Quilt-a-Long (#ohchristmastreeqal), following a pattern by Wendy of FlyingFishKits and which was published in Simply Moderne issue #3, by QuiltMania. As always, we have an assist from Wendy of Wendy’s Quilts and More (blog) and wendyquiltsandmore (IG), as she is slightly ahead of us in her creating.
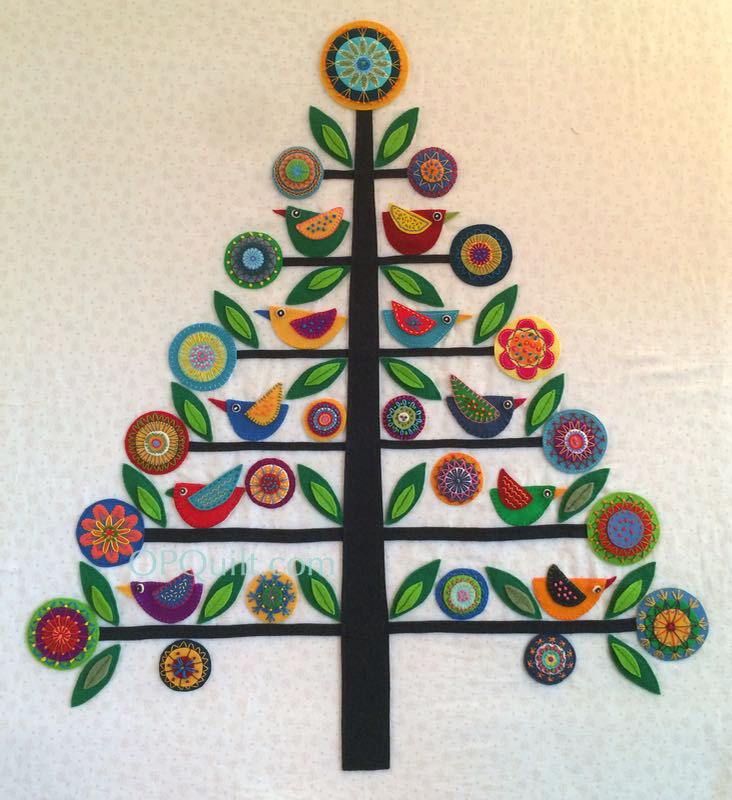
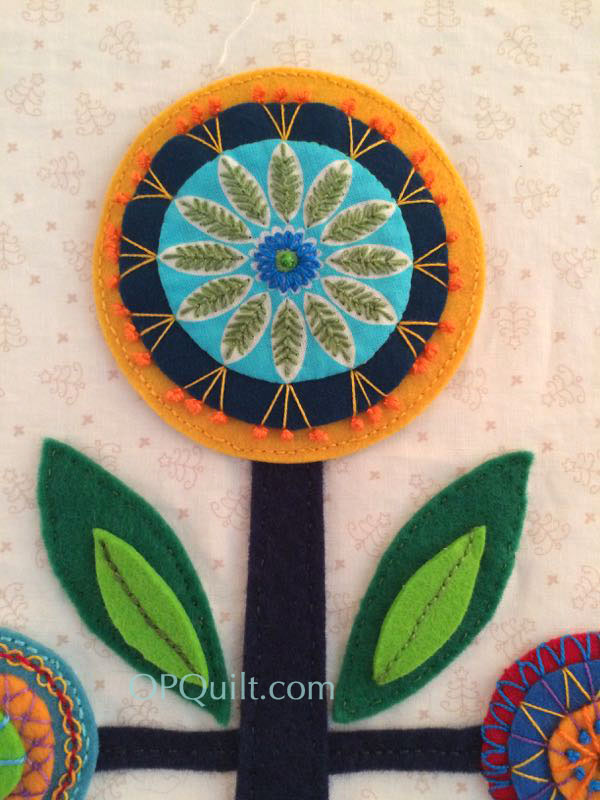
Here’s the twist: instead of creating the under-the-tree scene this month, I’ve gotten so many queries about sewing these things on to the background and the tree, that I think we’ll head that direction instead. Go with the flow, right? Above is my tree, everything sewn on. I’m heading this direction because a lot of those questions have to deal with the idea of how much embroidery to put on that outer edge? Should you leave a space for attaching and more embroidery? Should you go right to the edge?
The basic idea for attaching is this: lay out your circles, birds, and leaves to your liking, using the pattern and photos as a guide. As I go through the rest of the flower photos, I’ll have some tips, so please read through to the end. But first! Wendy has some tips for us about what’s ON the tree:
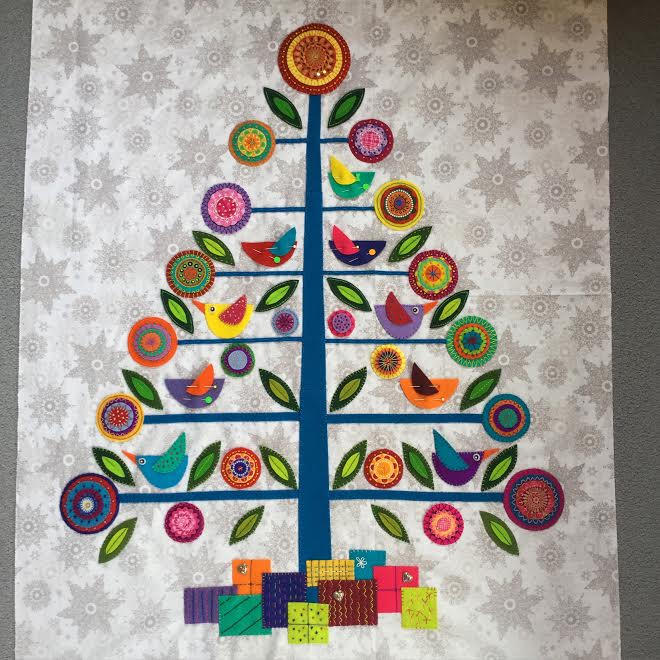
She writes: “I thought I had too much white space in certain areas. I’ve added 4 more small leaves and 4 more small circles, keeping the additions symmetrical because the gaps were symmetrical. I just felt some areas were less densely filled than others and I didn’t want gaps in the middle of my tree. That’s probably because I didn’t exactly follow the pattern for the size of my leaves and flowers, but also because things move slightly as you sew them on.” She sent me two photos. The “before” is above.
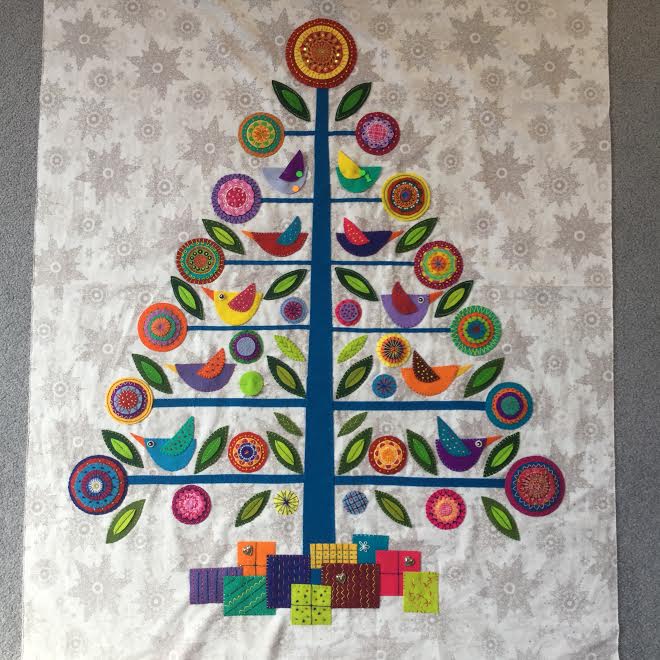
This is the after. You can see extra circles and extra leaves. (And yes, I love her under-the-tree scene! Next month, next month.). In addition to adding these extras, she attaches them differently than I do. First she lays them all out, takes a photo so she can remember where they are, and then takes all off but the items closest to the tree trunk. She sews those down first then adds in the decorations bit by bit, moving from the center to the outside, because she said she got tired of being stuck by pins.
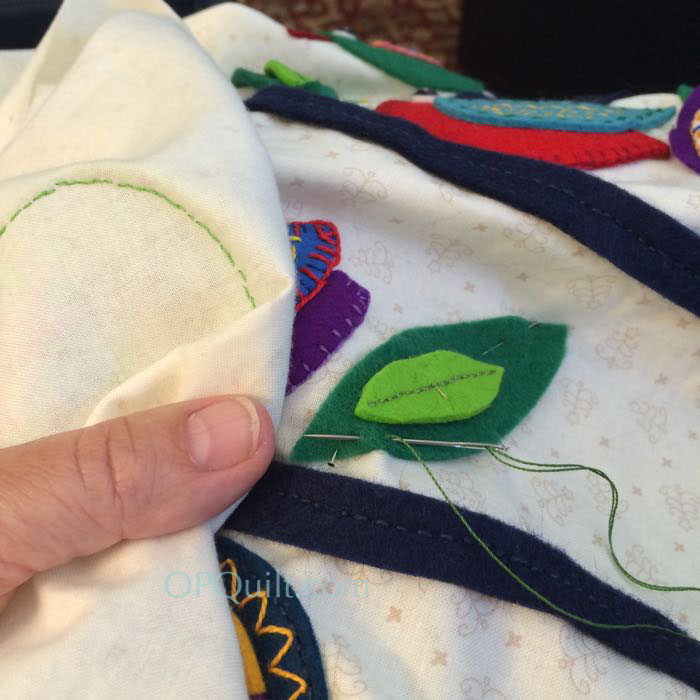
I couldn’t face the thought of re-attaching the flowers after I’d gotten them arranged, so I used appliqué pins (shorter than usual) and sewed on the decorations moving from the outside toward the center. Since I use really small pins, and put my hand around the flowers and birds as I sew, I didn’t have too much trouble. One IG reader said she used a bit of glue to secure the decorations and from her photo it looks like she’s attaching them from the inside to the outside. Again, try what works for you.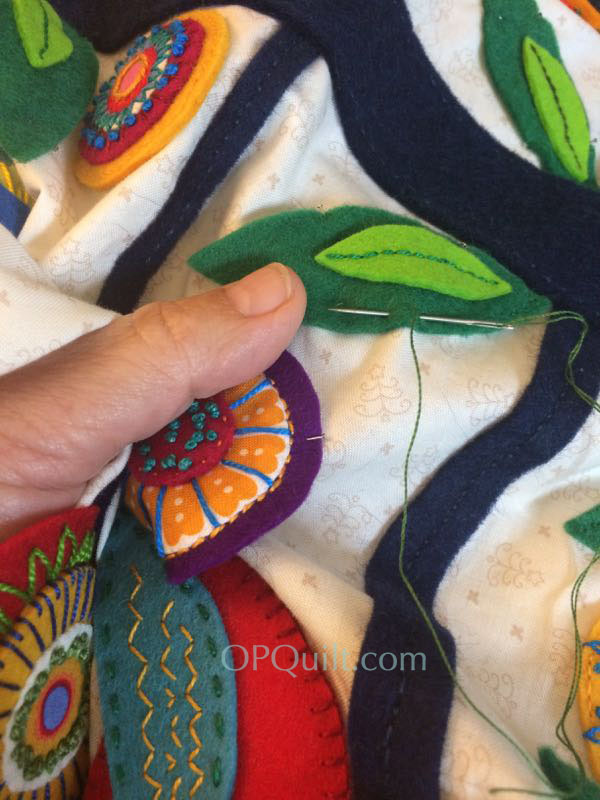
You can see me scrunching things up in my hand. Since I worked from the outside in, I had very few pin pokes. I attached the leaves by using the same stitch I used on the trunk: a separated back-stitch (refer to this post for more info).
 I was intent on getting them all on, and doing it quickly. You could take more time than I, adding an extra embroidery stitch, if you wanted, for it’s YOUR tree.
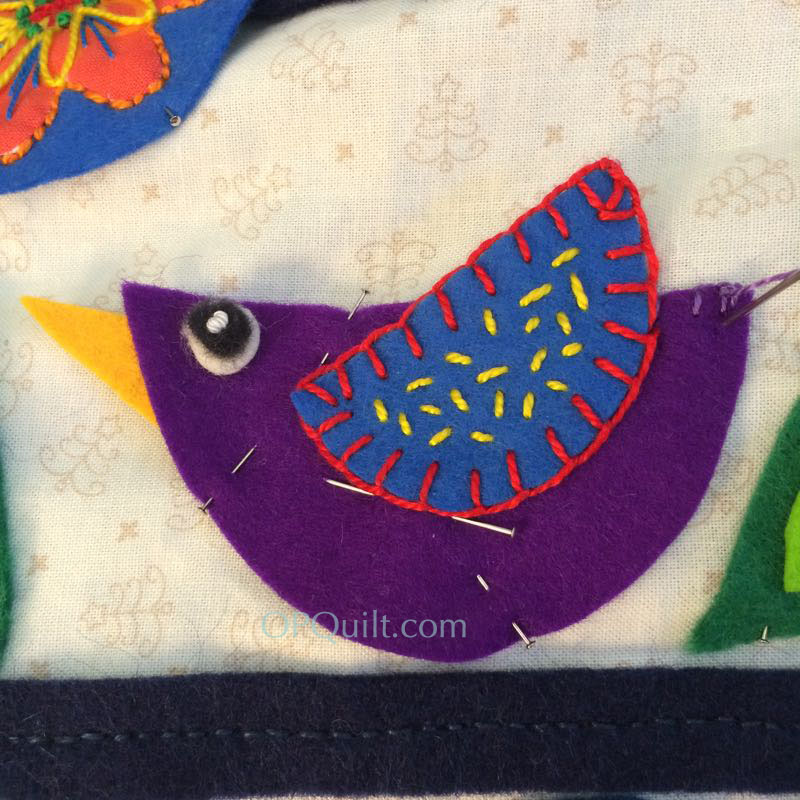
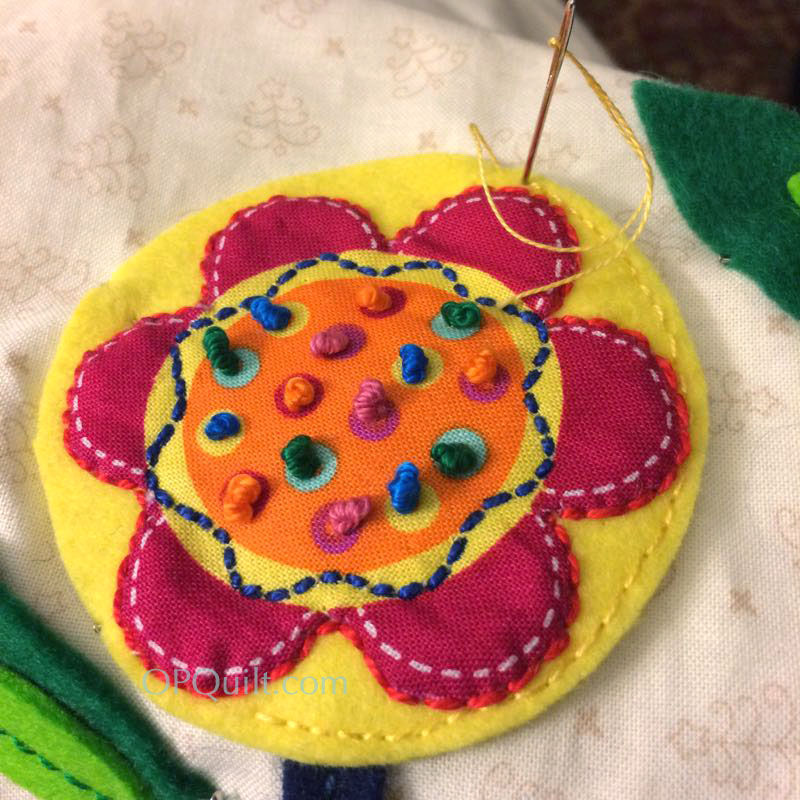
I also learned to put a regular pin right in the middle of my decorations just before I started sewing them on, so they wouldn’t buckle. I have one bird who looks like she is expecting, as the wool can shift as you are attaching, bubbling up. I’ll show the Mama Bird to you later.
Now for some general tips about attaching the flowers and birds. Before we talk about different ways to sew them to your tree, here’s a couple of photos of circles before attaching, showing various state of “close-to-the-edgeness” of the embroidery.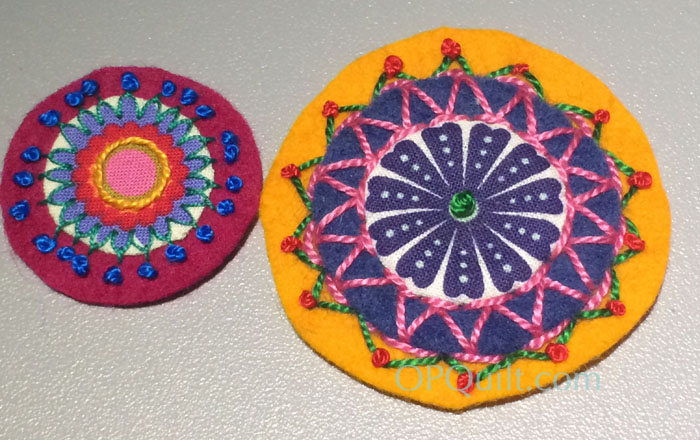
After I pinned these to the tree, I went in and added another circle under the red one, giving it a bit bigger presence. Ditto on the purple circle below. You may find yourself making small alternations after you get everything pinned down, either adding leaves and circles as Wendy did, or giving another border to a too-small/wrong-color flower, like I did.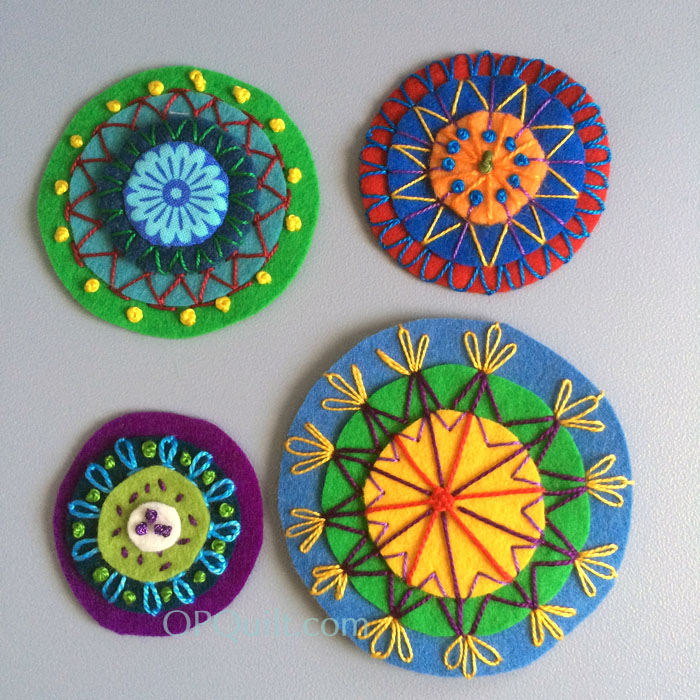
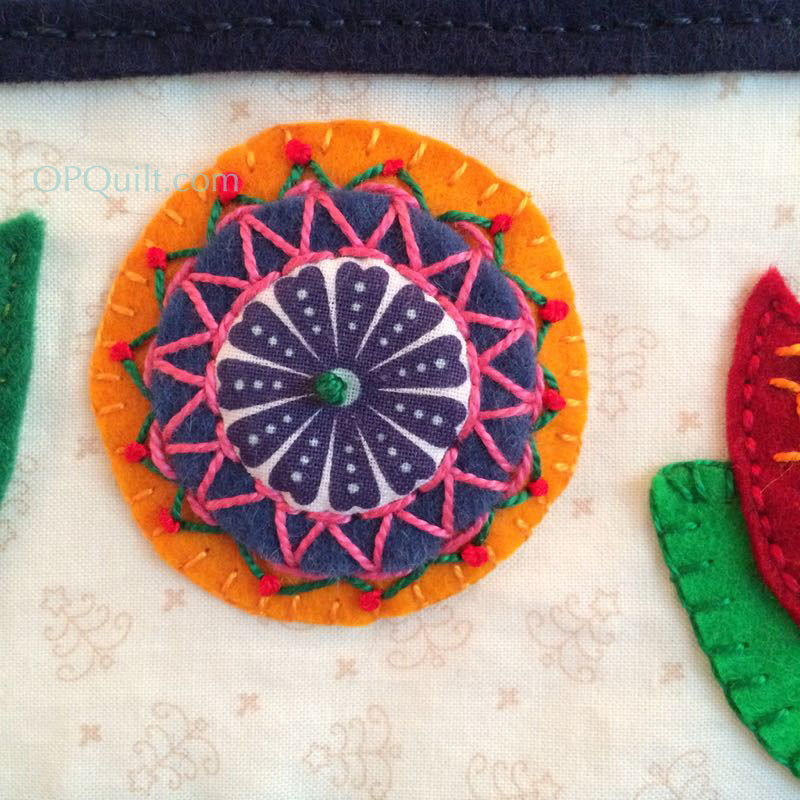
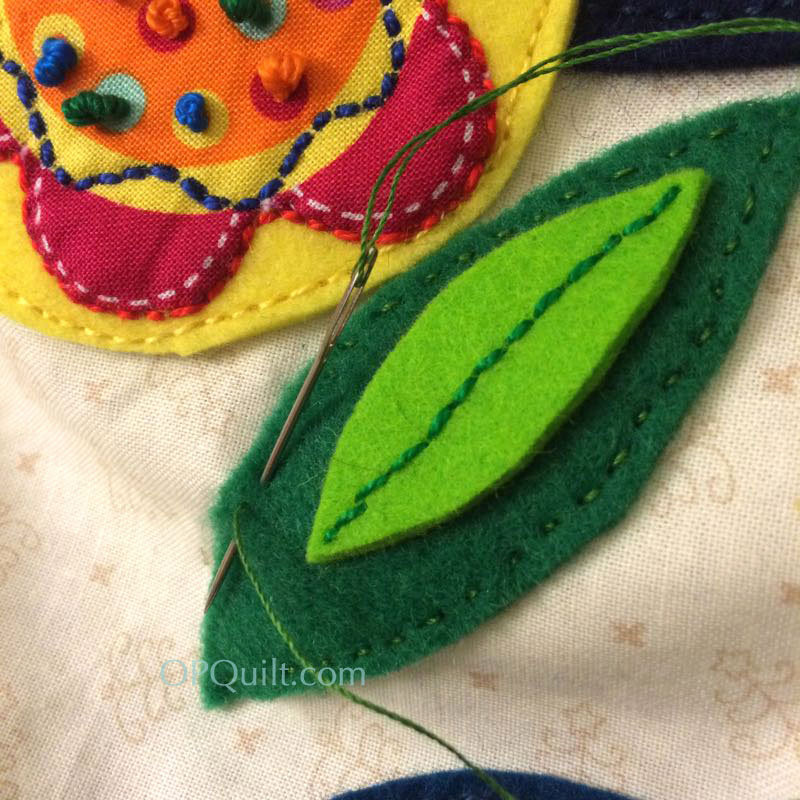
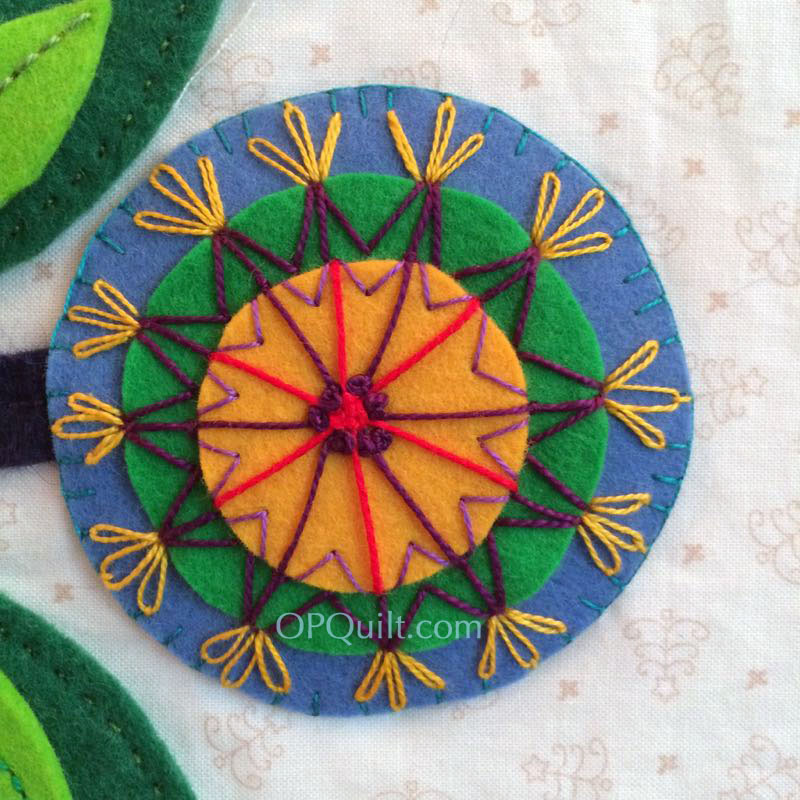
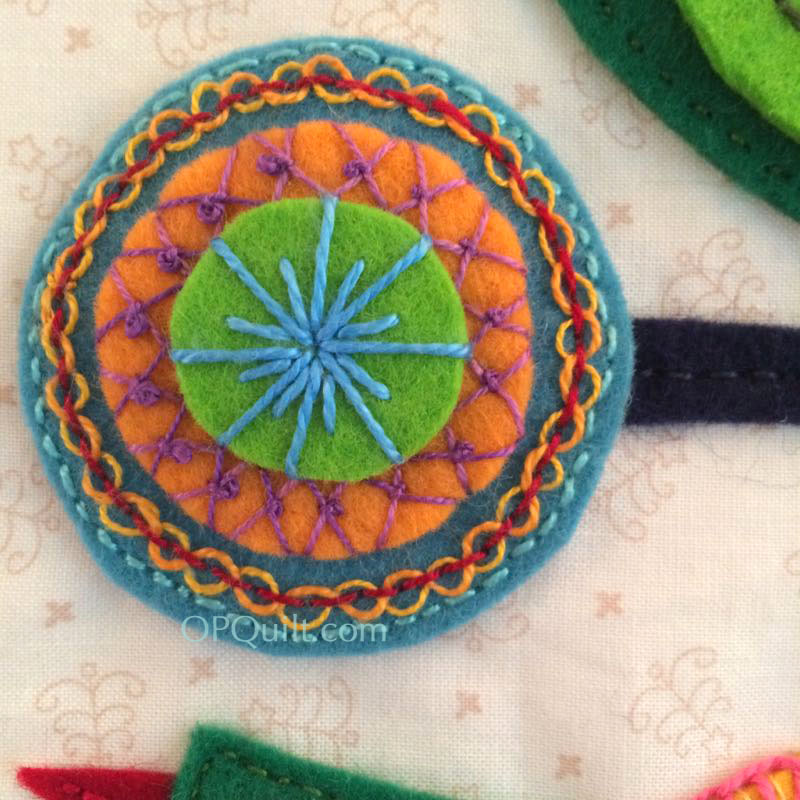
I group the way I sewed these down into two categories: A) snuggle a stitch in or around the existing embroidery, or B) adding another ring of decorative embroidery to affix it to the background. Let’s do the A-category first. You saw the flower medallion above; I attached it with tiny stitches at right angles to the outer edge in a matching thread.
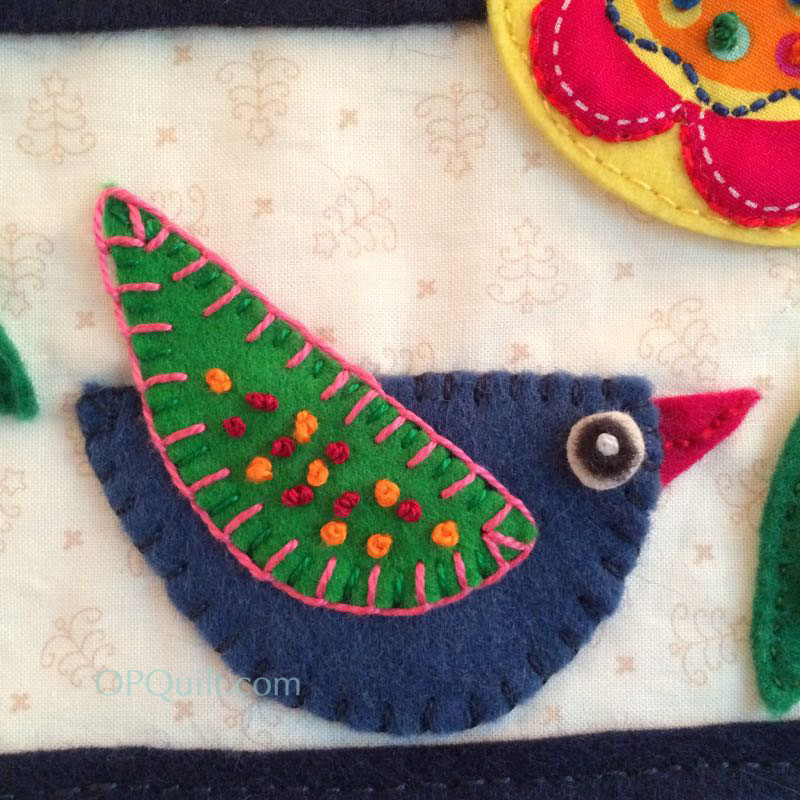
Wendy often leaves the wings undecorated, using the “attachment phase” to put the stitches on, but I’d already embroidered them when she told me this, so I sewed it down to the background by using a small matching (green) thread in between the existing decorative (pink) stitch.
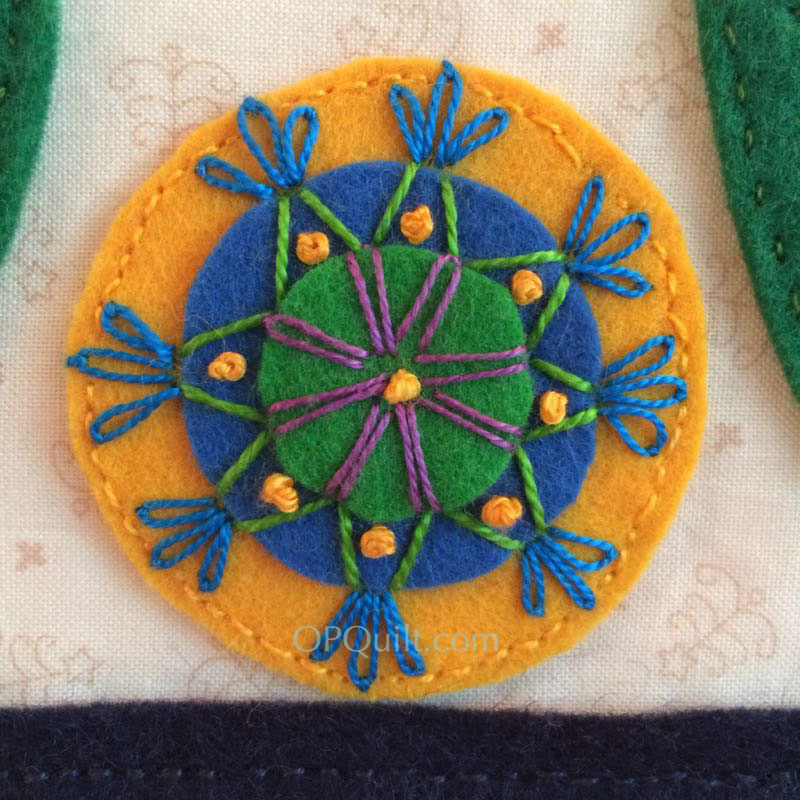
 I used the small perpendicular stitch again here in matching (blue) thread, but varied the length of them slightly, so the longest are between the yellow stitches and the shorter stitches are near the yellow.
 I also decided to keep some flowers simpler, and did a simple backstitch around the outside edge. Keep it smallish and even, and you’ll get questions like I do: “Did you do it on the machine?” No, and if you look closely, you’ll find the bobbly places. Remember, this is folk art and we aim to enjoy ourselves! More backstitching:
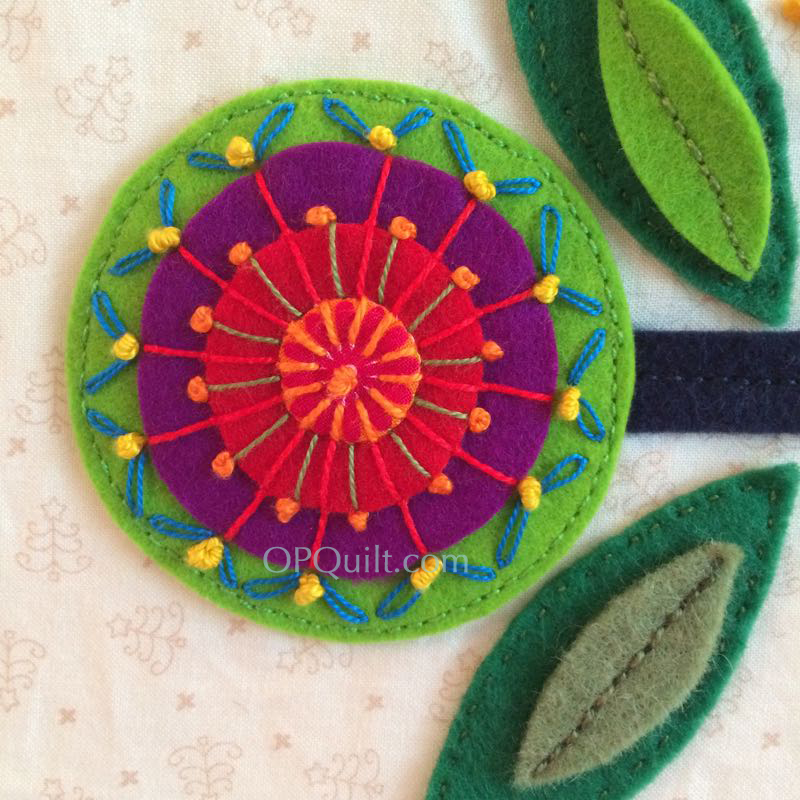
Now for some B-categories: adding another bit of embroidery to attach them.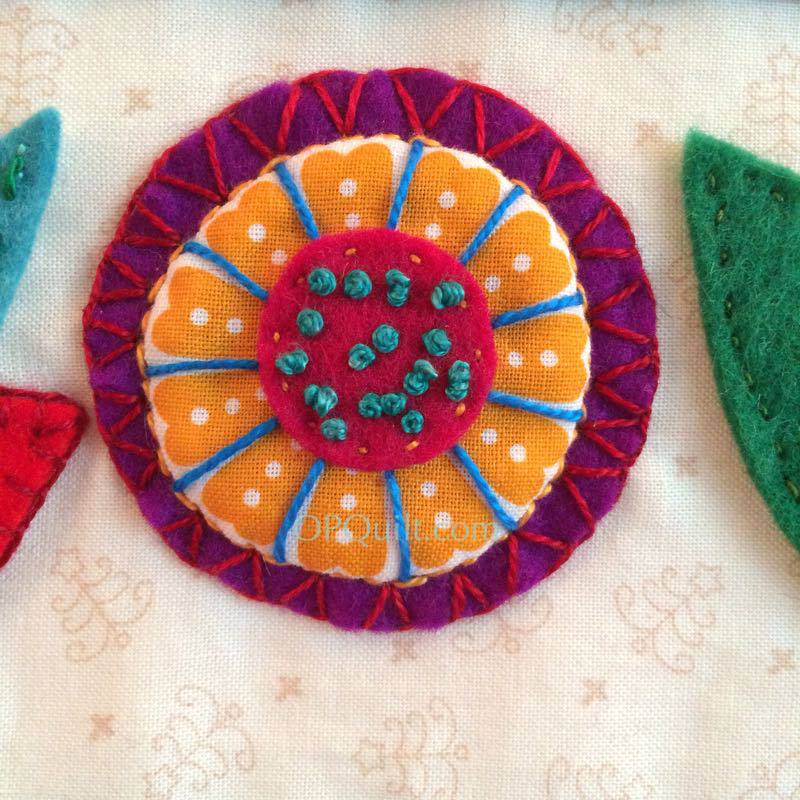
This is a slanted buttonhole stitch. It’s done exactly the same as a regular buttonhole, but instead of keeping the needle perpendicular to the outside edge, you slant it. I like the look of this one a lot.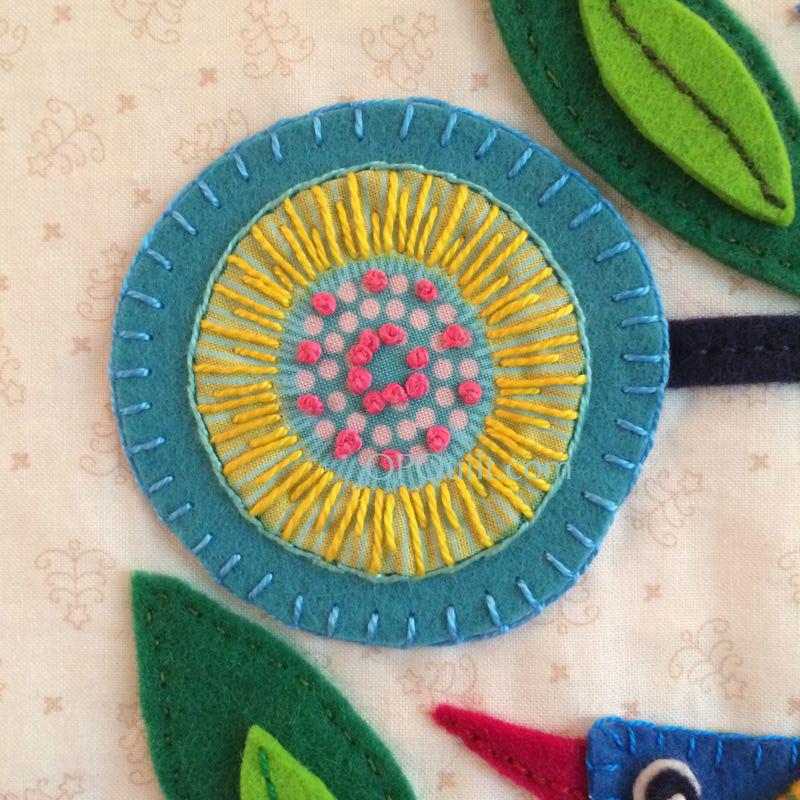
Regular buttonhole. I used matching thread if I thought the flower was busy enough.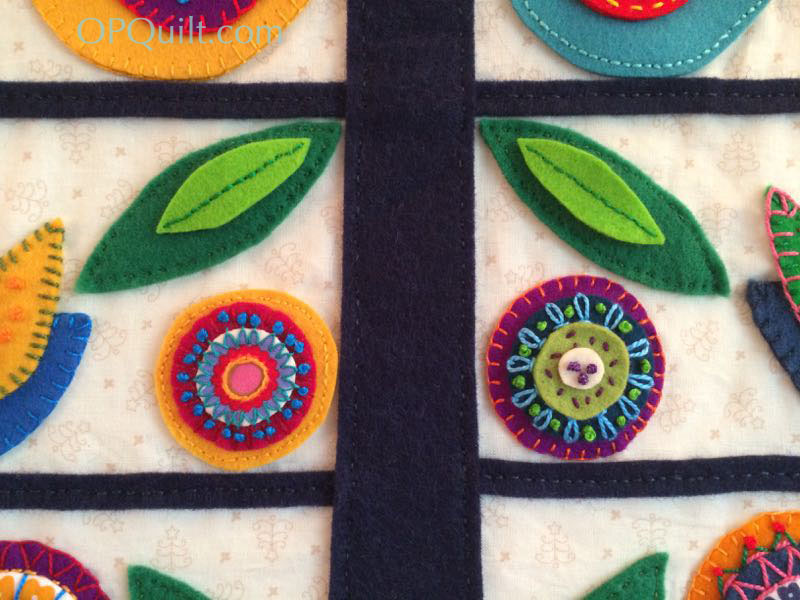
Here’s where I used the backstitch (on the small yellow flower, left) and then used a different color of thread in a buttonhole stitch (magenta flower, right).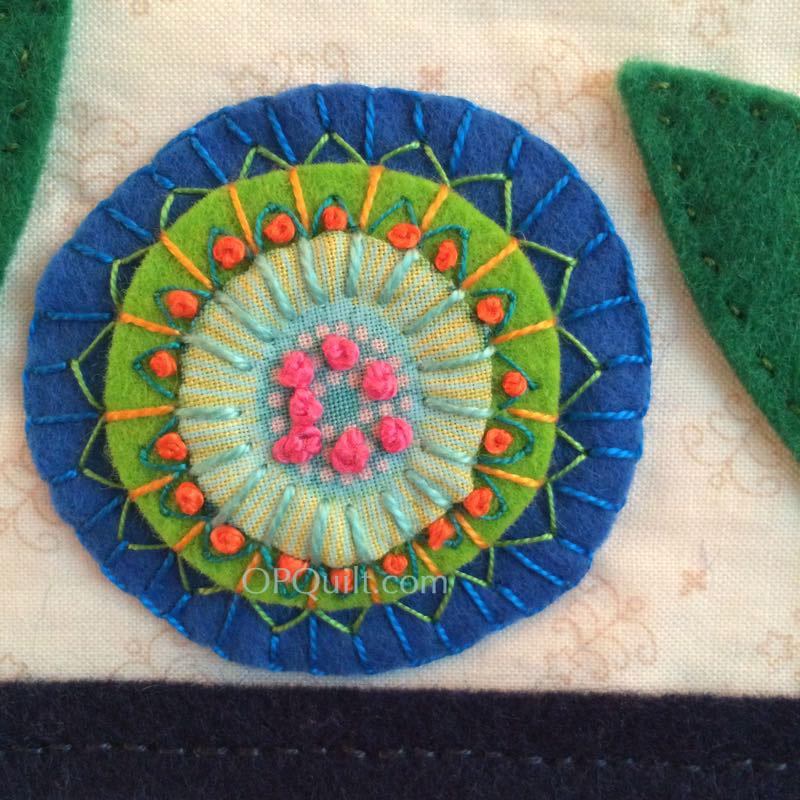
Here’s an “un-even” buttonhole stitch, with shorter and longer “legs” of the stitch, co-ordinating with the existing embroidery.
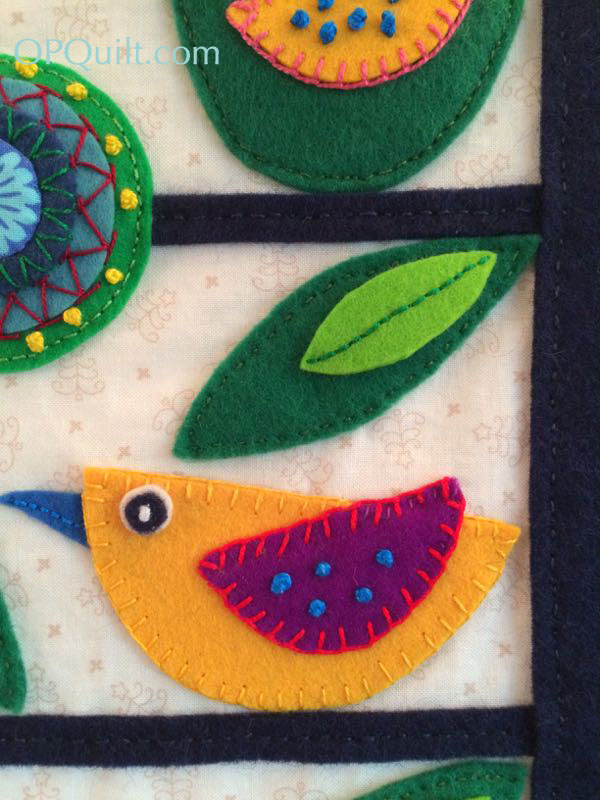
This bird was sewn on with a matching yellow thread, buttonhole stitch. But I slipped a smaller seed (or regular) stitch in between the existing red buttonhole stitch on the yellow bird’s wing to sew that down. 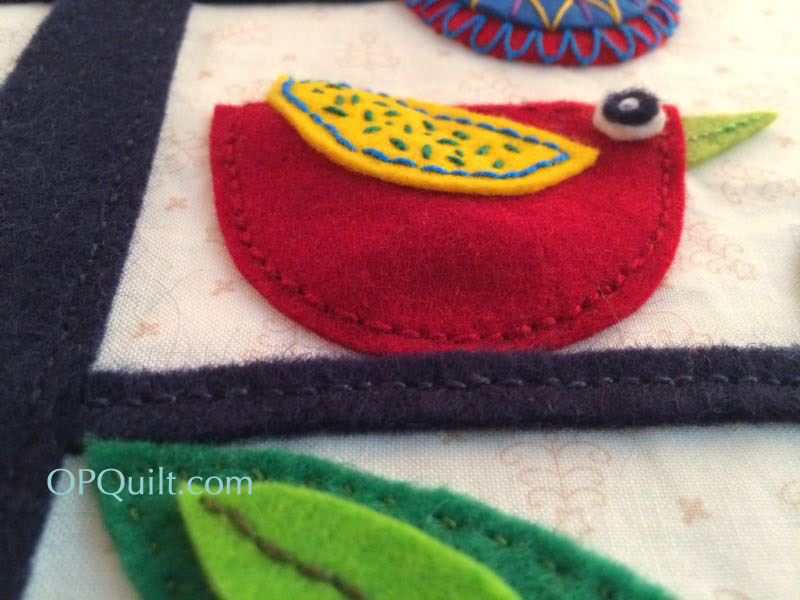
Photography of women depends on flattering angles, but I dropped the camera down low so you could see my pregnant bird. She didn’t start out that way, but the wool shifted. The bubbling up is exaggerated from this angle–it’s not really noticeable from the front, but now you know why I started putting that pin in the center of my birds and flowers as I stitched them down. Didn’t have that trouble with the leaves, for some reason. She’s attached to the background with a simple backstitch. I also did a line on the birds’ beaks. I tried to make them happy birds (It’s Christmas, remember?) by the slight curve of the stitching, but some of the birds turned out a bit moody.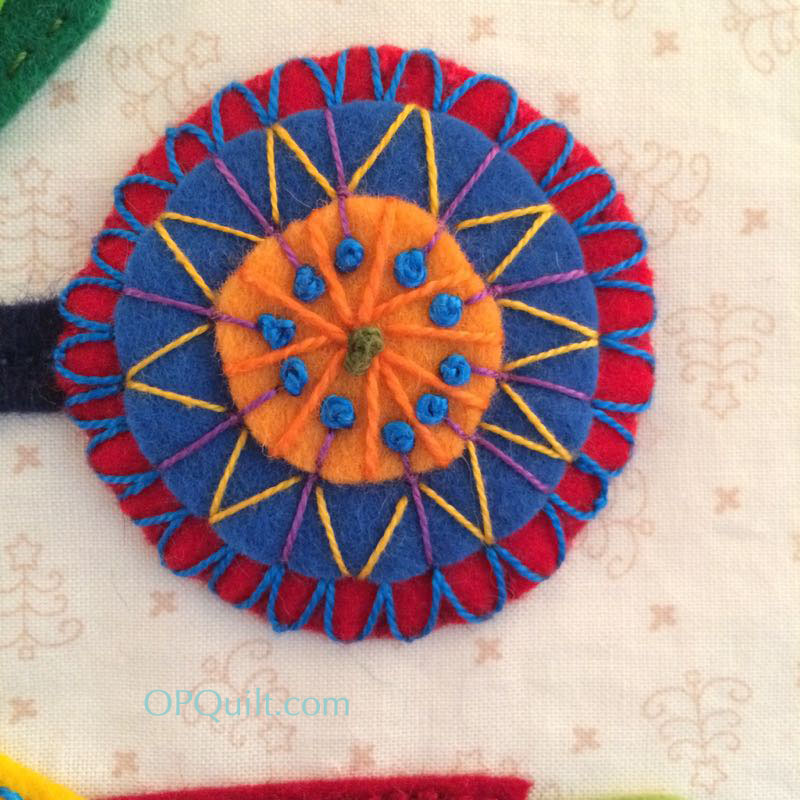
This is another where I snuck a small stitch in between the existing embroidery (A-category), and below, the last photo (!) where you can also see detail on the bird’s beak.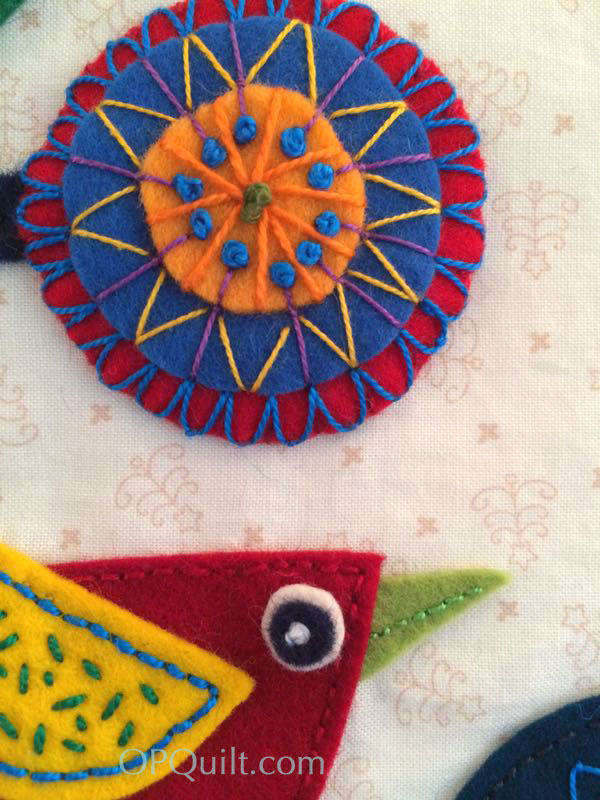
We are definitely getting closer to the end, now, and I’m pretty excited. Next month (June 2nd), I’ll have an alternate scene for you for under the tree, and then we’ll roll out from there.

No giveaway this month, but here’s a recap of our schedule:
January, Step “prepare”: buy the magazine, books, gather your fabrics, buy the felt/wool, buy/find the pearl cotton.
February, Step 1: Make the tree on the background and stitch it down.
March, Step 2: Make 21 flowers.
April, Step 3: Make 10 birds and all the leaves.
May, Step 4: Appliqué down the flowers and birds.
June, Step 5: Scene at bottom of tree–make, then appliqué onto background.
July, Step 6: Sawtooth border (reds); sew together and attach.
August, Step 7: (finish up Quilt-A-Long): Make wonky star blocks, sew them together and attach border #2.
September, Step 8 Show and Tell, just in time for school starting again.
Yes, we cut a month off our sewing, so you’ll have plenty of time to finish your quilt before December.
Happy Stitching and we’ll see you in June!

All looking fabulous Elizabeth! So much to look at and admire! I’m guessing you will be finishing up just as a I get started in July! But then I will have all your advice and ‘show and tell’ to motivate me!
And all questions were answered! Yay!!!!!! Your work is so perfect-looking and will be my inspiration as I start to sew these things on to the background – thank you, thank you!
One word…..gorgeous!!!!!
Such pretty stitches Elizabeth! Oh my goodnes ; )
So inspiring! I’m slowly but surely catching up! A bit of traveling this month, so I’m hoping to get all my birds and ornaments ready! Thank you for all your advice, Elizabeth. I don’t know if I would have taken this on without you!
Thank you for the photo heavy post. I love seeing your embroidery stitches up close and your use of different fabrics in your flower centers. You answered my question about adding edge stitching when attaching the flowers. I wasn’t sure how to fit it in, but after seeing your method, I am good to go. Thanks too for the inspiration to get sewing.
Your moody birds are being made to pose for photos with family members they detest. Ah, the joys of the holidays. NOT!
This is looking really amazing. Keep up the fantastic work.
This is such a great resource for anyone wanting to do wool felt Applique in the future. Thank you for taking the the time to document all this information and post in on your blog. The photos are such a help to everyone.
The presents below the tree are a good idea because you always have presents under the tree. I may do that for mine as the original idea seems out of place although it looks great. The presents give a simple homey touch to the quilt.
I love it!!! I’m behind bur everything is cut out, some are decorated and I’m making some headway. I know it will be done before Christmas and I rather like being behind you so I can get embroidery ideas from your flowers and birds. Love the method of attaching! Thanks, Elizabeth, for this great project.
How beautiful–I love your stitching. One of these days I’ll actually get started.
You give the best directions! Thanks so much. Plus, your quilt is beautiful.
I really appreciate the detailed descriptions about attaching the pieces, and I’m especially glad to have the chance to catch up! I’ve attached all but one of my big circles to the ends of the tree branches, now I will arrange the birds and leaves and small flowers to fill in. That is, after I cut out and assemble the birds and flowers! I wonder if I’ll want to fill in with more, as Wendy has done?
Pretty little flowers but the birds are just too too sweet. Love them.
Oh, how I wish I’d bought this magazine! Love how your version is turning out!
Give you a surprise