Using vRealize Orchestrator 7.0 Workflows from the vSphere Webclient
If you have followed all the steps I have described in the previous post, vRealize Orchestrator 7 should be available from the vSphere webclient.
Official Information page: Product Information Link
Official Documentation page: Documentation Link
Download vRealize Orchestrator 7: Download Here!
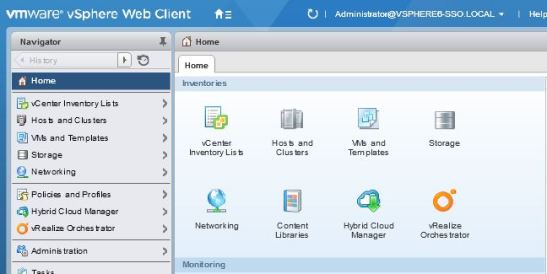
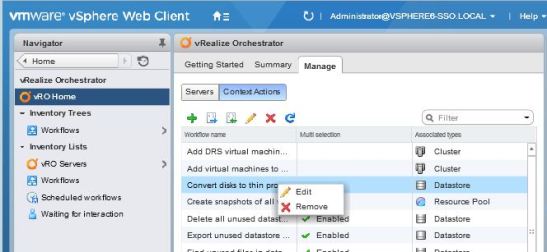
Click on the vRO logo in the webclient and open the Manage tab. You will see all connected vCenter servers and all vcenter servers available through Enhanced LinkedMode.

Click on Context Actions. All the actions (workflows) you can find over here are the workflows which are standard available in the vSphere webclient.
You can see that some actions (workflows) are enabled for Multi selection. To enable the other ones, click on an Action which has not been enabled yet, and then right click the action and select Edit.
Modify the action to your liking. The action (workflow) will only be available for the objects you select. Keep in mind that when you select multiple objects, you have to put a tick in the Multiple Selection box ( In the screenshot below I did not check the box yet)!
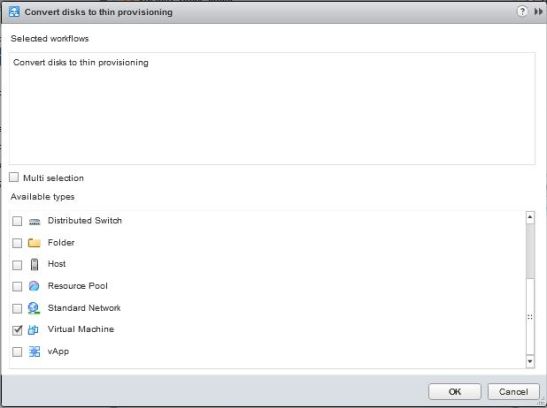
Once this has been done, you will see that the action can now be run against multiple objects from your vSphere webclient.
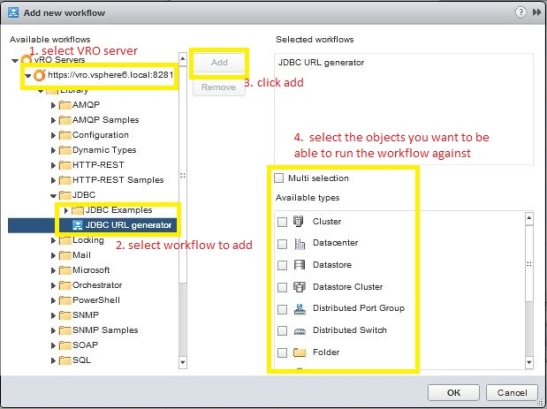
Should you want to make more workflows available in the webclient you have to click on the green plus sign and add the workflow. then click on OK. After this the workflow will be available from the webclient.
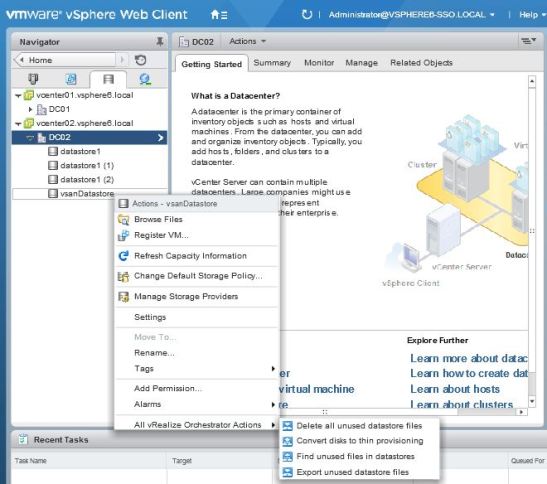
Running a workflow is easy. Right click an object a workflow has been made available for and select: All vRealize Orchestrator Actions and click the action you want to run.
vExpert
VMUG
vBrownbag US

vBrownbag EMEA

Autolab 2.6: vSphere 6!

VMware Hands on Lab