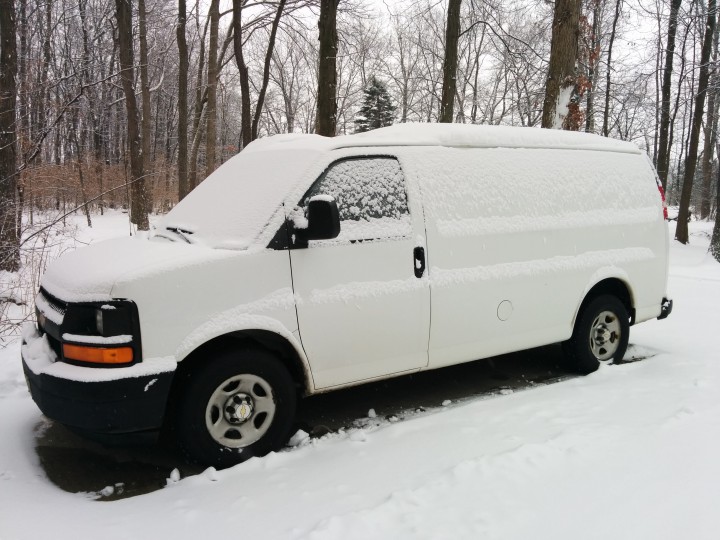
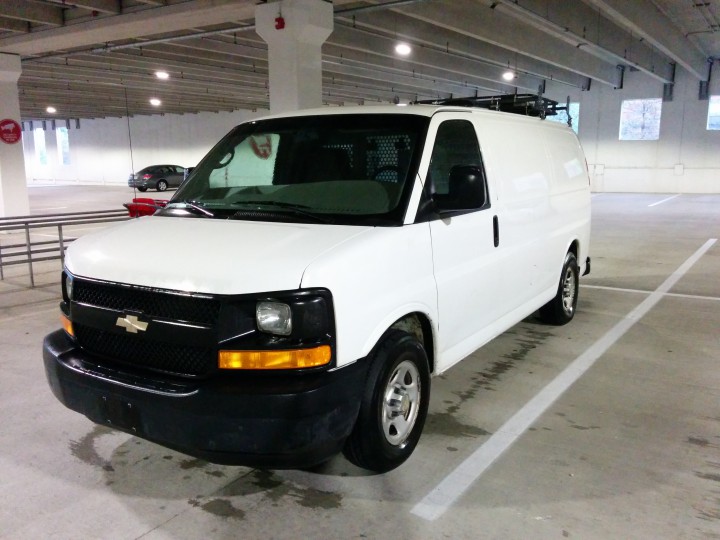
I started with a 2004 Chevy Express 2500 V6 cargo van.
If the van didn’t come with a partition between the cab and back I would have installed one. This is important for safety in the event of an accident, insulation, and privacy.
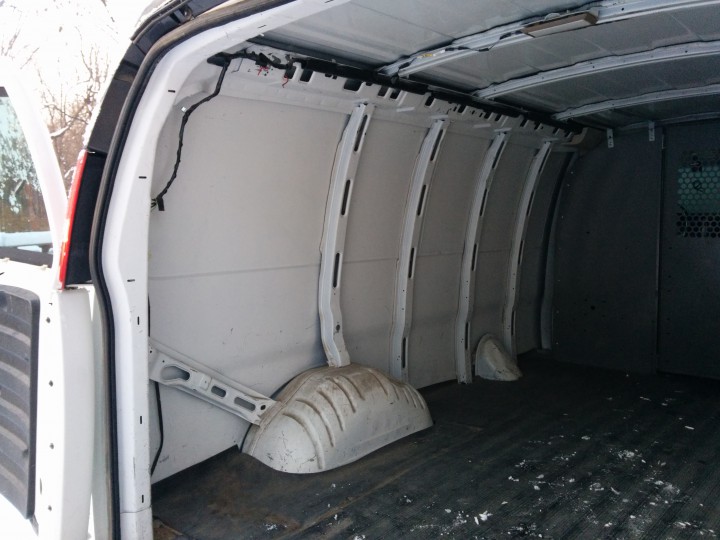
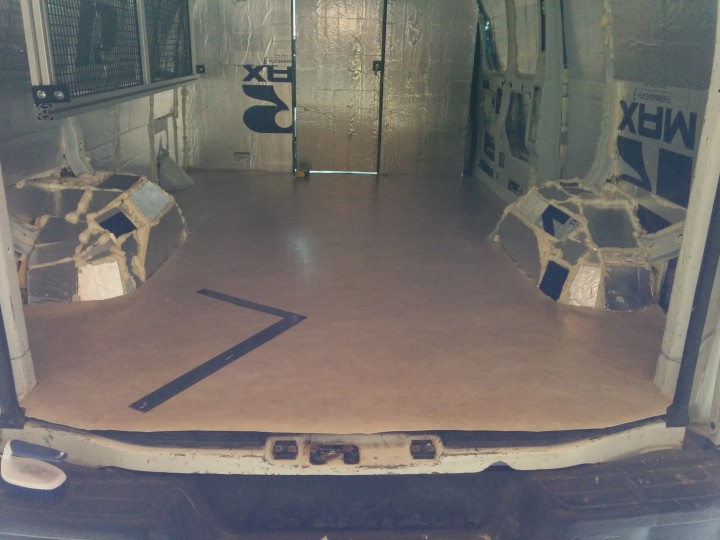
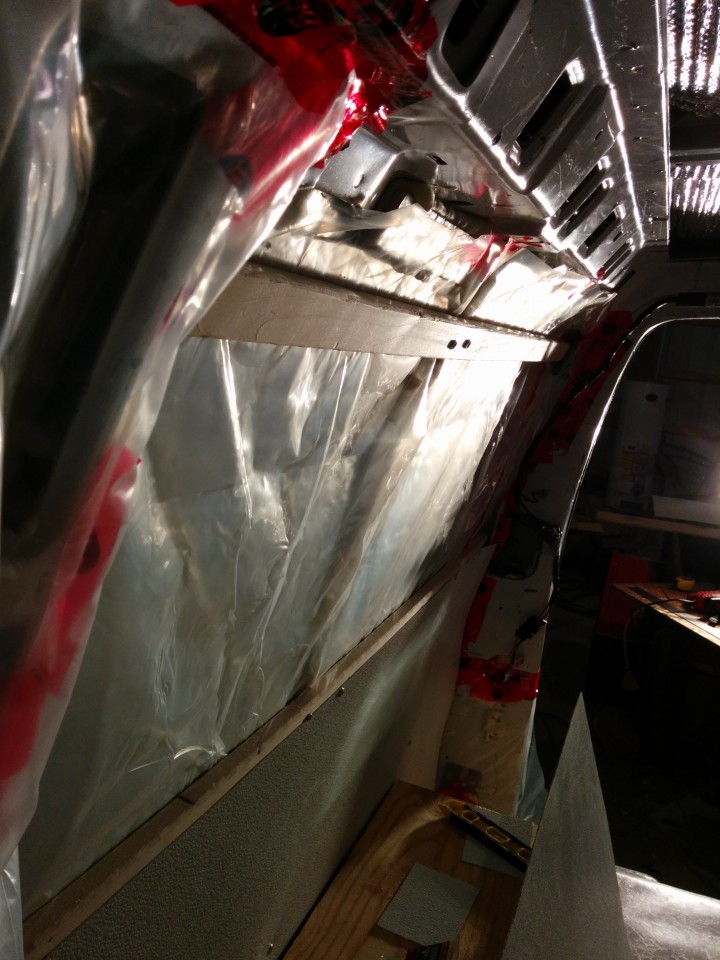
The first thing I did was to take measurements. These pictures were for reference when I was deciding what to do for insulation/wall panelling.
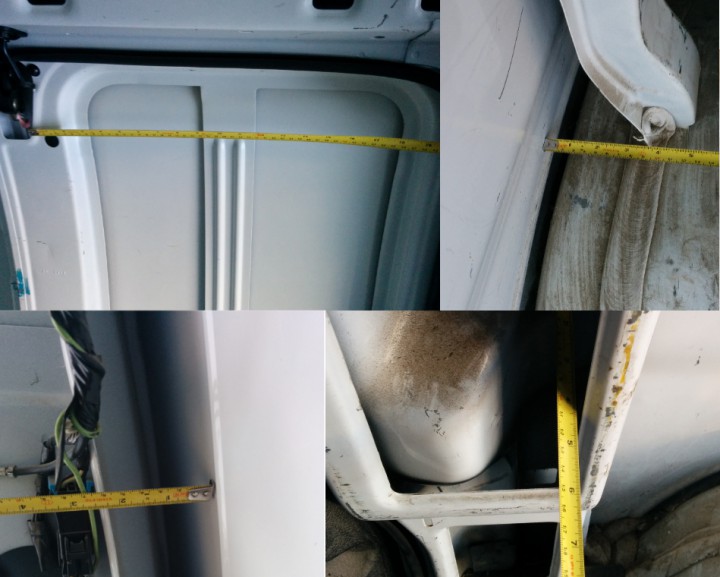
Having detailed measurements allowed me to make a 3D model with SketchUp. This wasn’t necessary but it helped me brainstorm. Since it’s possible to define the model in feet and inches I got an idea of how I would fill the interior space.

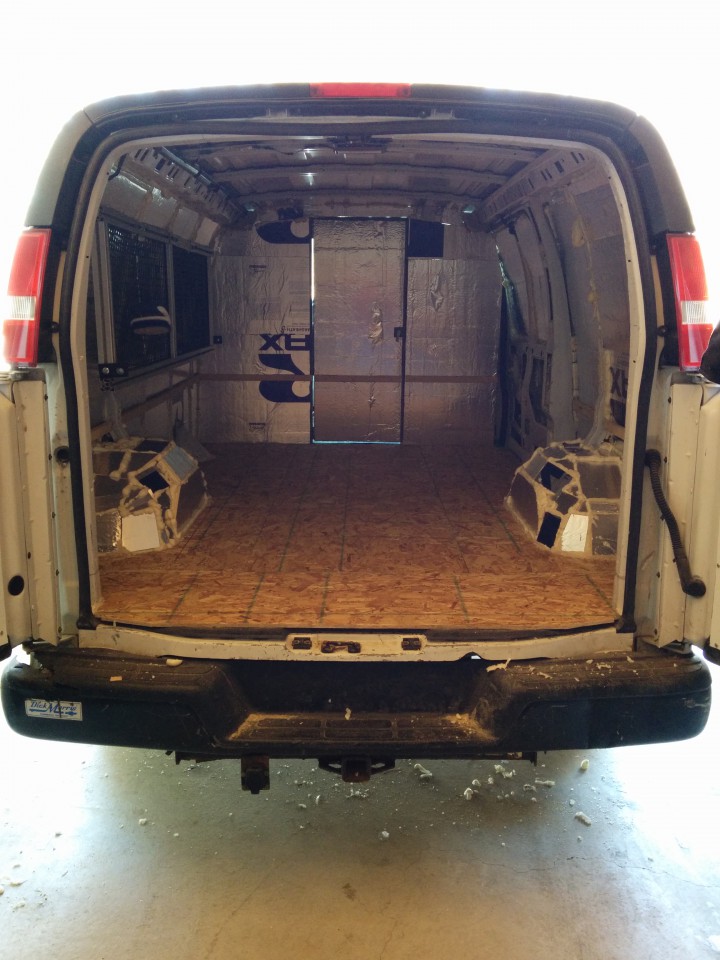
For insulation I chose closed cell, polyisocyanurate foam board with a reflective aluminum side which I faced inward. On its own, the insulation is R-6. My idea was to increase the R value by making a 1/2″ air gap between the reflective layer and wall panelling.
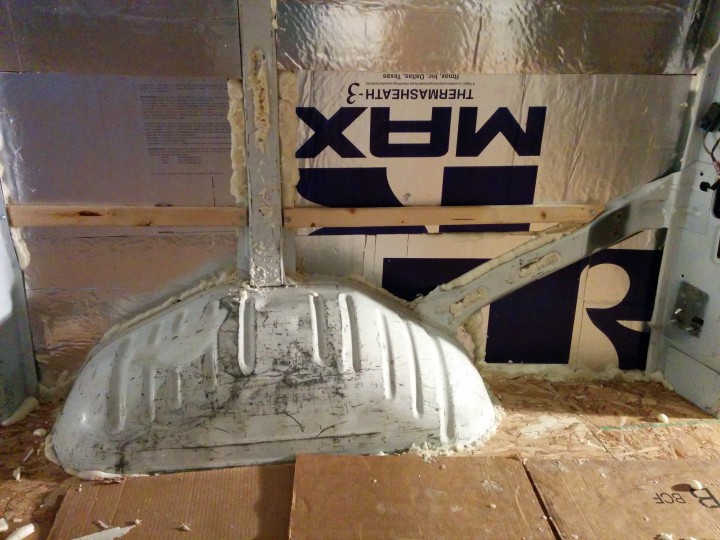
The boards fit into place tightly. I sprayed Great Stuff foam into any gaps and shoved strips of insulation board into the van’s hollow ribs.
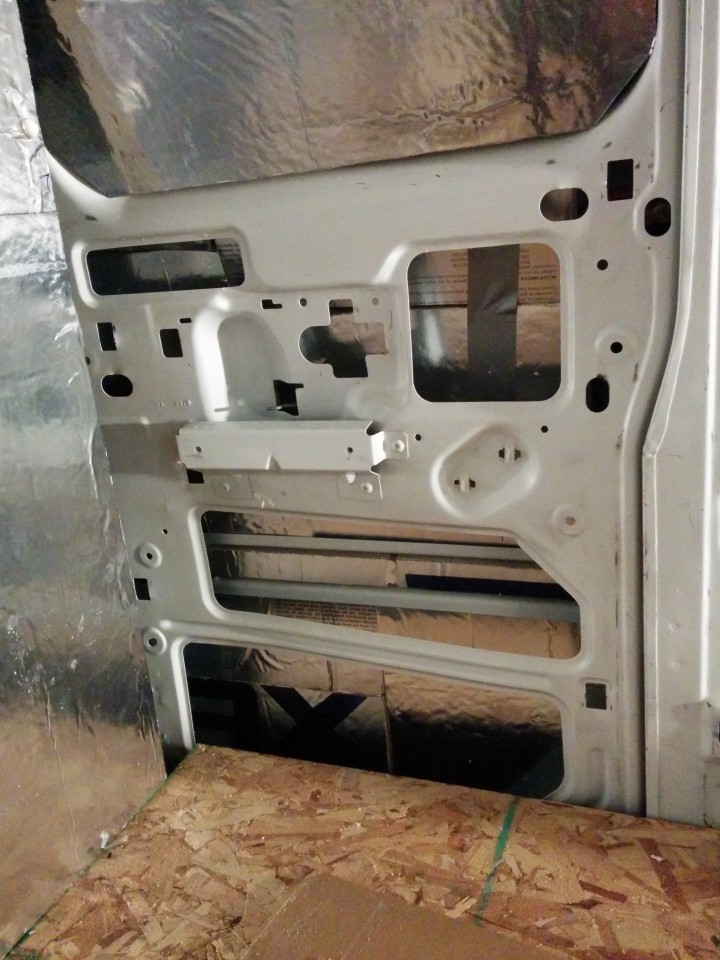
I put foam board in the doors wherever I could.
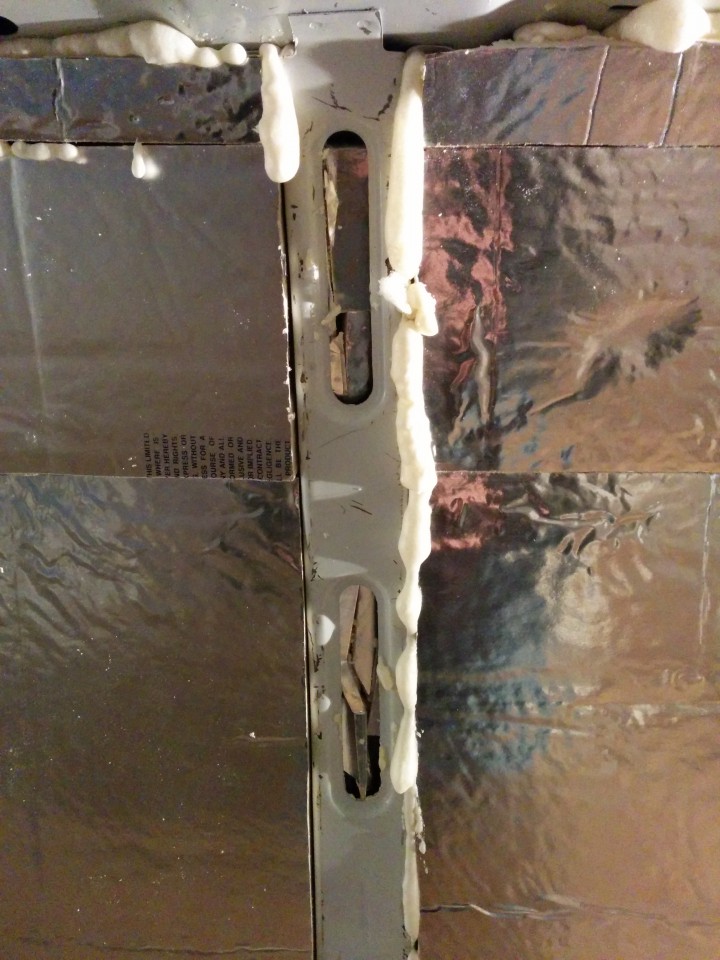
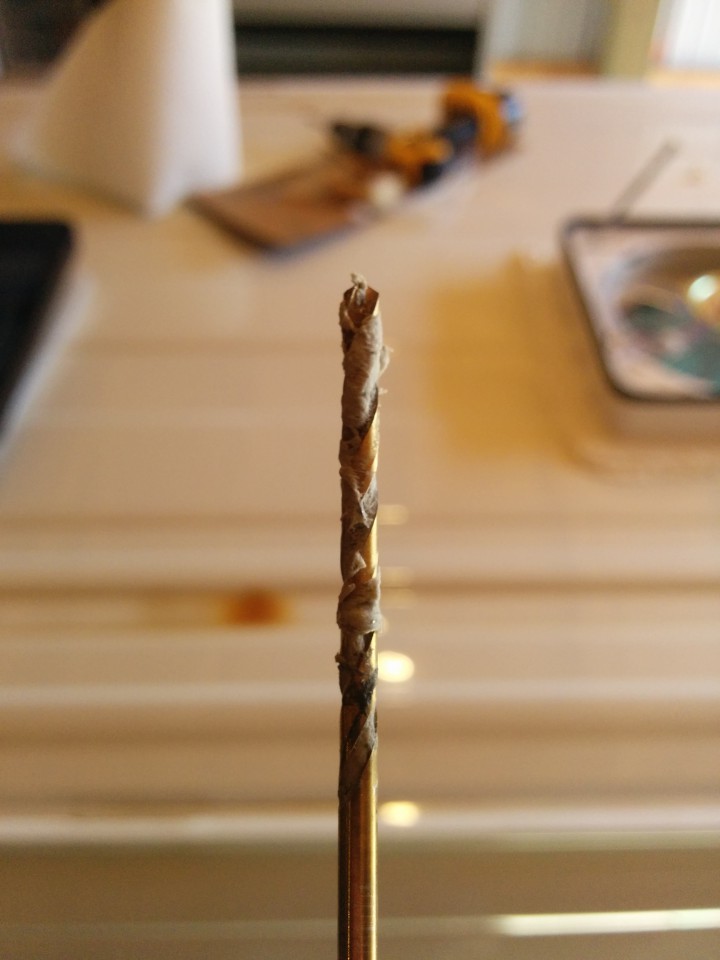
I attempted to compliment the foam board with a vertical layer of Great Stuff. Turns out, it doesn’t work like that. I had limited success in increasing it’s expansion area by alternately spraying the Great Stuff and small amounts of water into the door. As I understand it, the water allows the foam to cure even if you exceed the recommended 1 inch application area.
I imagined cutting little cubby holes into the vertical layer of Great Stuff where the door’s sheet metal would allow, but I gave up on that.

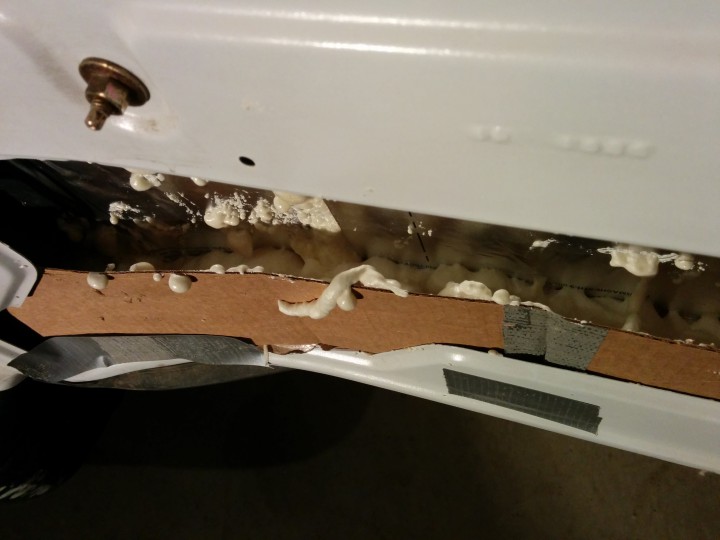
This was also a bad idea.
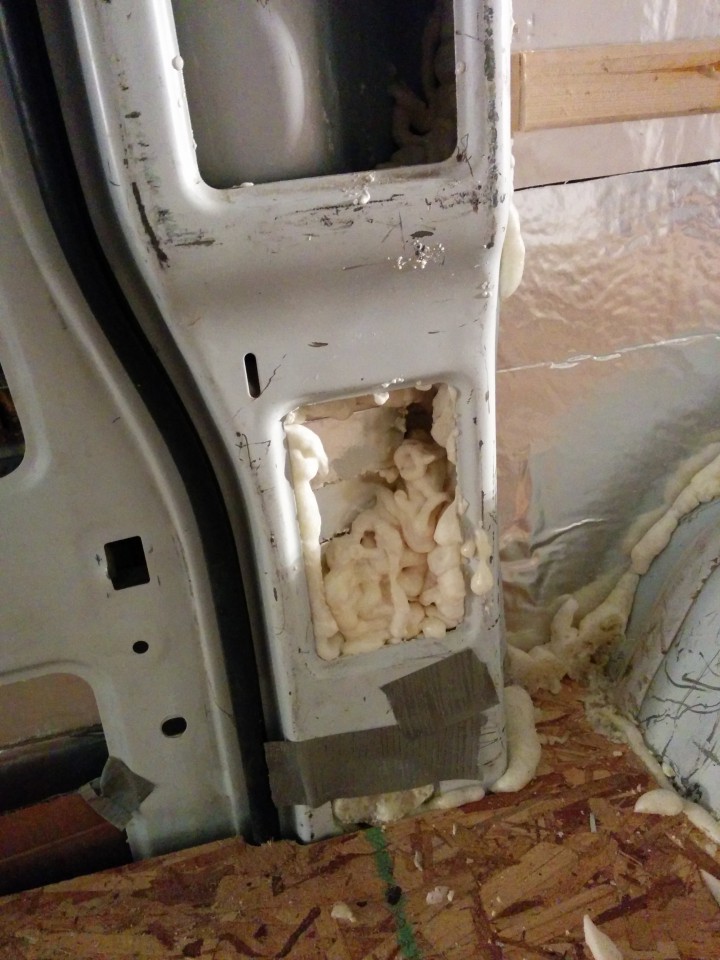
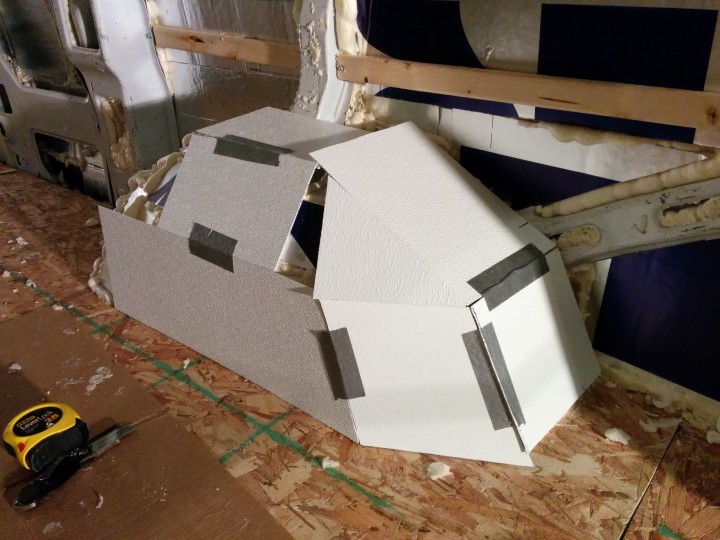
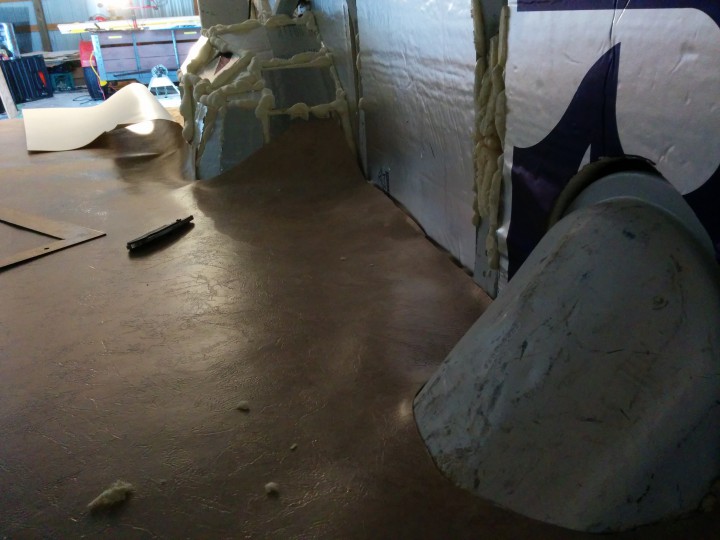
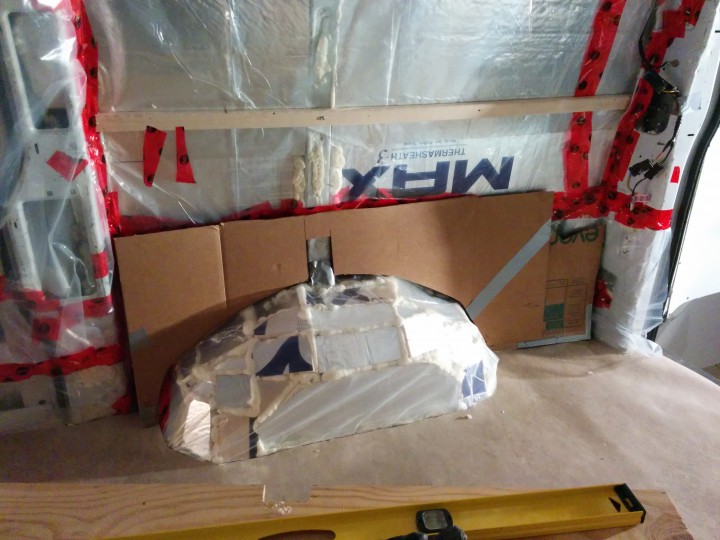
In hindsight, I should have simply boxed off the wheel wells. Instead, I took the hard way. My idea was to panel it with FRB, box it off, then cut small doors into the box. I thought it would make a good place to store socks or something.
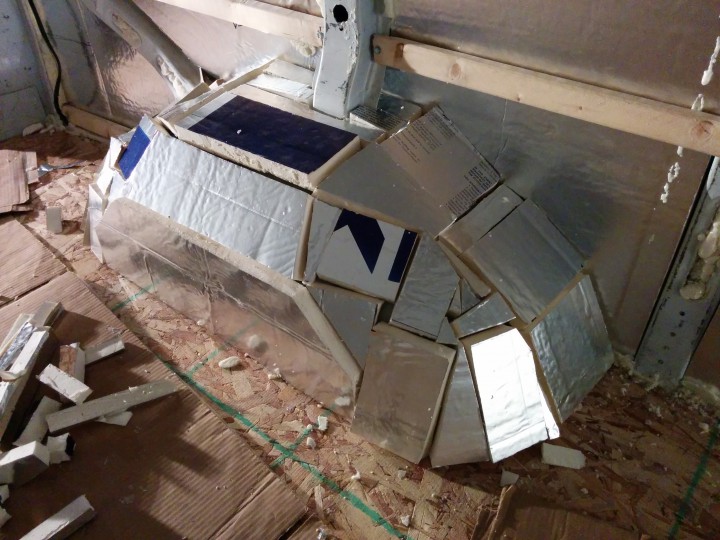
Once the Great Stuff cured, the whole mess became surprisingly ridged.

Unfortunately, I couldn’t cut the FRB sections correctly and I ended up wasting a lot of it.
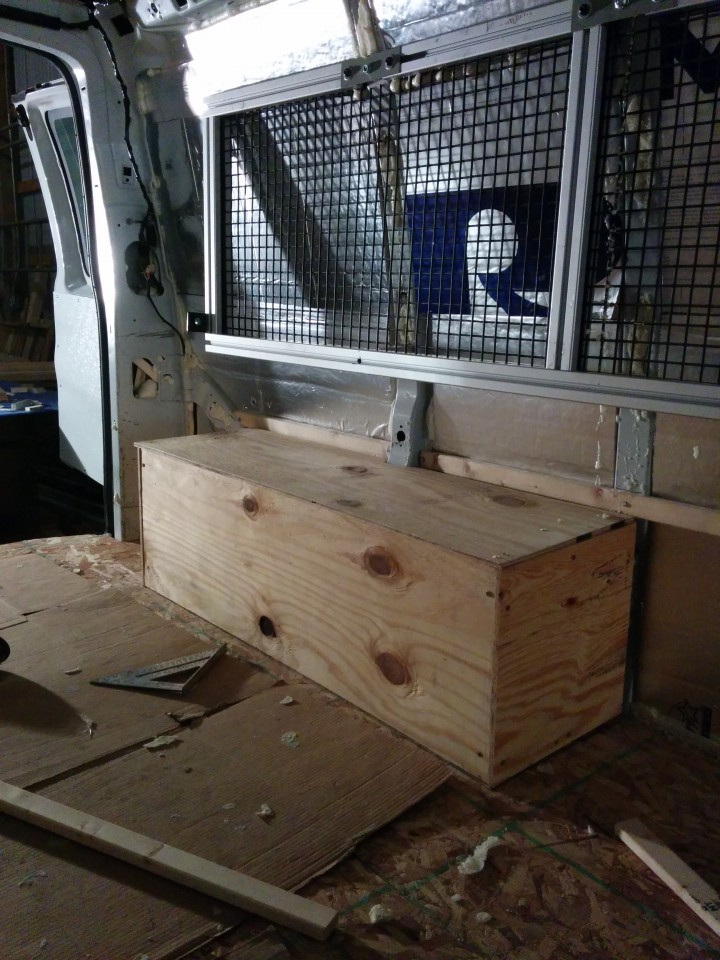
I just went with the box.
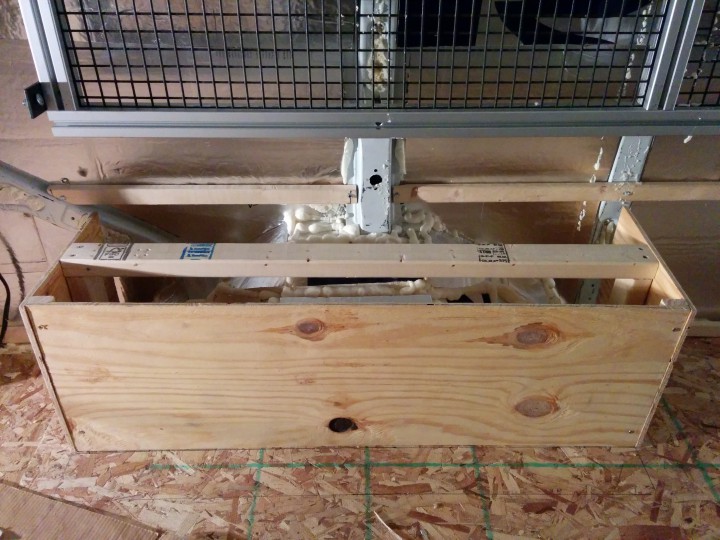
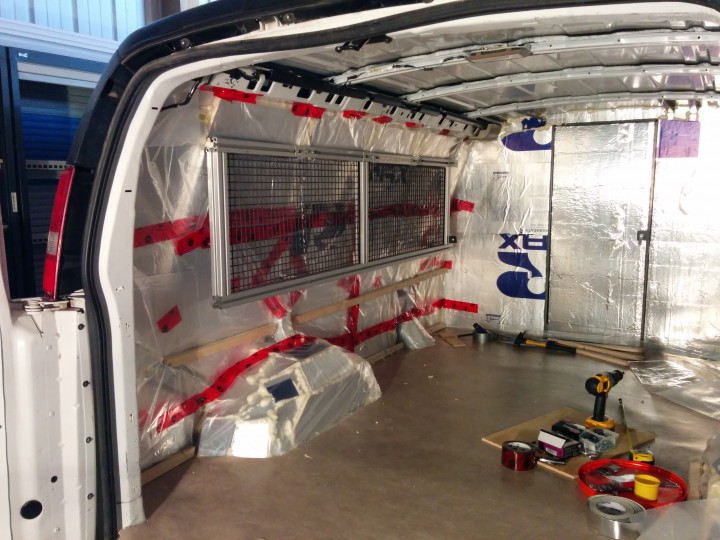
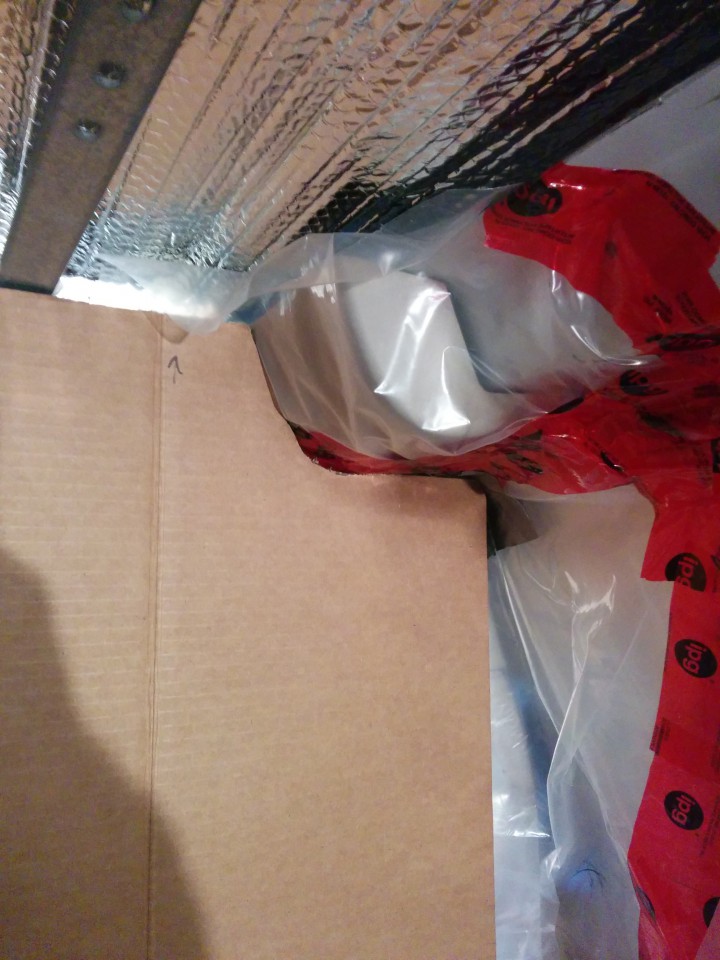
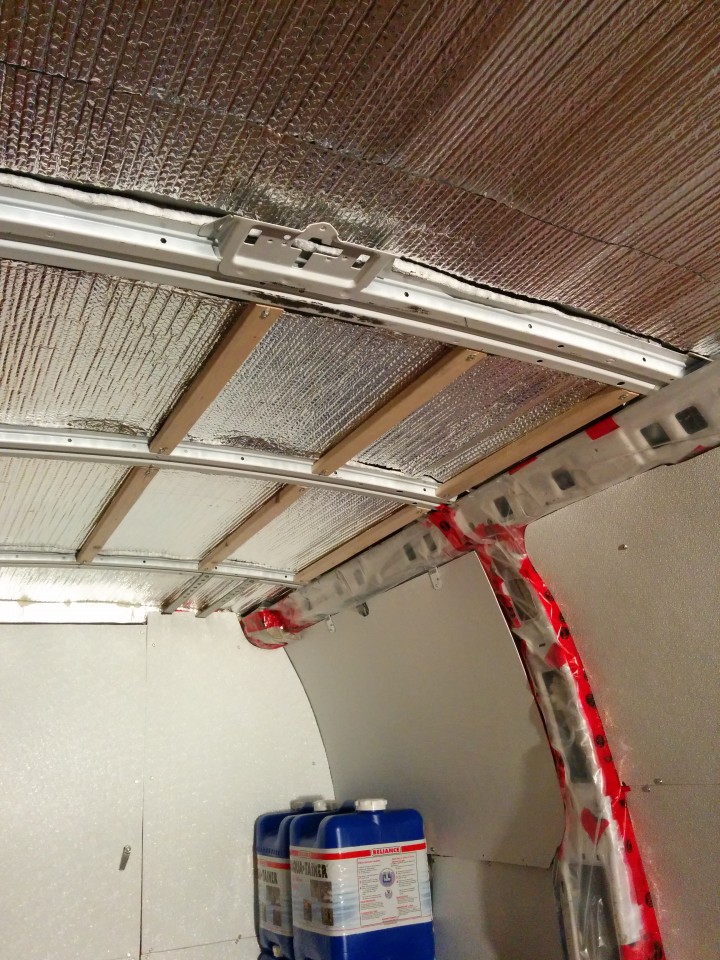
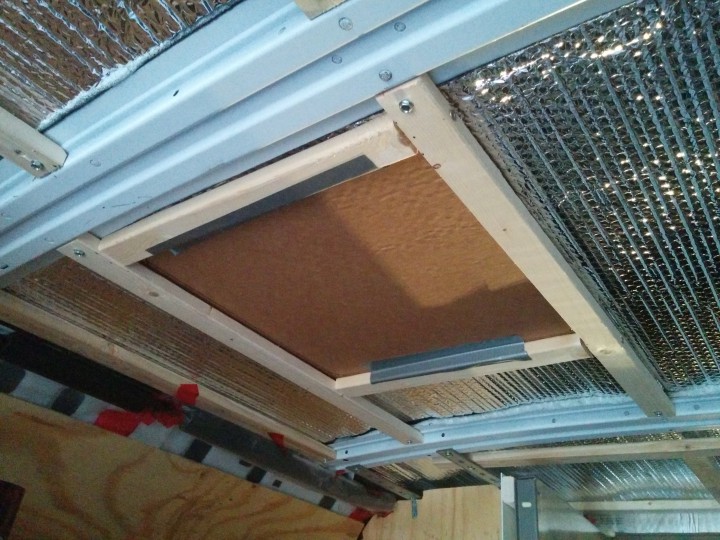
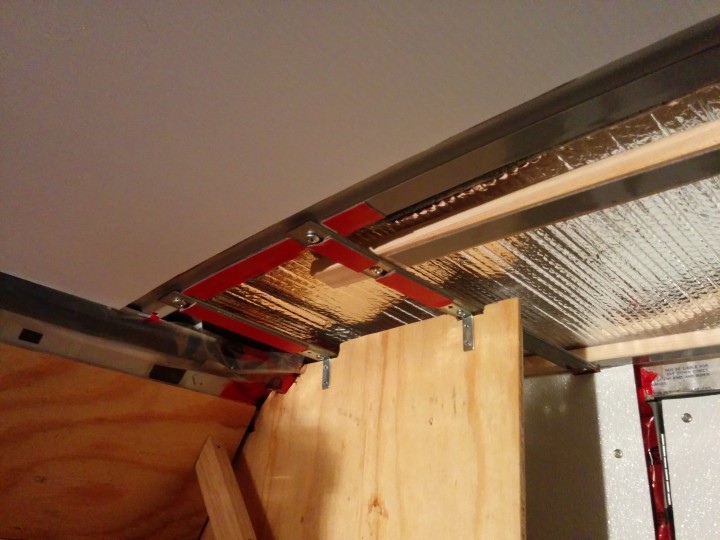
The metal mesh you see above the box is held in place by aluminium extrusions that I bolted to the van’s ribs.
I cut rectangles of scrap metal to connect the top sections of extrusion. On the other side of the middle bolt is another, smaller bit of scrap metal that secured to the inside the van’s rib.
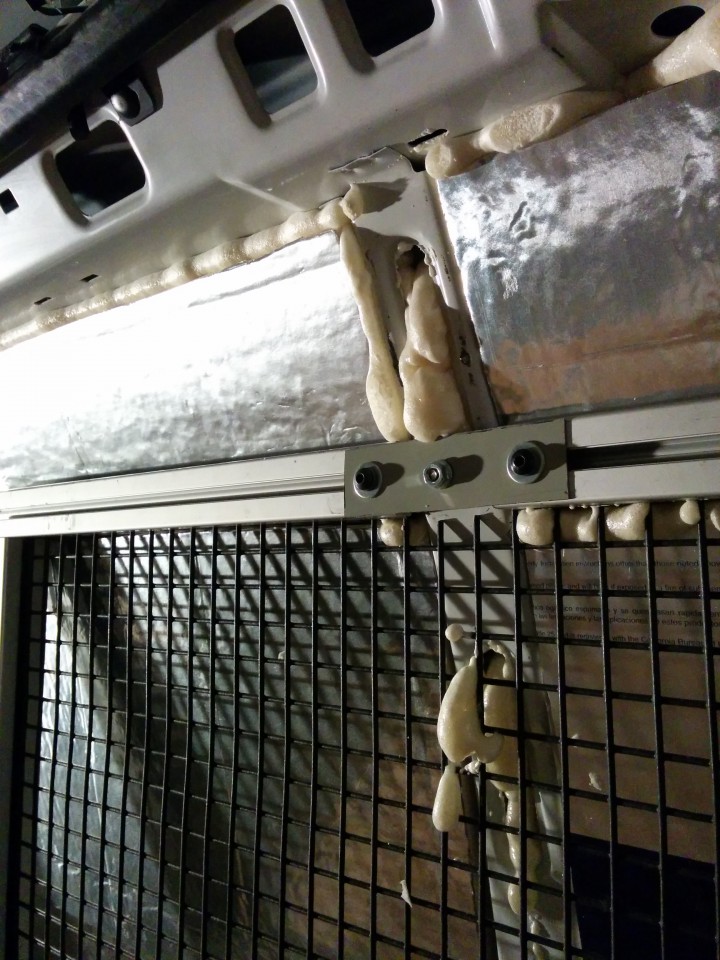
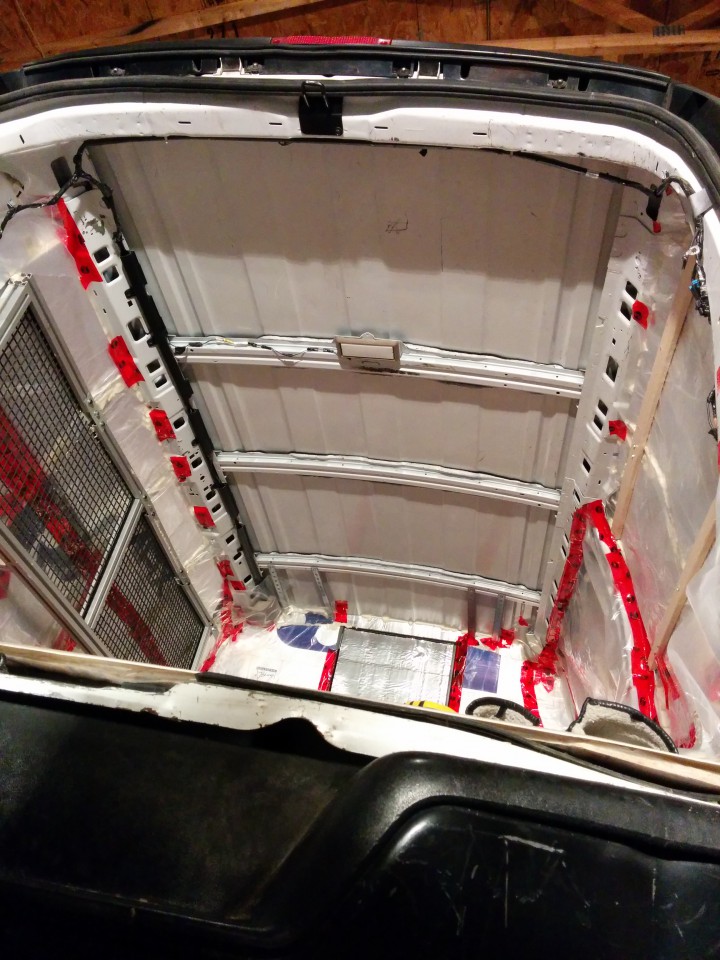
Here you can see the mount points from above. It would have been much easier to simply go with a continuous length of extrusion. My rational was to save space by mounting the thing as flush to the wall as possible. I didn’t want it to stick out an inch further than it had to.

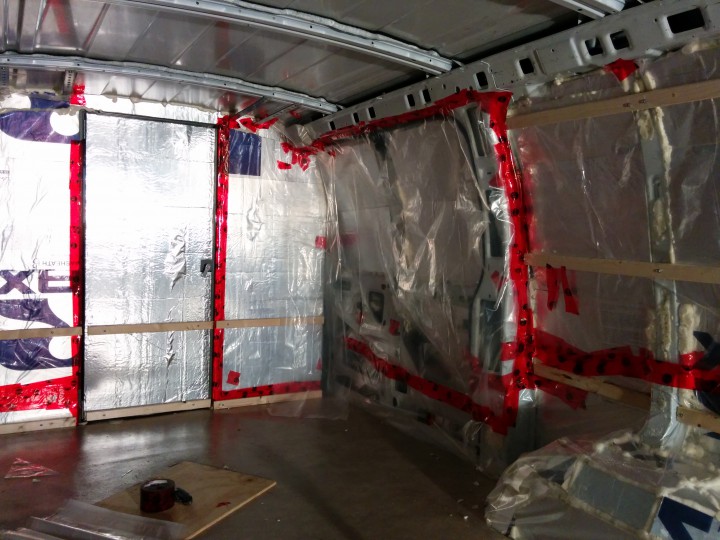
My van has double doors on one side. They are damaged and were never able to open fully. So I just locked them and panelled over that whole side of the interior.

Behind the double doors is a step. Someday I’d like to make a little trap door in the floor and have a hidden compartment.

The floor.
Cheap, ugly linoleum.
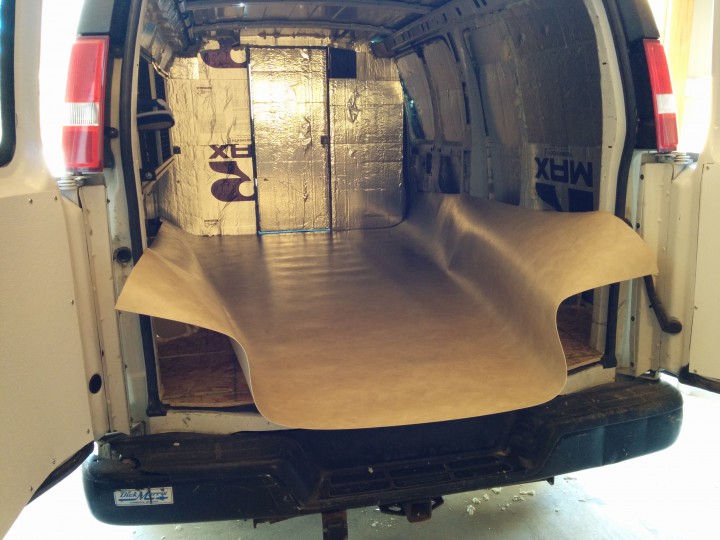
Cutting the linoleum.
Cut linoleum.
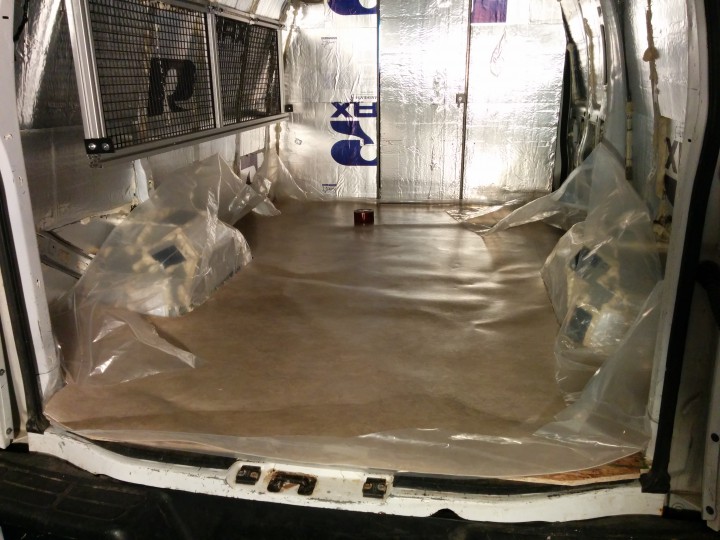
I spread some sheet plastic under it. I don’t know if this was necessary. I took the concept of a vapor barrier seriously because I read something about campervans rusting from the inside out over time if exhaled moisture is allowed to reach sheet metal.
The linoleum is a vapor barrier so I could have forgone the sheet plastic on the floor. Except I wasn’t confident I could make a seal around the edges. The last thing I wanted was the the floor to rot or develop mold.
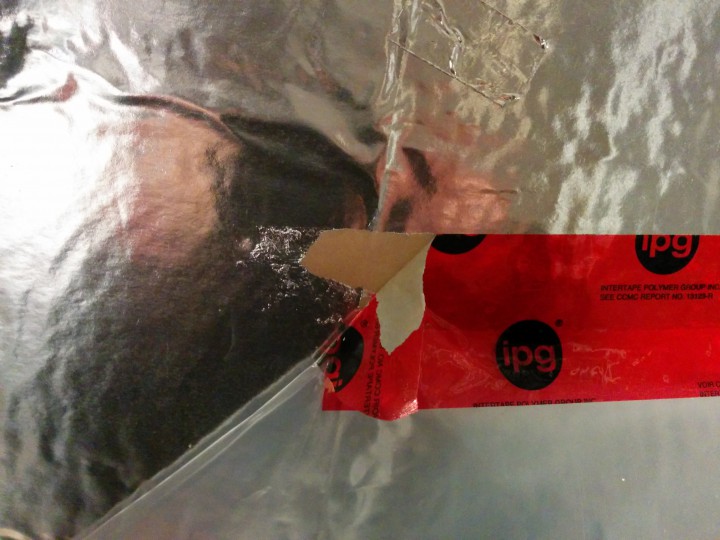
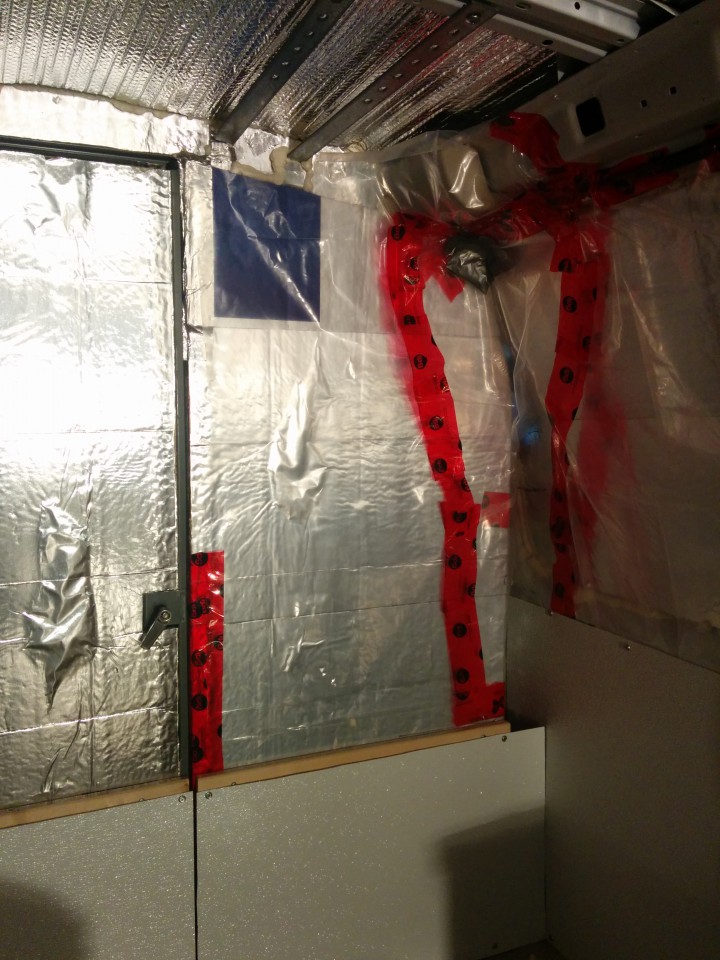
I used sheathing tape to hold the vapor barrier on the walls together. Specifically, I used two 2.36-Inch by 72.1-Yard rolls made by Intertape Polymer Group. Duct tape is not good for this step because it allows moisture to pass through it. Also, duct tape will likely lose its hold on the plastic if exposed to excessive heat or cold. The sheathing tape is rated for sub-zero and “elevated” temperatures.
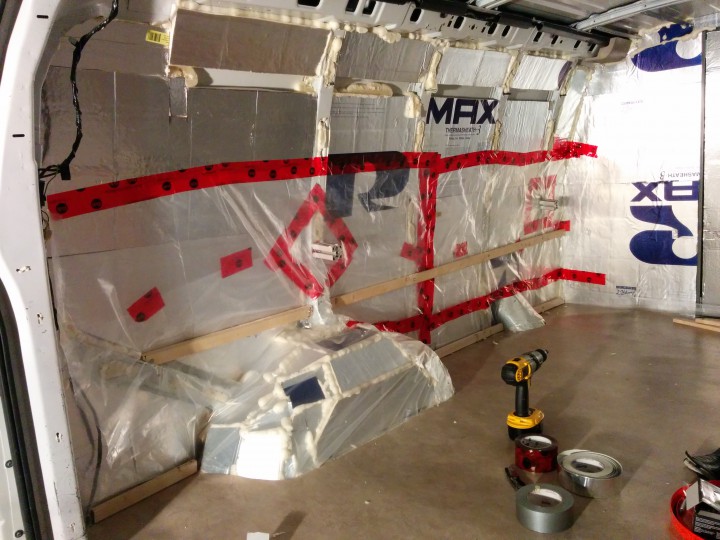
Overlapping layers.
It’s not possible to pull the tape off the foil side of foam board without it ripping. I repaired these parts as needed with reflective foil tape.
Mesh reattached.
The other side.
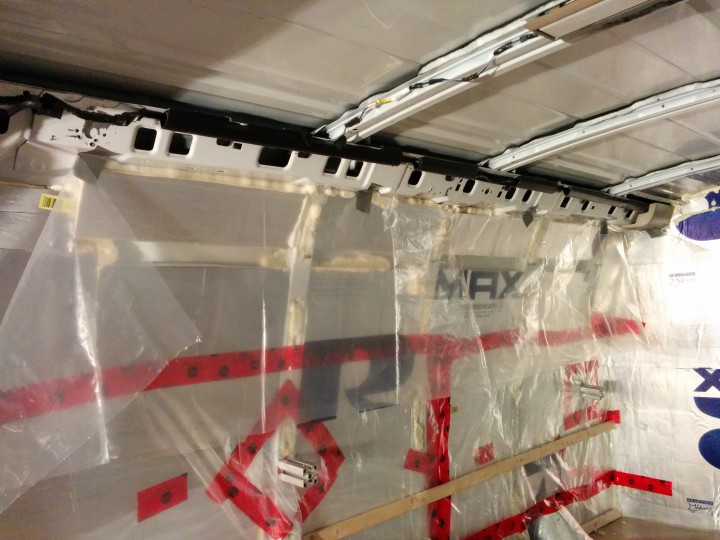
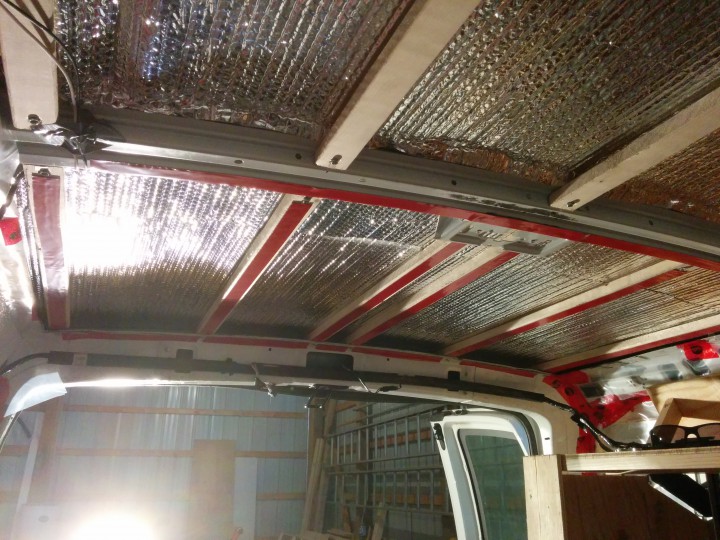
The ceiling.
I used spray glue on both the Reflectix and the ceiling for extra adhesion.

Reflectix has very little inherent insulation. It only works when combined with an air gap. As you’ll see later, I achieved this with Coroplast. However, I think I made a mistake here by gluing the reflectix directly to the ceiling. I would love to hear from someone who knows more about this.

I used 1×2 inch furring strips to secure the panelling. It also allowed an air gap between the reflective side of the insulation and the FRB.
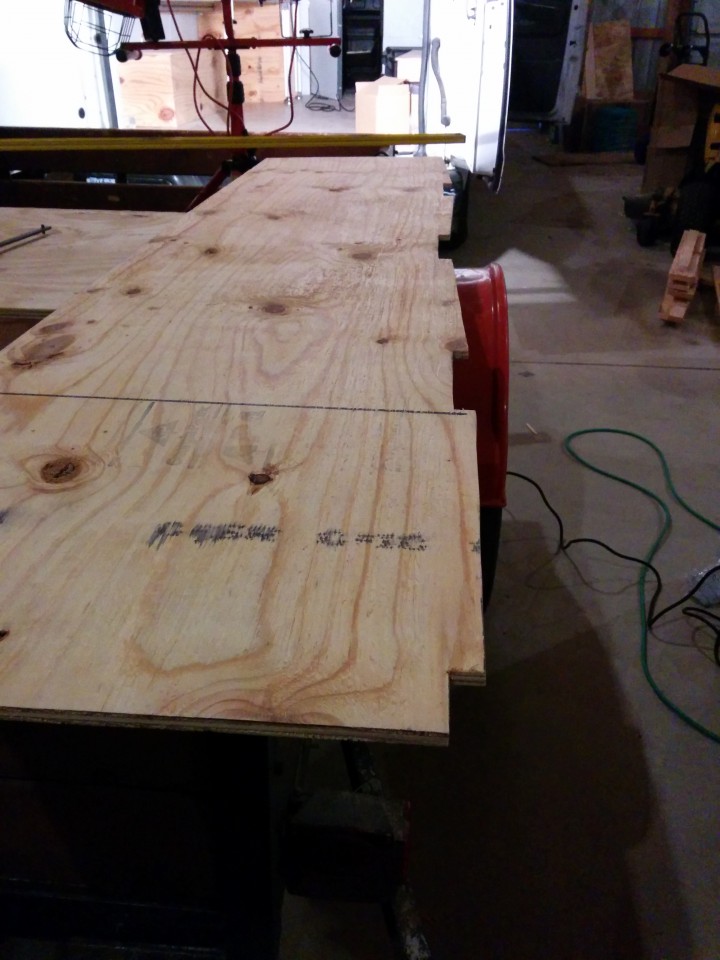
I’ll use this section to illustrate my approach to the trickier panel cuts.
At first, I tried to cut the FRB based off basic measurements.
That didn’t work. So I took more measurements.
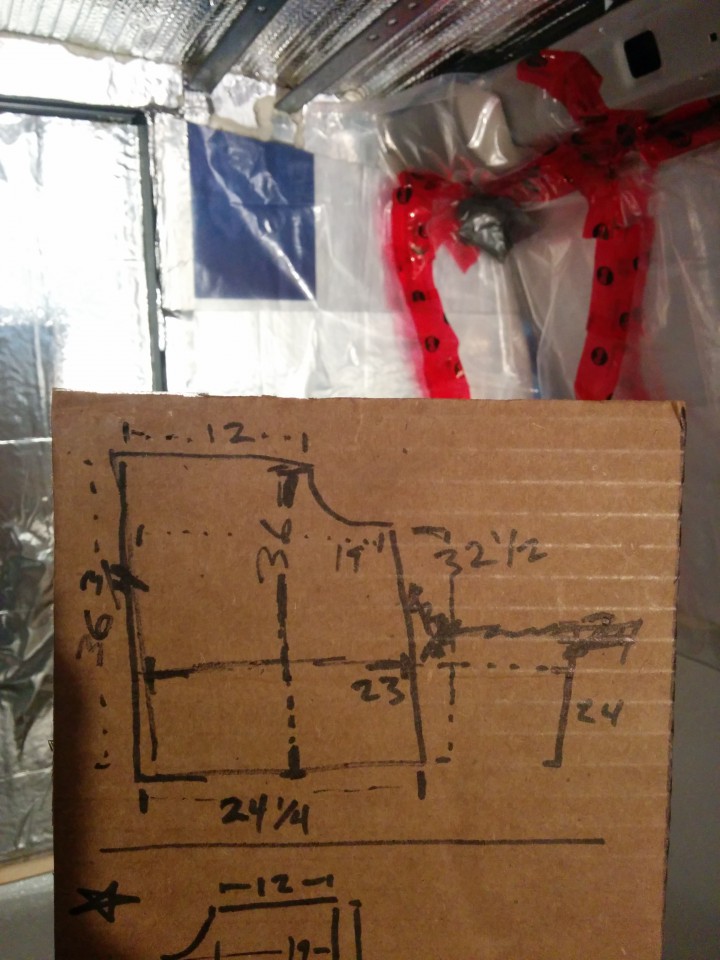
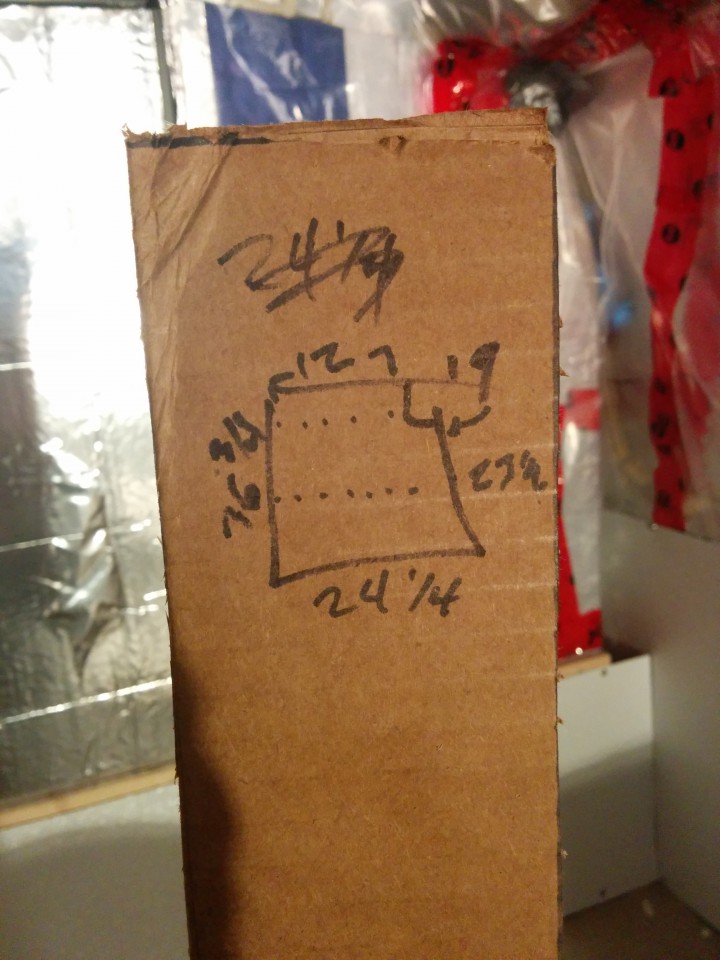
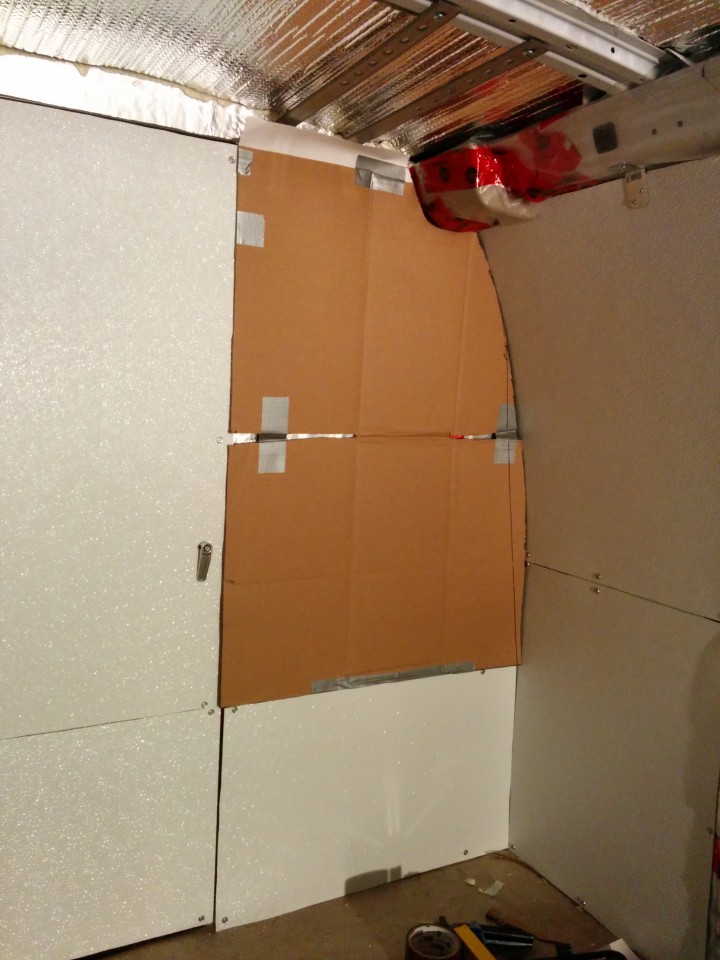
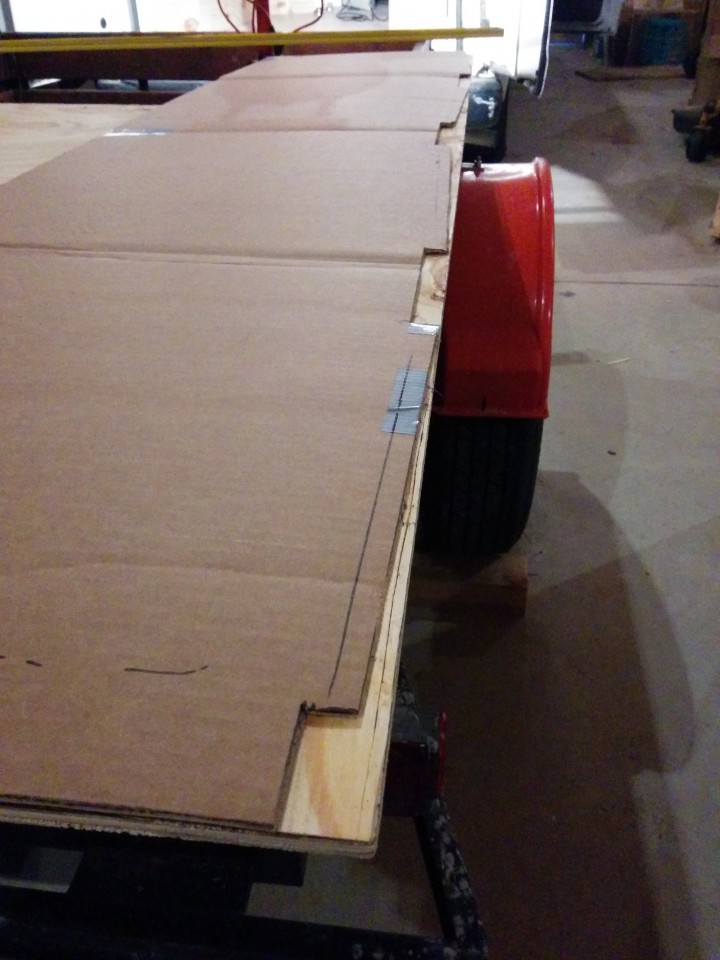
But that wasn’t good either, so I started using cardboard templates.
A combination of measurements and template.

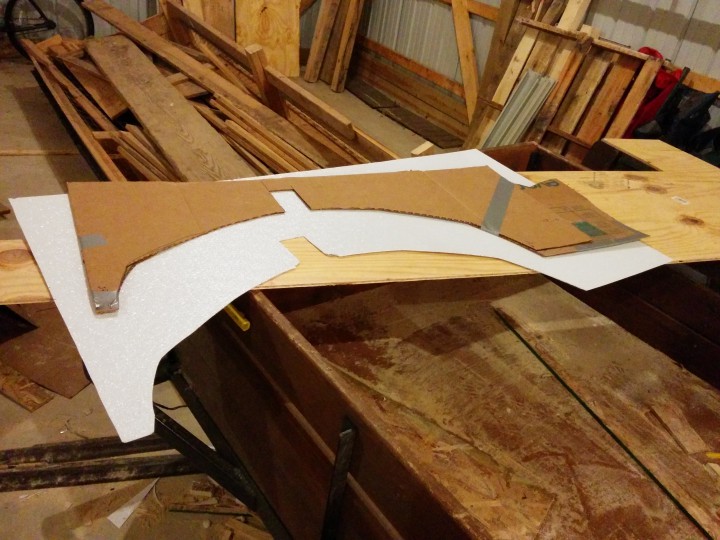
I made a mistake when using this method and wasted a large piece of FRB. So I abandoned the measurements and relied solely on templates. This was much easier.
I taped small pieces of poster board to the template edges for better accuracy.
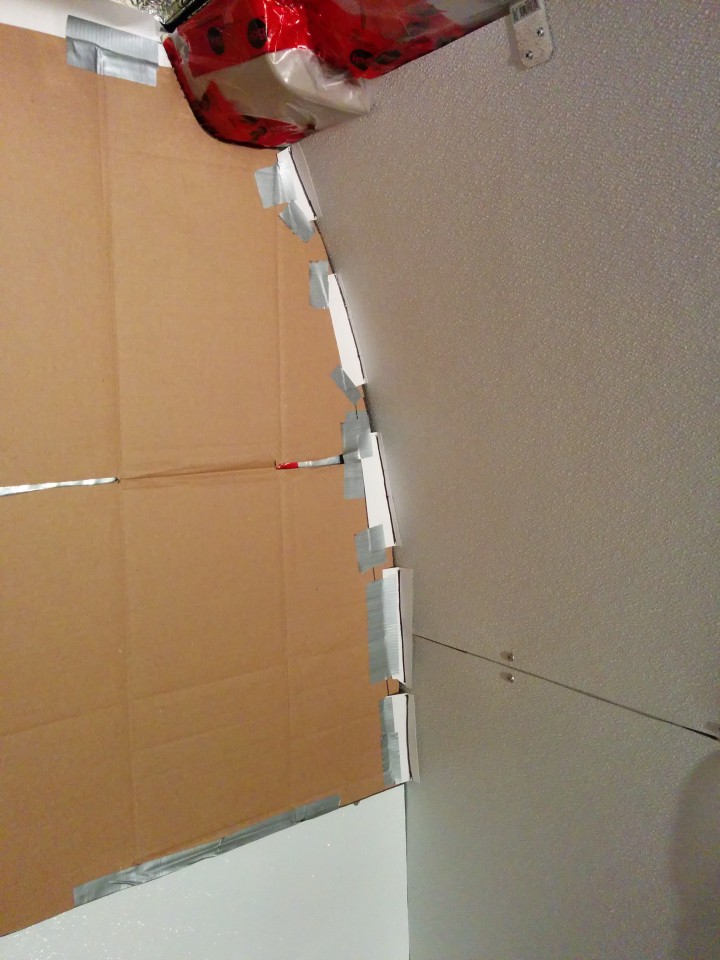
Then I’d trace it over the FRB and cut it.
Same process over the wheel wells.
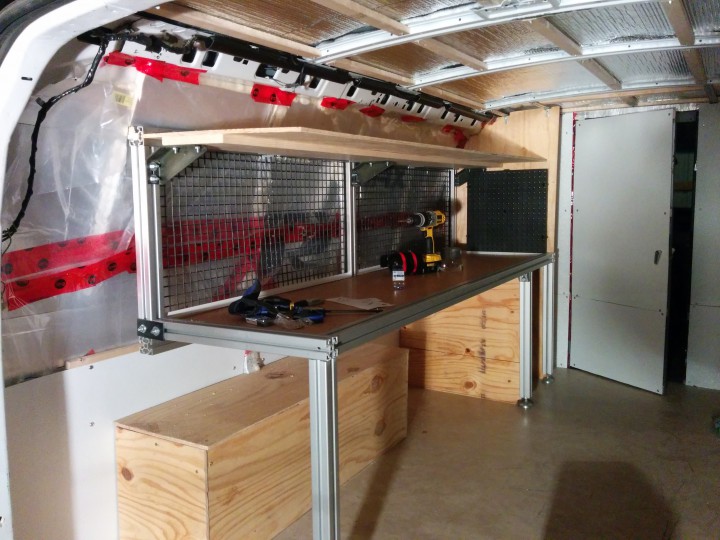
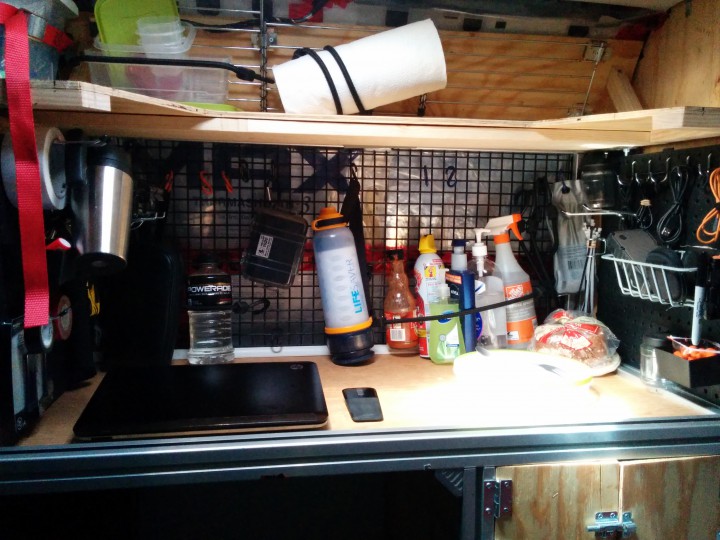
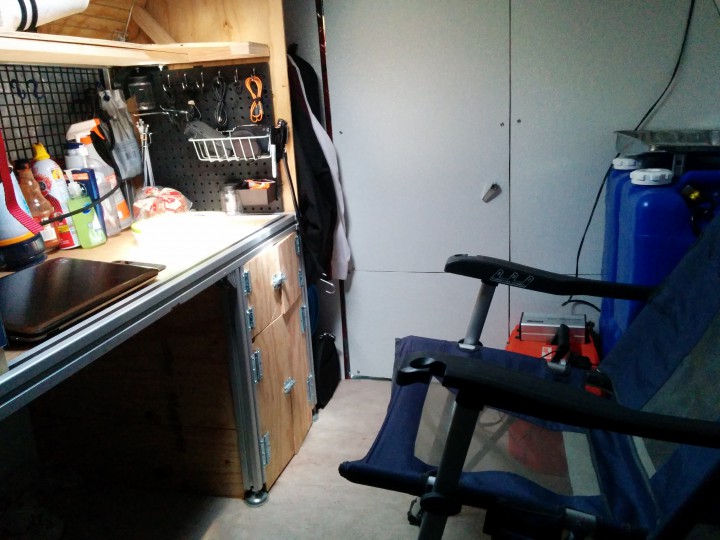
Once I got most of the panelling up, I made a desk. The desk is unique in that I can adjust its height or remove it entirely if I ever need to. The desk and the cabinet I later built on it is secured to the mesh by only two sets of bolts.
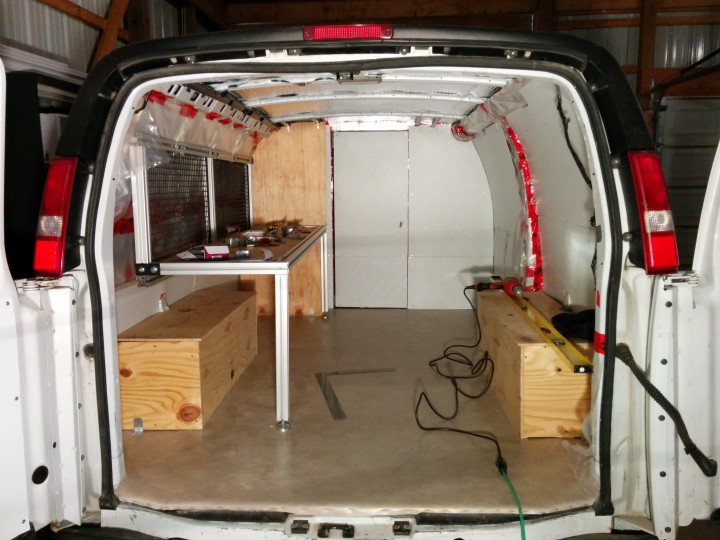
Basic loadout.
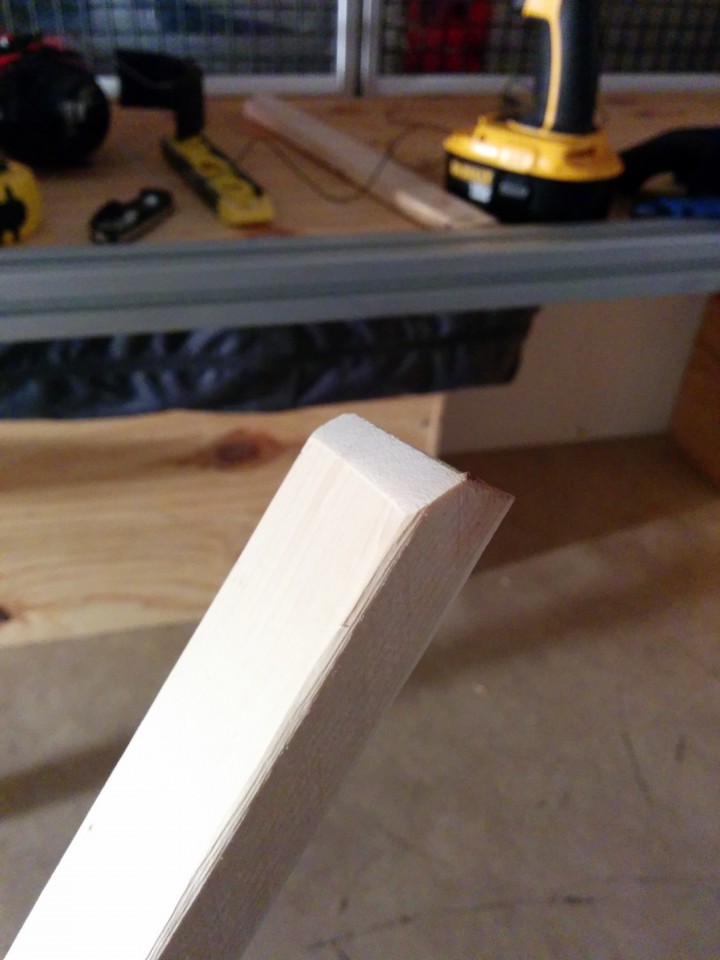
Back to the ceiling. I’m sure there’s an easier way of doing this, but here’s how I attached the furring strips.
Since headroom was already in short supply I tried to get the strips to sit as flush as possible.
I used bits of duct tape to get a nice tight friction fit so I wouldn’t have to hold the strips up in the air while I worked. Then I pre-screwed in sheet metal screws.
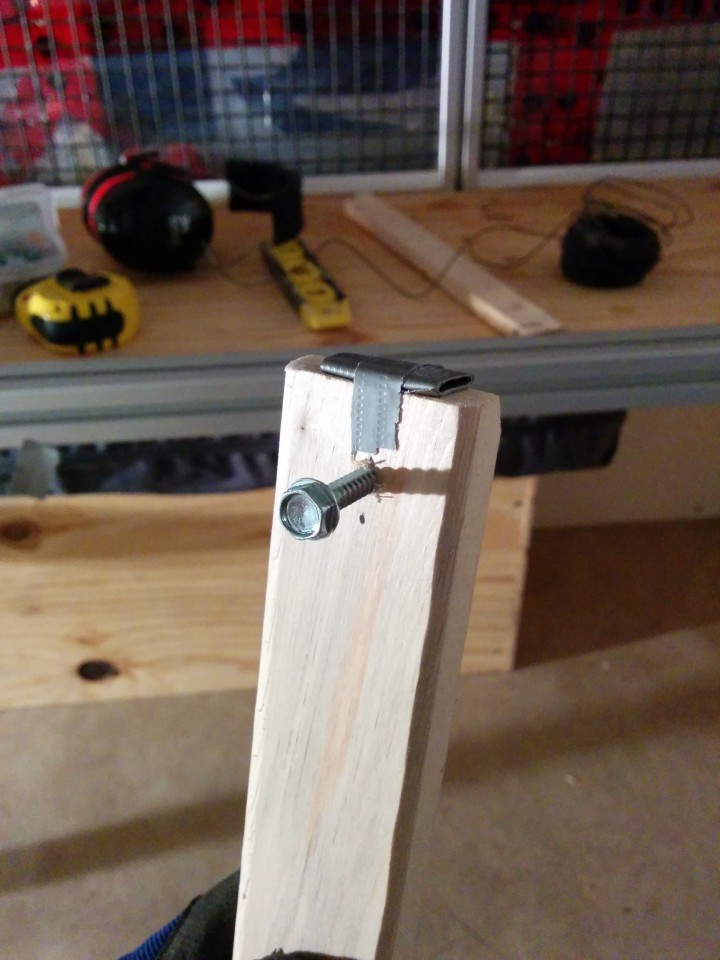
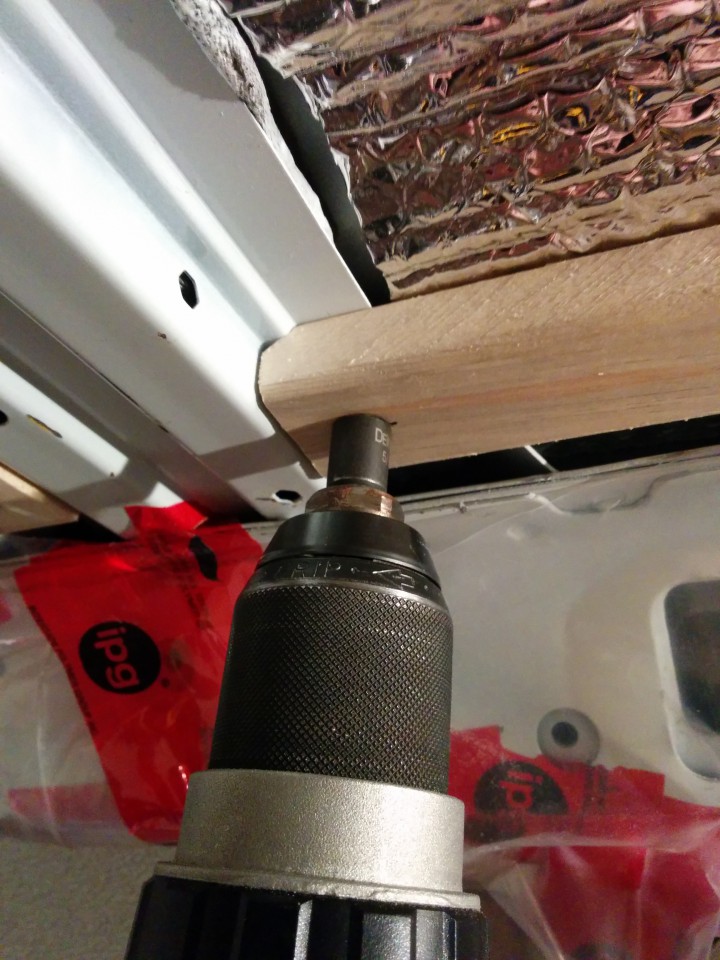
It’s difficult to see in the next picture, but there’s a tiny gap between the van’s rib and the ceiling. I would make a mark on the rib with the screw and carefully drill a hole.
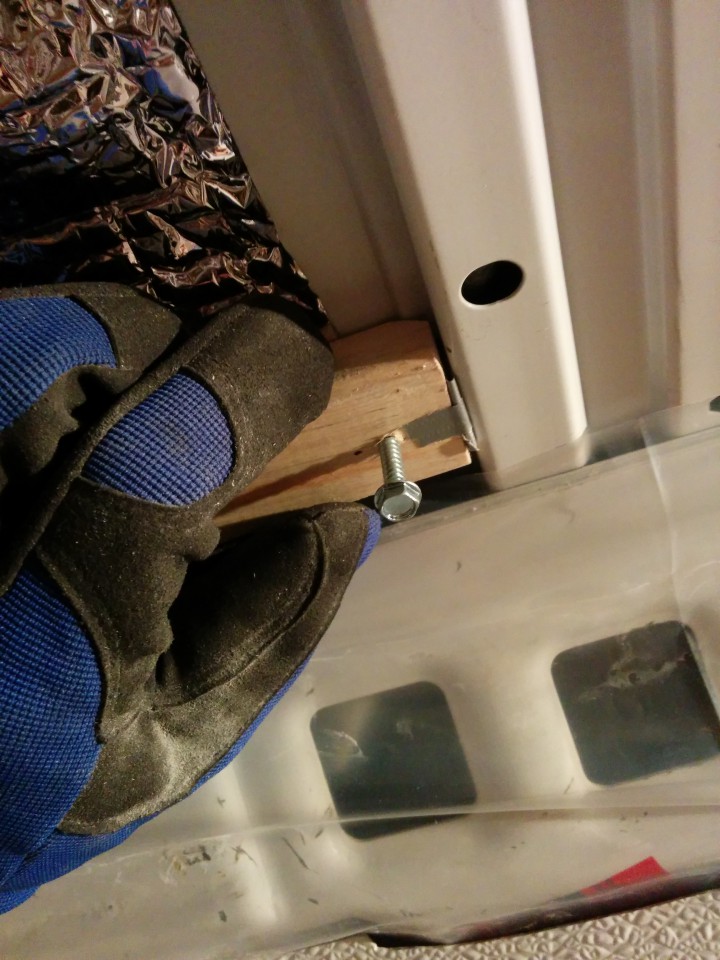
Then I’d cut the screw with a dremel so it wouldn’t puncture the ceiling.

If everything went well it would line up.
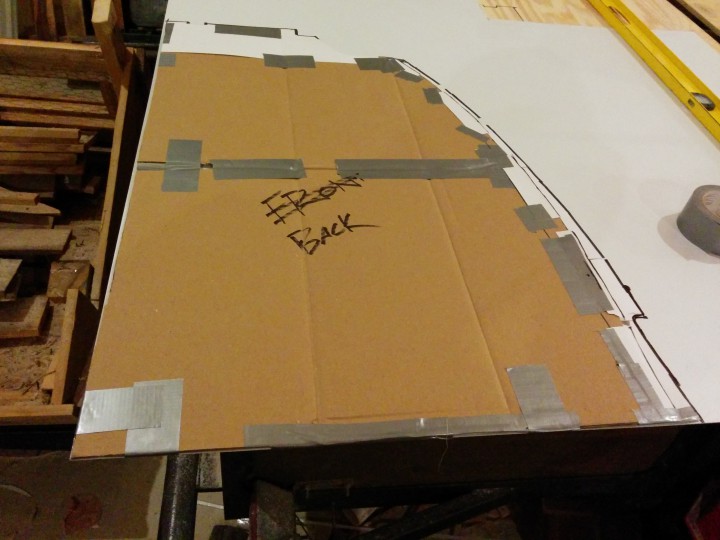
I wanted a shelf over my desk that would attach to the top of the mesh. But there was a problem. Remember how I used multiple pieces of aluminium extrusion to get it flush against the wall? Well, those pieces were not straight. This is partly because the van wall itself bows outward and partly because I was simply jerry rigging it as best I could with scrap metal and bolts.
So this is what the template ended up looking like.
I was not feeling good about this cut…
…but it fit nicely.
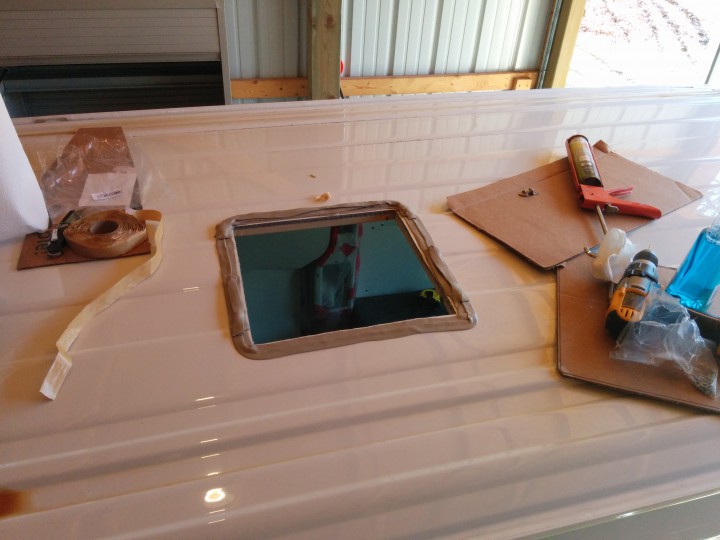
Cutting a hole in the roof was the scariest part of this whole deal.
I don’t have pictures of this part, but what I did was draw a vent-sized box on the ceiling. Then I drilled four holes at the box’s corners. Next, I jig sawed between the holes. I may have read somewhere that this is best done from the inside. I did it from the outside.
With the hole cut, I laid down generous strips of Dicor Butyl Seal Tape around the edge.
When I set the fan in, the putty tape squished out some.

So I carefully cut/pulled it off.
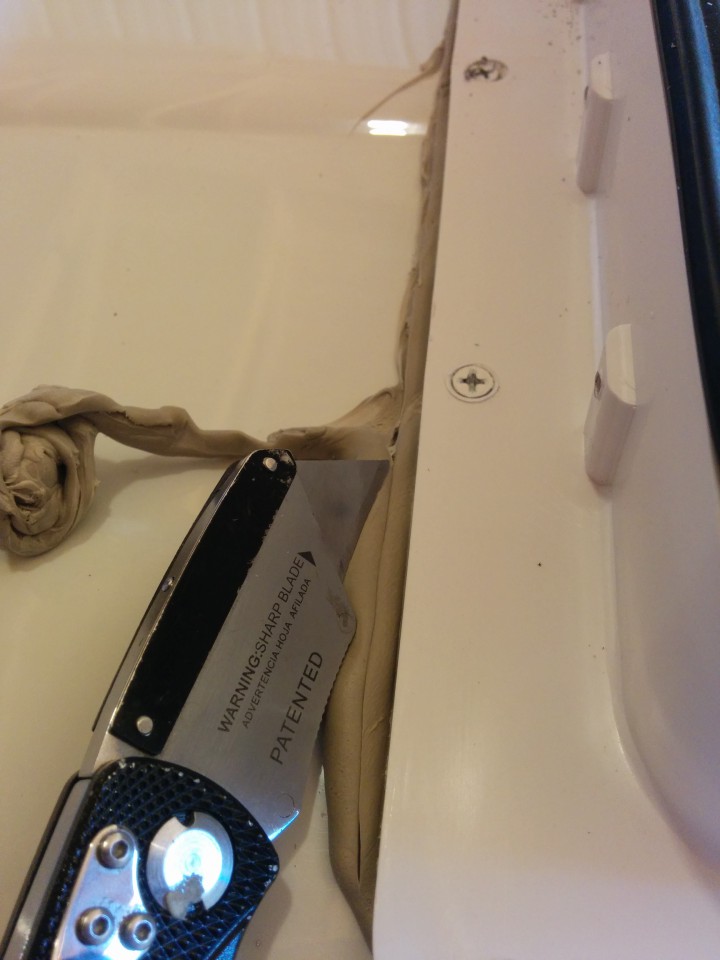
With the excess putty tape removed, I applied a generous amount of Dicor Lap Sealant. I’ve never used a chalk gun so it’s not pretty. But I’m alright with how it looks so long as it keeps the rain out.
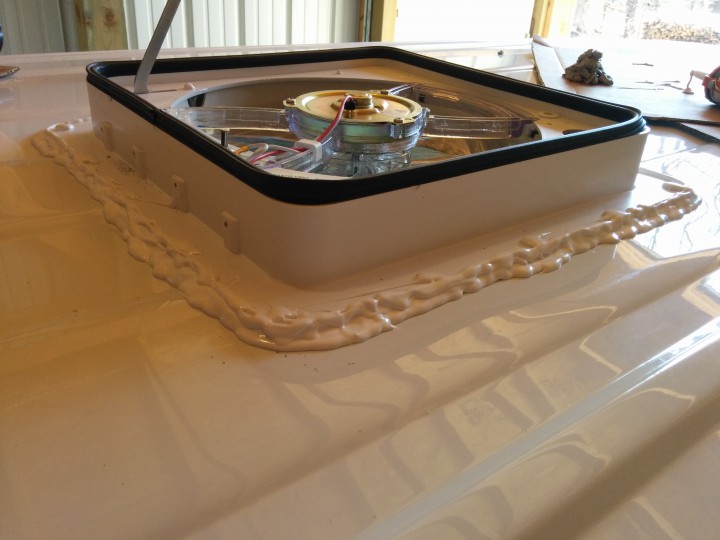
I then drilled screw holes through the fan’s base. These holes went straight down through the roof and into the furring strips below.
The vent fit snugly. Big relief.
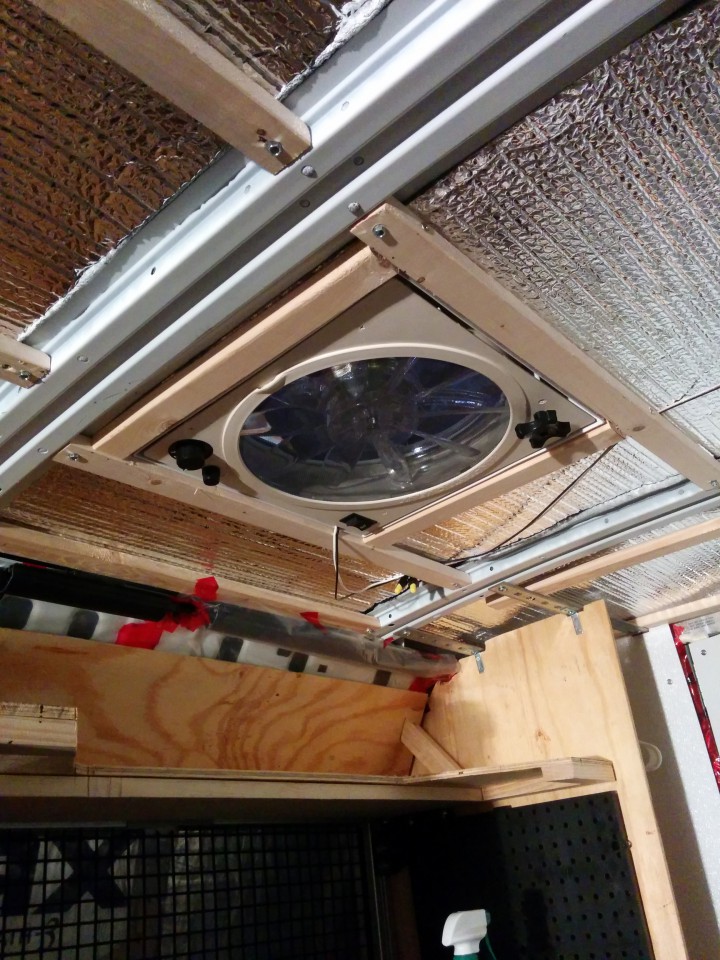
Heavy duty, double sided tape on the furring strips.
Coroplast for the ceiling. Got some at a local sign store for a decent price. Home Depot and other big box stores sell it for way more.
I left small gaps between Coroplast sheets in case I need to string some electrical wire across the van in the future.
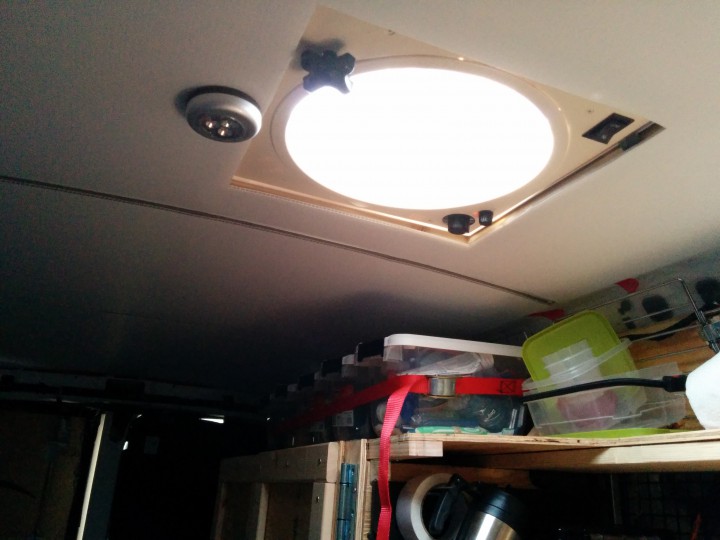
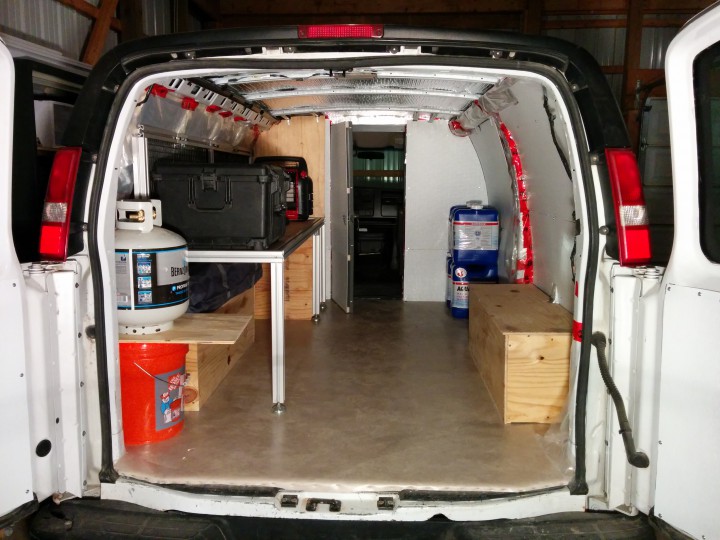
Here’s what it looks like with stuff in it.
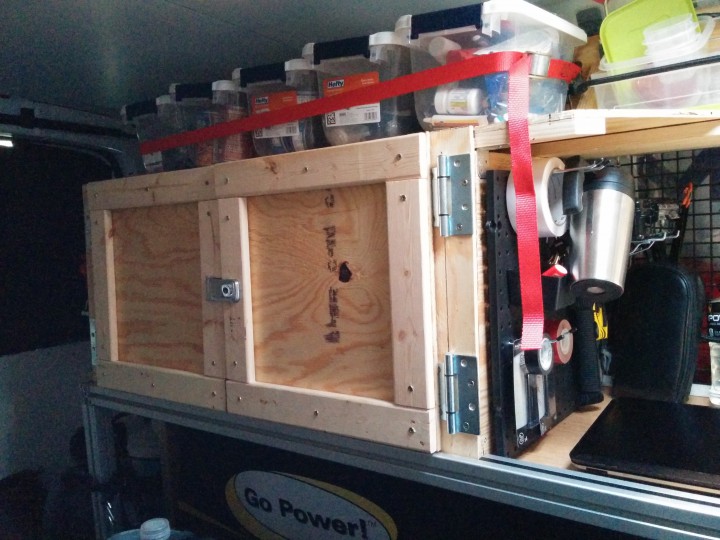
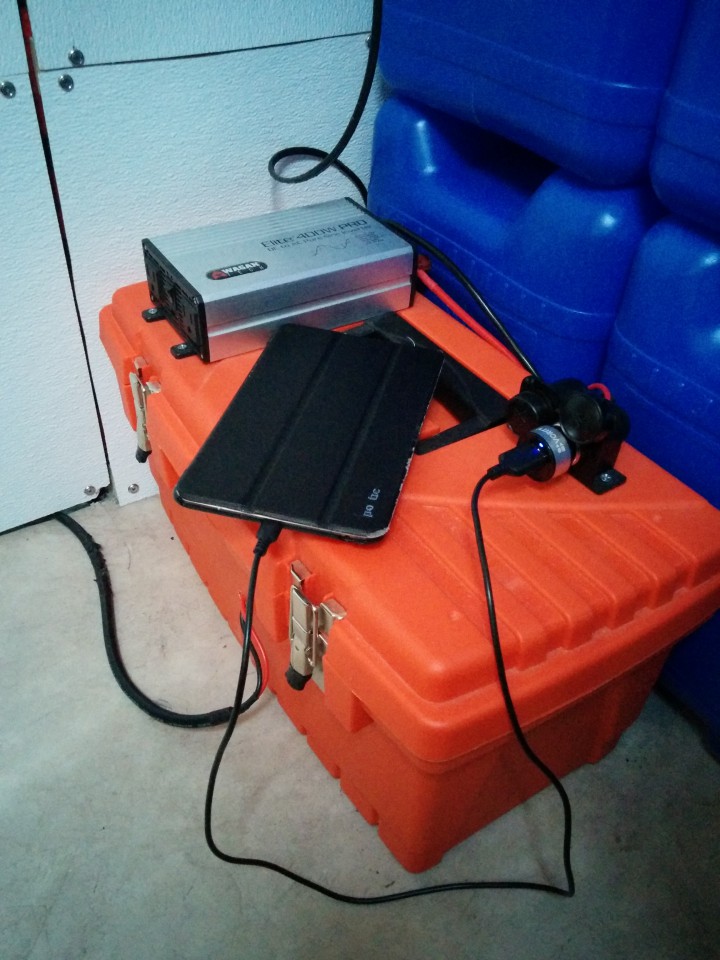
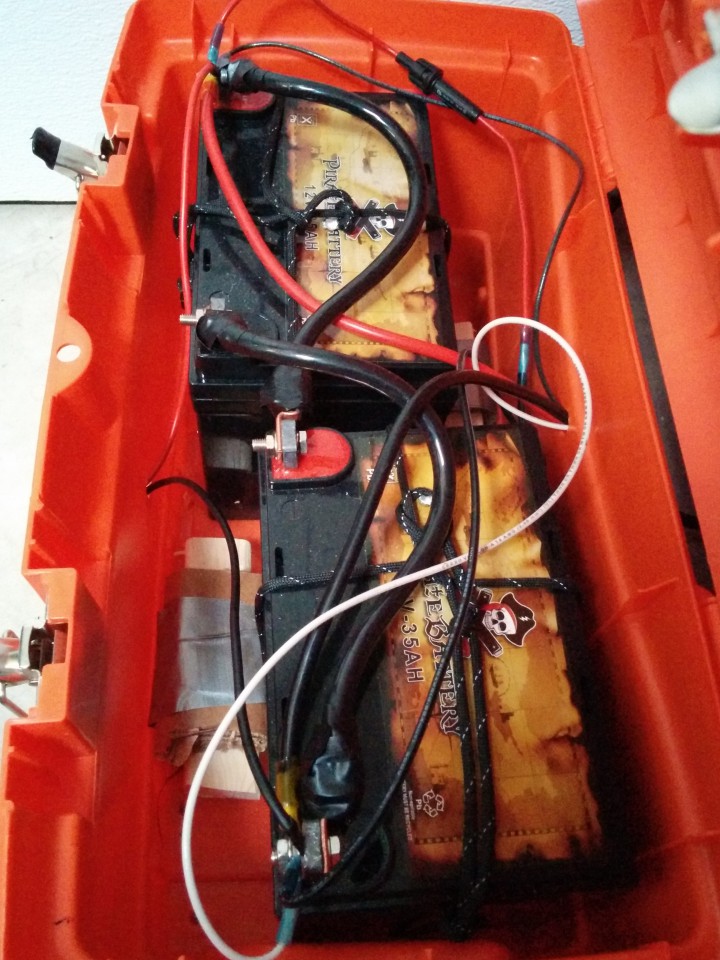
Used a cheap toolbox to house two, SLA batteries. I mounted a 400 watt inverter and a 12 volt outlet to the lid.
You can see a wire leading to the toolbox from under the partition door in the below picture. This is the power cable from my roof mounted solar panels. I was too lazy to drill another hole through the roof, so I just led it into the van through the passenger window.
I hope this is wired correctly.
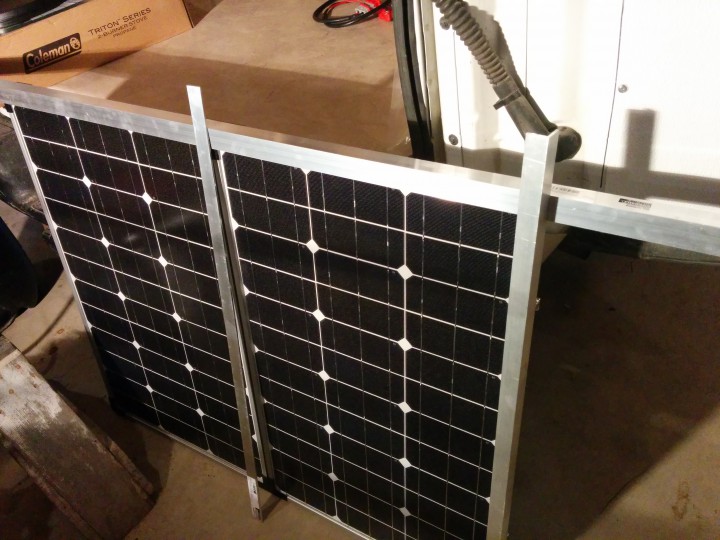
The panels are portable and I wanted to be able to easily remove them from the roof. So I made a lid for the panels out of aluminium pieces and a polycarbonate sheet. I think the polycarbonate sheet reduces the panels efficiency by something like 20%. To me, the added security and protection against the elements is more important.
I installed a ladder rack to my van’s rain gutters. Then I attached a safari rack to the ladder rack with u-bolts and hose clamps. I used red loctite on all the important bolts.
Removing the panels is not difficult. All I have to do is unlock two bike locks, and lift the aluminum/polycarbonate lid. The ratchet strap is not necessary.

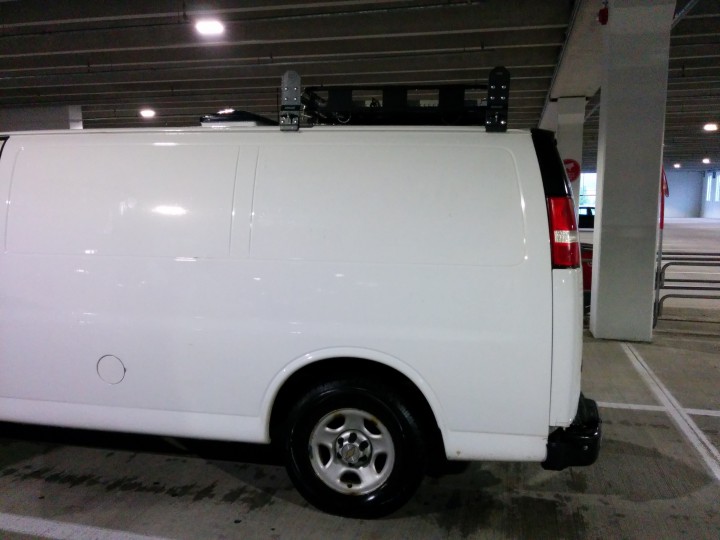
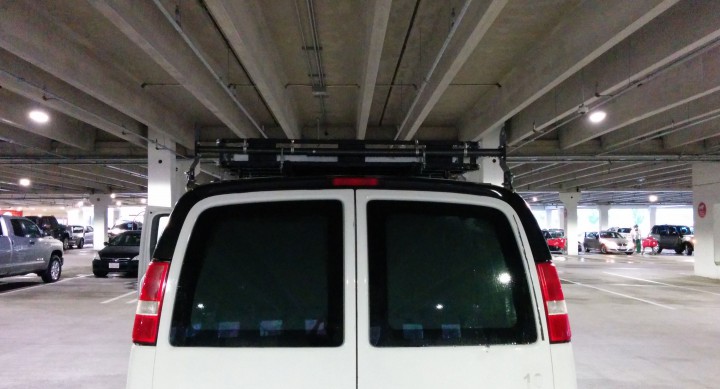
The panels aren’t exactly stealthy. Someday I would like to flank them with ladders or something.
I hope this build log is helpful to others. Feel free to leave a comment. I have no prior experience with construction, engineering, or mechanics. So, if you saw something I could have done better, please let me know. This van is still a work in progress.

Nice job on the van. BTW, I wasted 30 winters in Michigan before I got out. Got tired of the four seasons….June, July, August…and winter, and the lousy business climate, and the taxes, and an ex-wife.
Regards.
LikeLike
Good one, D.G. I only built the van in Michigan and am already gone.
LikeLike
Looks pretty good for a first build with no experience!
Regarding the batteries losing charge: How many watts of solar panel do you have? Do you have a solar charge controller hooked up between the panels and batteries? If not, the panels can over charge the batteries, damaging them.
I was thinking about using the spray foam to fill in the ribs of our van, it looks like you had a few problems using it. Did it just not expand enough to be useful?
LikeLike
Hi Nate,
Thanks! I’ve learned a lot and am already looking forward to building my next van.
My solar panels are 120W. They came as a kit with a 10 Amp Solar Controller. I think the rule is to have roughly one panel amp for every battery amp hour. However, I only have two, 35AH SLA batteries. Maybe that’s the problem. Chances are I’ve just been running them down to far.
Using the spray foam wasn’t all bad. I had imagined that I would simply stick the straw in a rib and empty a few cans. Not the case.
The spray foam would clump up inside the ribs and big globs would form irregularly. The ribs above each wheel wells have large openings at the bottom. I didn’t close them off properly and the globs just rolled down the rib and spilled out in a giant mess. The globs that did stick in the ribs would not cure correctly.
So to answer your question, yeah, it just couldn’t expand far enough. This is especially true of the hollow support beams on either side of the rear doors.
I had lots of leftover bits of foam board, so I just chopped em up and pushed them into all the nooks and crannies I could find. I don’t know how effective this will prove to be, but it seemed the spray foam had a much better time filling in the spaces between the chopped up foam board.
Hope this helps. I look forward to seeing what you come up with.
LikeLike
Thanks for the info on the foam. I’ll definitely be rethinking this.
I think the problem could be that you only have 2 35AH batteries, though, it depends on what kind of things you’re trying to power. In parallel, you have a total of 70AH of capacity, but given that you shouldn’t use more than 50% of a battery’s capacity to avoid damage, you only have 35AH to work with. That’s not much power. Just running the fantastic fan on high, which pulls perhaps 3 amps, in 10 hours, you’re batteries are used up. If you run the fan (3 amps), a laptop (at 100W, that’s over 8 amps), plus other stuff… you can see how only a couple hours of usage can run them down fast.
Bare minimum, I would want a 100AH battery (50AH usable), doubling that becomes quite comfortable.
You should be pretty good with 120W solar with light usage, but just remember that it will only charge at around 7-9 amps per hour in full sun, less if it’s cloudy or if you’re using power while it’s charging.
LikeLike
Hi Nate,
I’ve been trying to get my head around batteries for a while. Your explanation really helped. When I ordered my batteries, I mistakenly thought I had 70 effective amp hours. I knew I shouldn’t let them drop below 50%, but I thought that was a matter of monitoring the voltage, not simply halving the amp hours.
It’s stuff like this that’s going in my vandwelling guide if/when I get around to writing it.
LikeLike