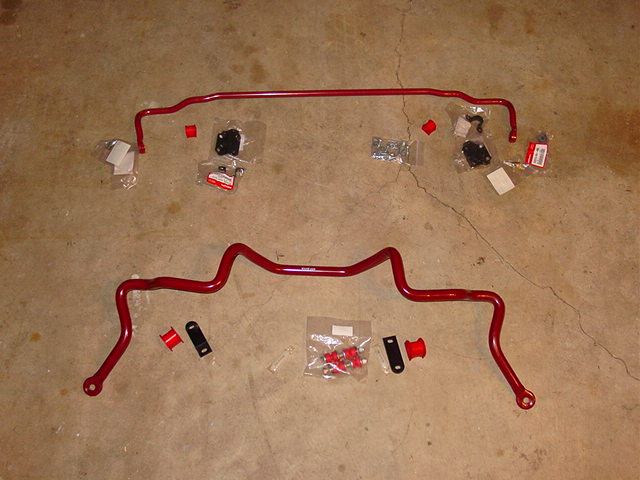
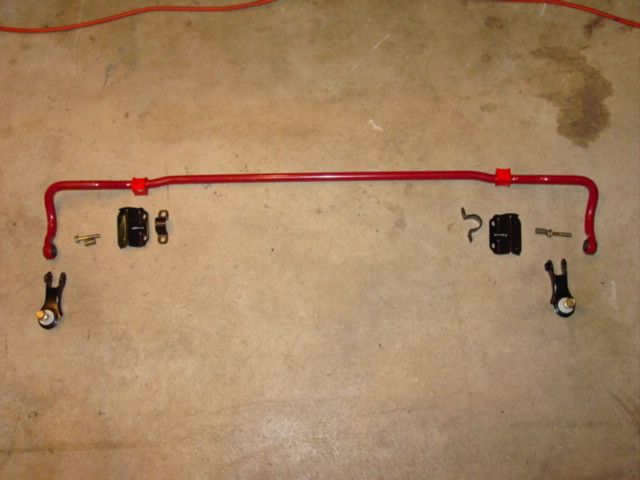
Upgrading the sway bars, or simply installing sway bars is a very cost effective way to drastically improve the handing of any car. I’ve outlined the installation of Eibach’s sway bar kit.
Eibach’s kit requires factory installation points. Most top trim civic’s came with front sway bars. The Civic EX four door came with front and rear bars. Any other civic will need front lower control arms from either an Integra or Si/EX model and a rear lower control arms from an Integra or Civic EX four door.
This write-up applies to ’92-’95 Honda civics and ’94-’01 Acura integras
Tools Necessary
- Socket set
- Combination wrenches (box wrench)
- Jack and Jack Stands
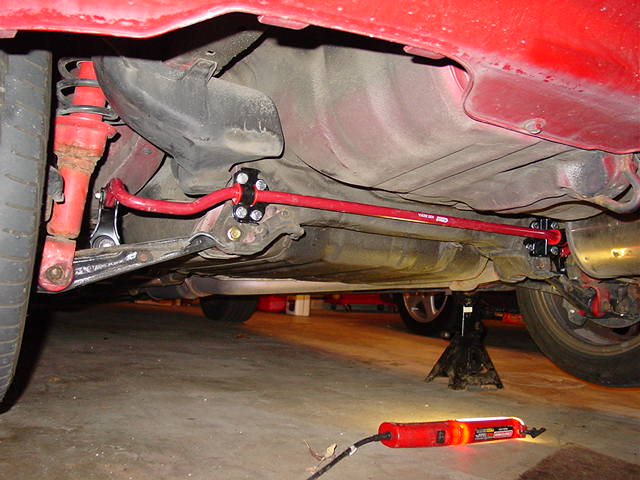
Front Bar Install
Raise the front and secure it with jack stands.
Slide the new bar into place, you can reattach the exhaust and shifter at this time.
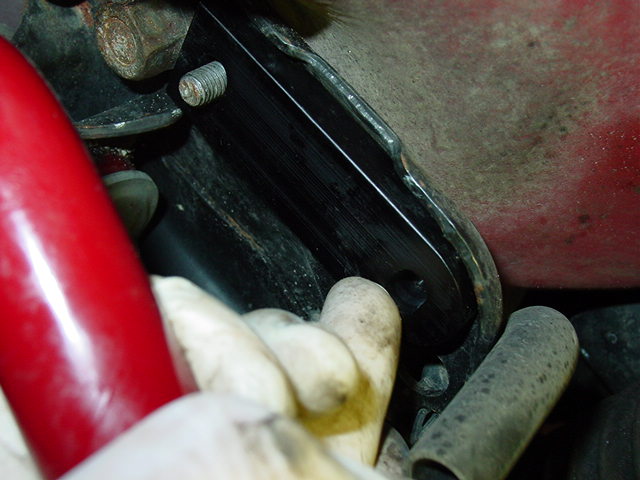
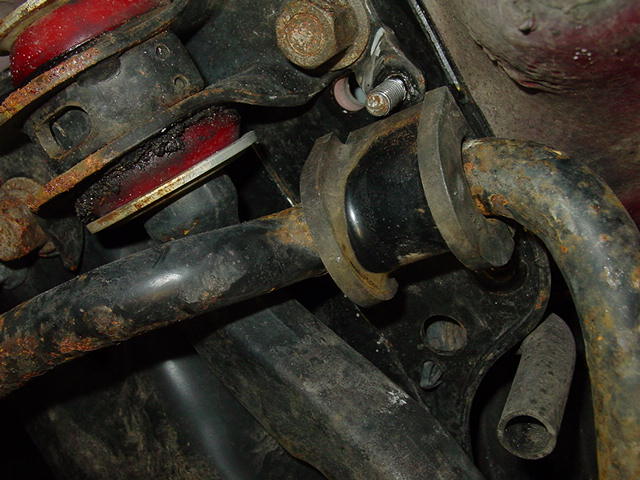
Before you attach the end links, check to see if the sway bar is binding in the bushings. If the bar does not drop under its own weight, or with minimal effort, I would strongly suggest using a sanding drum to enlarge the bushing opening. Take a little bit at a time and test. Once the bar moves freely, attach the end links with the new hardware included with the kit.
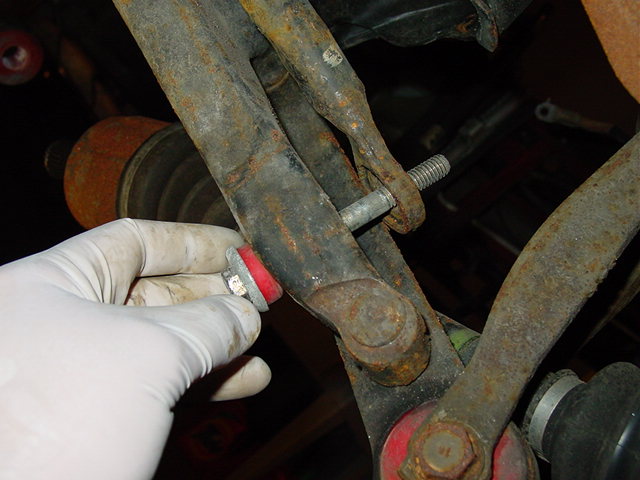
If you need to swap out the control arms, all you need to do is pop the lower ball joint, remove all of the hardware and slide the new arms in place.
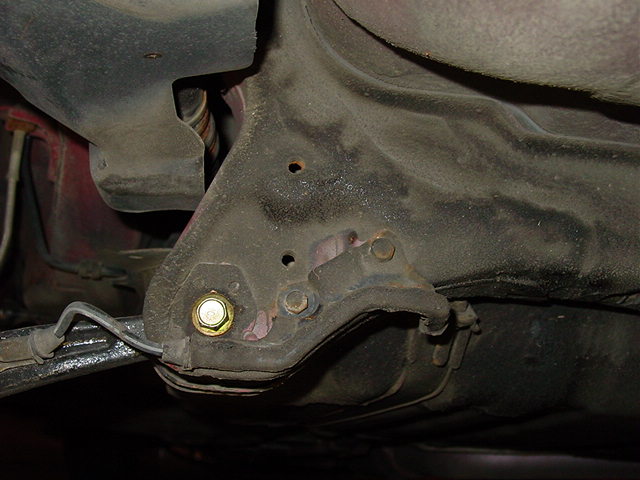
Rear Bar Install
Raise and secure the back of the vehicle.
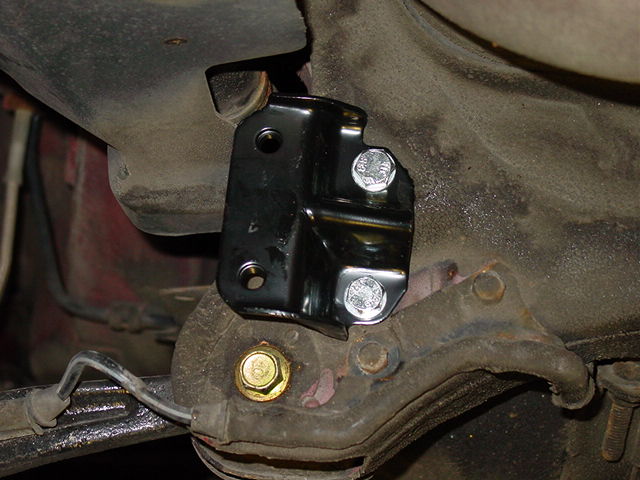
If you are upgrading to a larger bar, it is as simple as removing the stock bar, swapping all of the mounting hardware and reinstalling.
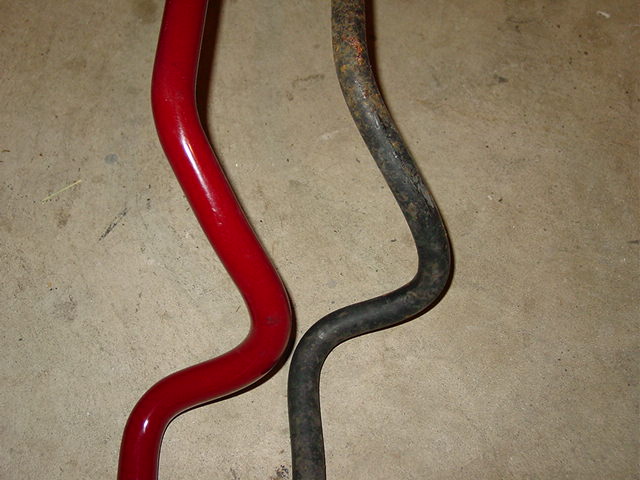
Eibach’s rear bar is 17mm. Since I did not have a rear bar, I could not compare the size. If I remember correctly, the stock rear integra bar is 14mm and the stock civic EX 4dr bar is 11mm.
For my rear sway bar install, I had to pick up lower control arms with sway bar mounting holes drilled. You can pick up arms from a 4dr EX civic or an integra. If you are ordering bushings to go along with the control arms, note which arms you have. The Civic’s bushings are smaller.
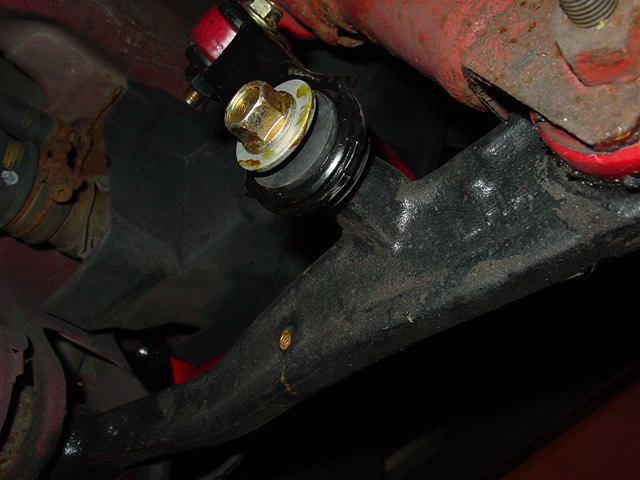
One last recommendation I would like to make is to use a jam nut on the upper part of the end link. It is possible to over tighten the bolt which will bind. I recommend snugging the first bolt until you feel bind in the end link, then back it of slightly. Finally, add the jam nut and snug it tightly. Make sure the end link still moves freely.
I would take a moment and double check all of the bolts, nuts or any other hardware to make sure they’ve been tightened properly.
Important Note: I want to reiterate the importance of avoiding binding in the sway bar bushings or end links. It is very important to ensure proper operation. Binding sway bars will generate inconsistent rises in roll stiffness that will lead to unpredictable handling.
Driving Impressions
The sway bar upgrade was worth every penny. Prior to installing the bar, I was having problems drastically unloading a front tire through hard cornering. This was reducing the effectiveness of my Quaife differential. With the new bars installed, body roll has been drastically reduced. The added bonus is that my Quaife diff works properly given the fact that all four tires are staying on the ground.
Probably the most noticeable advantage, or I should say unnoticeable advantage, is that the ride quality has not been compromised. The bars are virtually invisible until you need them.